Score tiers help you categorize quiz results based on a respondent’s total score or performance. This allows you to show personalized result pages, dynamic text, or custom follow-up actions depending on the user’s score range.
TABLE OF CONTENTS
- What Are Score Tiers?
- Where to Configure Score Tiers
- Configuring a Score Tier
- How the System Calculates Tiers
- Displaying Score Tiers on the Result Page
- Optional: Map Tiers to Custom Fields
- Practical Use Cases
- Pro Tips & Notes
- Example in Action
What Are Score Tiers?
Score tiers divide quiz results into different levels or brackets, each with a label, color, and score range.
For example:
| Tier Label | Color | From % | To % |
|---|---|---|---|
| Basic Bookkeeping | Red | 0 | 39 |
| Standard Accounting | Orange | 40 | 79 |
| Advanced Financial Management | Green | 80 | 100 |
Important: The overall score range (0% and 100%) is fixed you can only adjust how that range is divided into tiers, not expand or reduce it.
Where to Configure Score Tiers
Open your Quiz.
Go to the Result Page editor.
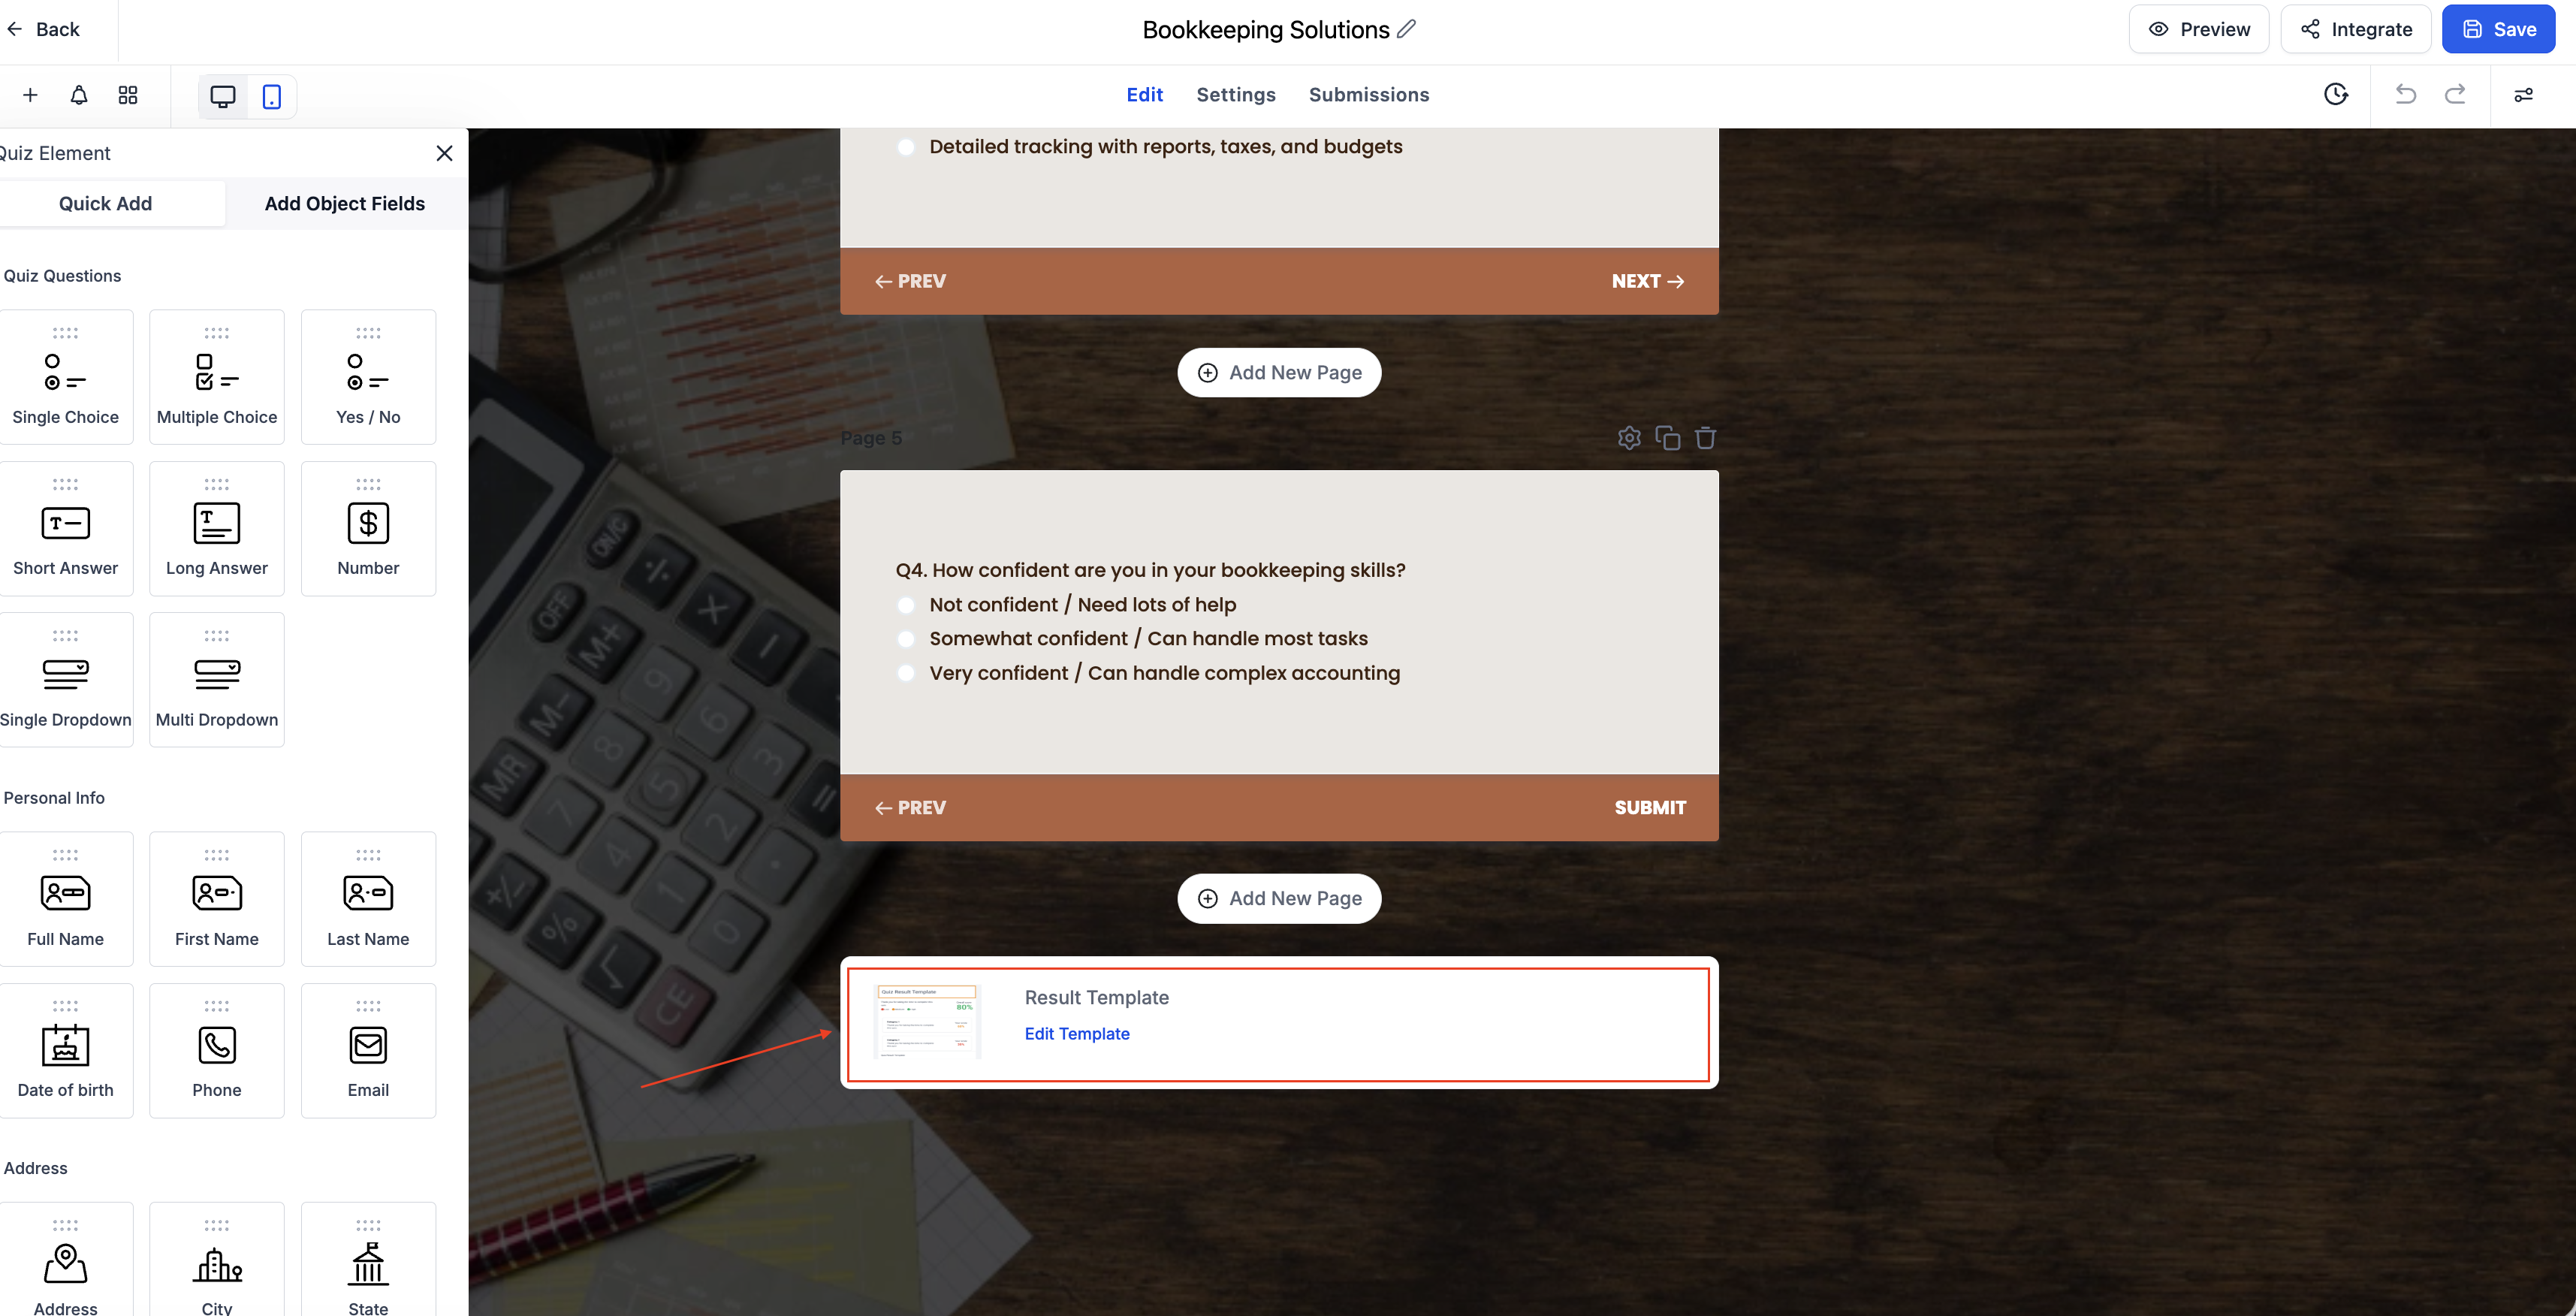
Select Configure Score Tiers.
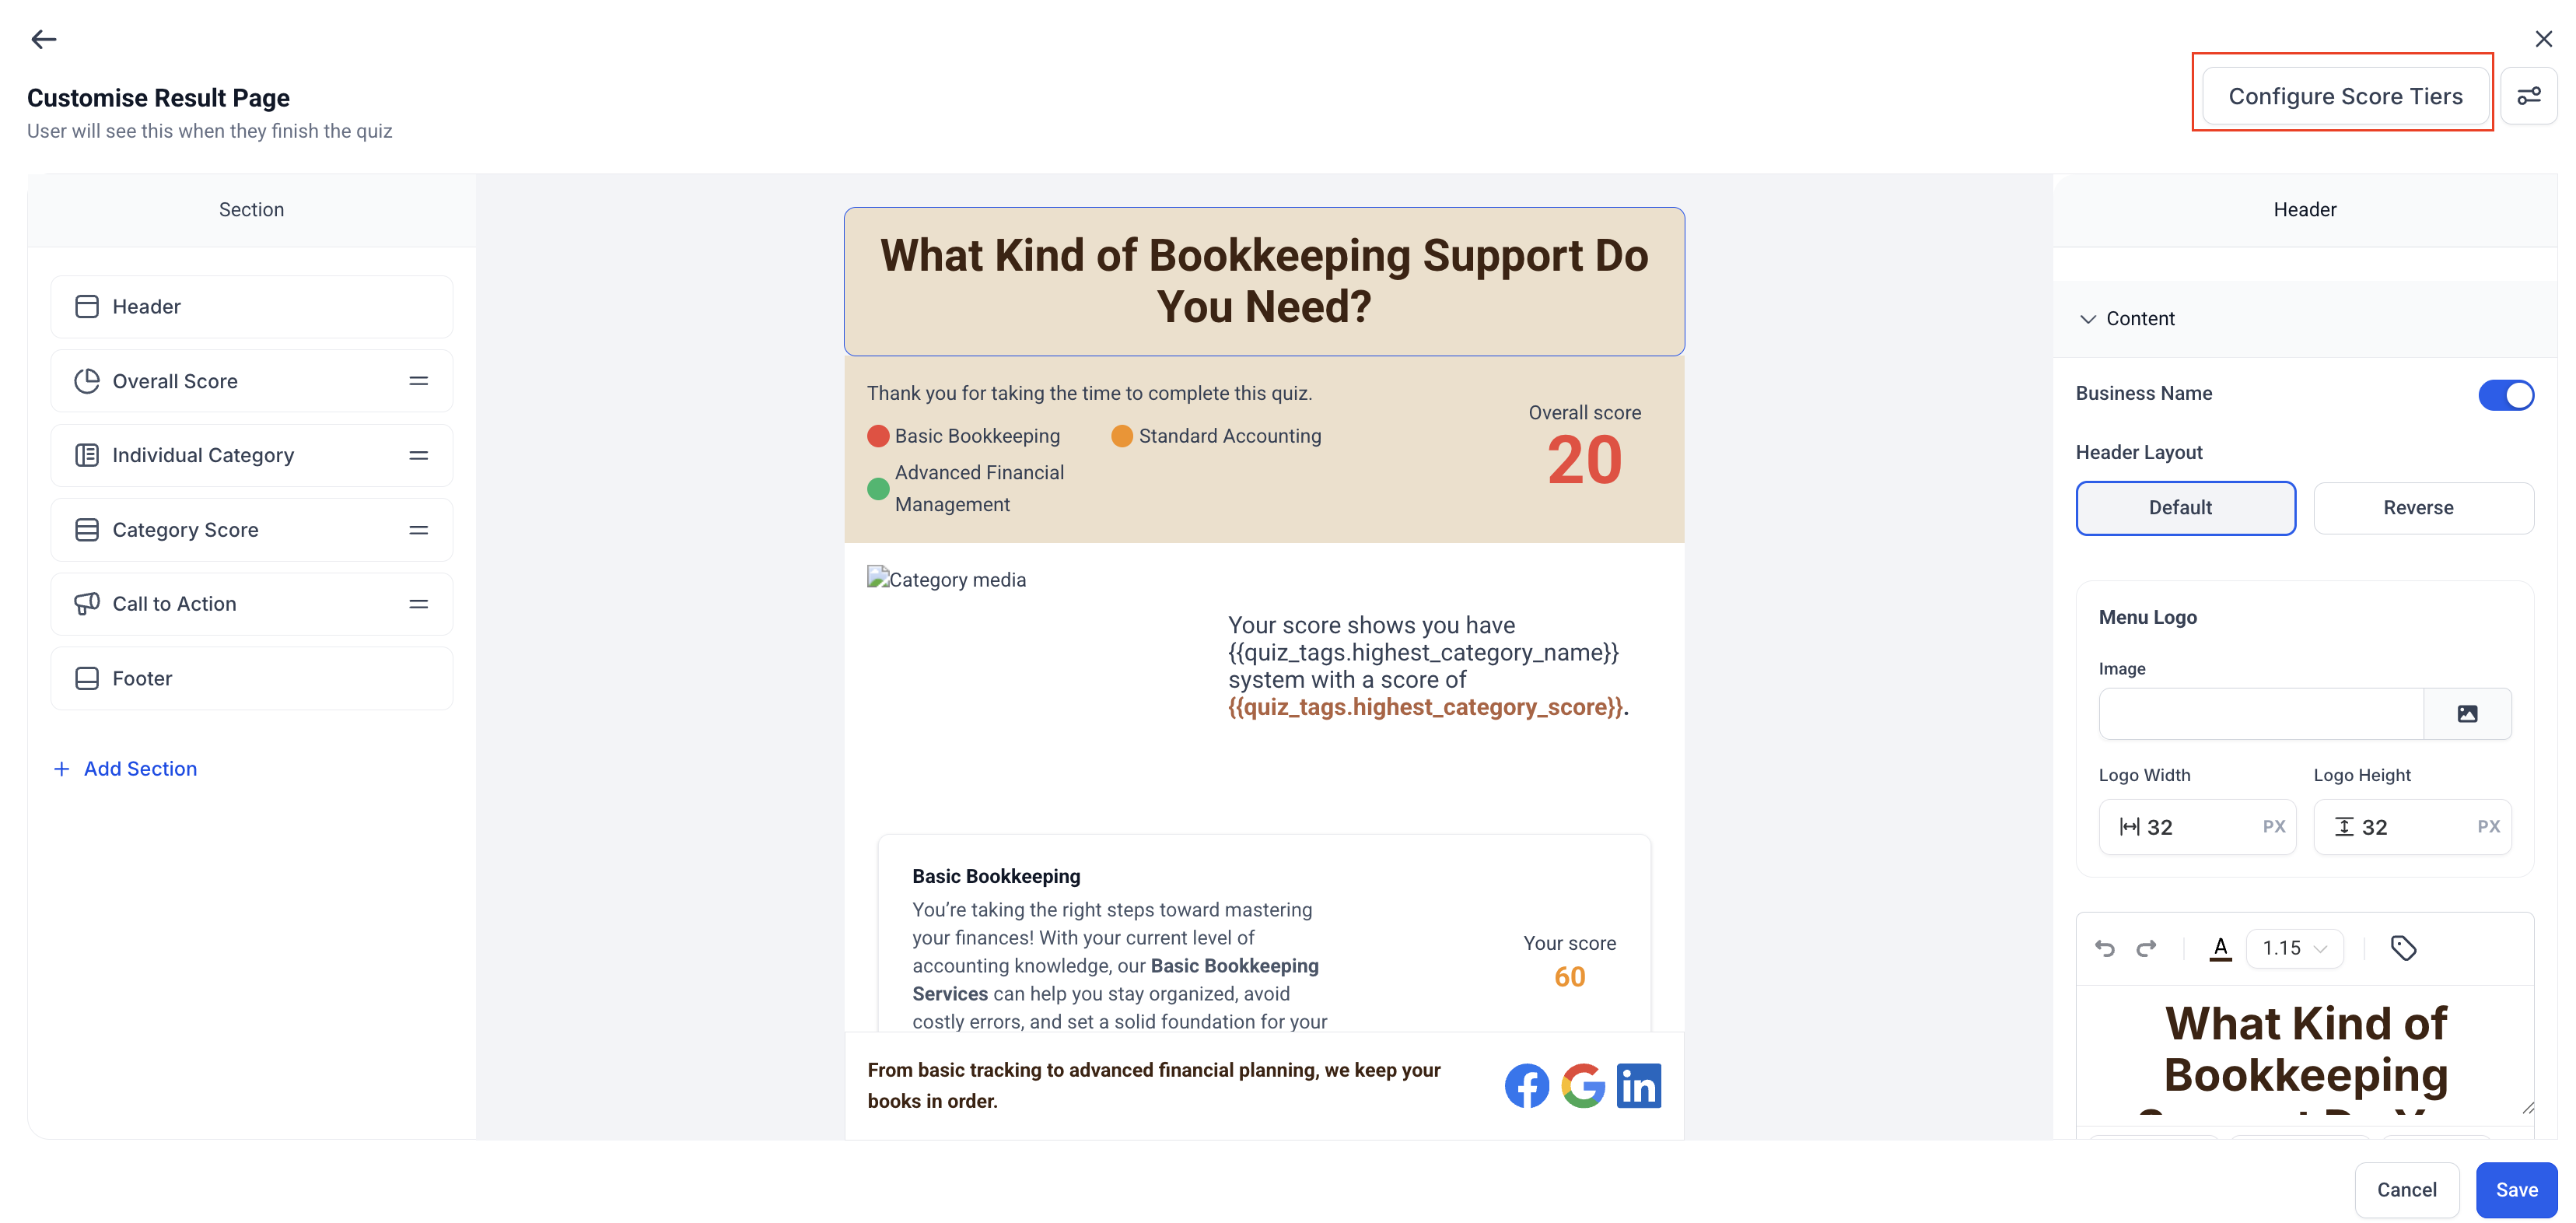
You’ll see the Score Tier Configuration window (like in your screenshot).
Here, you can add, edit, or delete tiers.
Configuring a Score Tier
Each tier has four components:
Color – Assign a color to visually identify each score level.
(Tip: Red for low, yellow/orange for mid, green for high scores.)Label – A name for the tier (e.g., “Basic Bookkeeping”).
From % – The minimum percentage for that tier.
To % – The maximum percentage for that tier. Once you’ve added all tiers, click Save.
Important: The overall score range (0–100%) is fixed — you can only adjust how that range is divided into tiers, not expand or reduce it.

How the System Calculates Tiers
When someone completes a quiz, the system first calculates their score based on the answers they selected.
Each answer in the quiz has a score value assigned to it. As the respondent answers questions, the system adds up the values of their selected answers to get a total score. That total is then converted into a percentage on a 0–100 scale.
Example:
If a quiz has 10 total points and a respondent earns 7 points, their score is 70%.
Once the percentage score is calculated, the system checks the score tiers you’ve configured and automatically assigns the respondent to the tier that matches their score range. This tier determines which result message, label, or styling is shown on the quiz results page.
For instance:
A score of 20% → Falls under Basic Bookkeeping (0–39%).
A score of 60% → Falls under Standard Accounting (40–79%).
A score of 90% → Falls under Advanced Financial Management (80–100%).
This mapping happens instantly when the quiz is submitted.
Optional: Map Tiers to Custom Fields
If you want to store or trigger automations based on the user’s score tier:
Go to the Settings section of your result page.
Toggle on the custom fields you want to capture:
Overall Score
Overall Score Tier
Category-Specific Score
Category-Specific Tier (e.g., “Basic Bookkeeping Score Tier”)
These can then be used in Workflows, CRM contacts, or email personalization.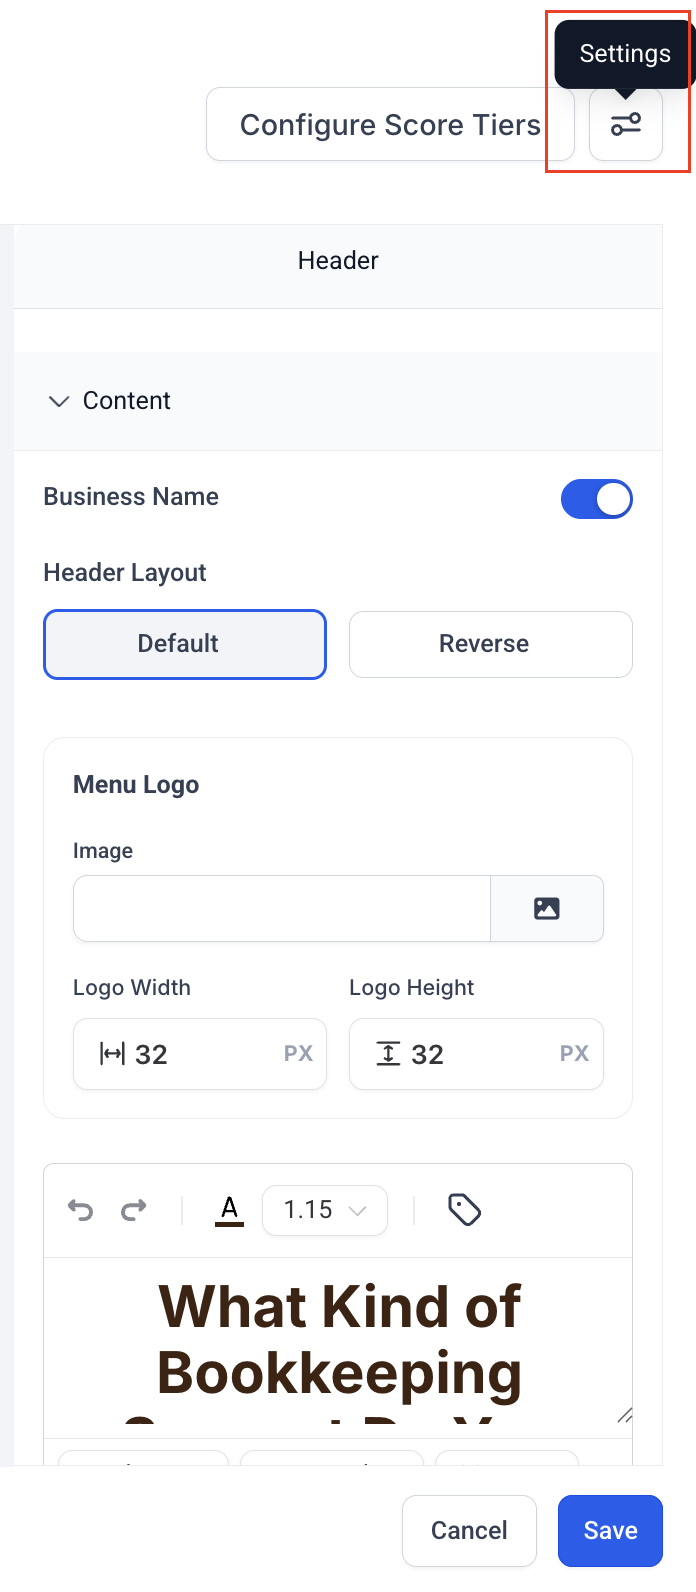
Practical Use Cases
| Use Case | How It Helps |
|---|---|
| Personalized Recommendations | Show different messages or CTAs based on skill level. |
| Lead Segmentation | Automatically tag users by tier to tailor follow-ups. |
| Nurture Campaigns | Send tier-based emails using CRM custom fields. |
| Progress Tracking | Use stored scores to compare over multiple quiz attempts. |
Pro Tips & Notes
Always ensure score ranges don’t overlap. Instead of setting From 0–40, 40–80, 80–100, adjust slightly to 0–39, 40–79, 80–100 to keep boundaries clean and prevent score conflicts
Keep tier labels short and descriptive.
You can add or remove tiers anytime, it won’t affect past submissions.
For more personalized result pages, combine tier tags with conditional content.
Do NOT mix Category Names and Tier Names.
Example: If your quiz category is “Bookkeeping,” don’t also create a tier called “Bookkeeping.”
Tier names should describe performance levels (e.g., “Beginner,” “Intermediate,” “Advanced”) while category names represent topics (e.g., “Bookkeeping,” “Tax Management”).
Example in Action
Scenario:
A user takes a quiz titled “What Kind of Bookkeeping Support Do You Need?”
Their overall score is 20%.
The system assigns them to the Basic Bookkeeping tier (0–39%).
The result page displays:
“Your overall score is 20%, which places you in the Basic Bookkeeping tier.”
Another user scores 85%, placing them in the Advanced Financial Management tier (80–100%), and sees:
“Your overall score is 85%, which places you in the Advanced Financial Management tier.”
(If you’re showing individual categories, each category will have its own score and tier displayed separately.)