
Learn how to filter contacts with Smart Lists, select contacts in bulk, use Trigger automation, choose a published workflow, enroll contacts immediately or on a schedule, configure Drip Mode, and monitor the resulting bulk action.
Only published workflows appear in the Workflow dropdown. Review the workflow before enrolling a large audience, especially when it contains outbound email or SMS actions. Bulk enrollment does not replace contact-level consent, DND settings, or other messaging requirements that may apply to your outreach.
What is Bulk Adding Contacts to a Workflow?
The Add to Automation feature lets you manually enroll multiple contacts from the Contacts area into a published workflow. This is useful when the contacts already exist and you want to start a workflow for them without relying on a separate workflow trigger.
You can enroll the selected contacts immediately, schedule them for a specific date and time, or distribute enrollment across batches with Drip Mode. Advanced Filters and Smart Lists can also be used to build the audience before the bulk action begins.
Key Benefits of Bulk Workflow Enrollment
Bulk enrollment is useful when you already know which contacts should enter an automation and want more control over audience selection and timing than a normal workflow trigger provides.
- Enroll Contacts Faster: Add multiple contacts to the same workflow in one bulk action instead of enrolling contacts one by one.
- Target the Right Audience: Use Advanced Filters to narrow contacts by fields, tags, opportunity information, and other supported criteria.
- Control Enrollment Timing: Add contacts immediately, schedule the entire group, or stagger enrollment in batches.
- Reuse Segments: Save useful filtered audiences as Smart Lists so the same segmentation rules can be used again.
- Track Processing: Review bulk-action status, timing, statistics, and available error details from the Bulk Actions area.
Before You Start
A quick review before starting a bulk action helps prevent contacts from entering the wrong workflow or being enrolled at the wrong time.
- Confirm the destination workflow is published.
- Review the workflow's actions, waits, filters, messaging steps, and enrollment behavior.
- Build or review the contact segment you intend to enroll.
- Check whether the workflow sends SMS or email and confirm the selected audience is appropriate for that communication.
- For large lists, consider using Drip Mode to spread enrollment across batches.
How to Add Contacts to a Workflow in Bulk
Bulk enrollment starts from the Contacts area. Filter the audience first, select the contacts, then use Trigger automation to configure when and where those contacts should be enrolled.
Go to Contacts → Smart Lists. Open an existing Smart List or use the contact list to build the group you want to enroll.
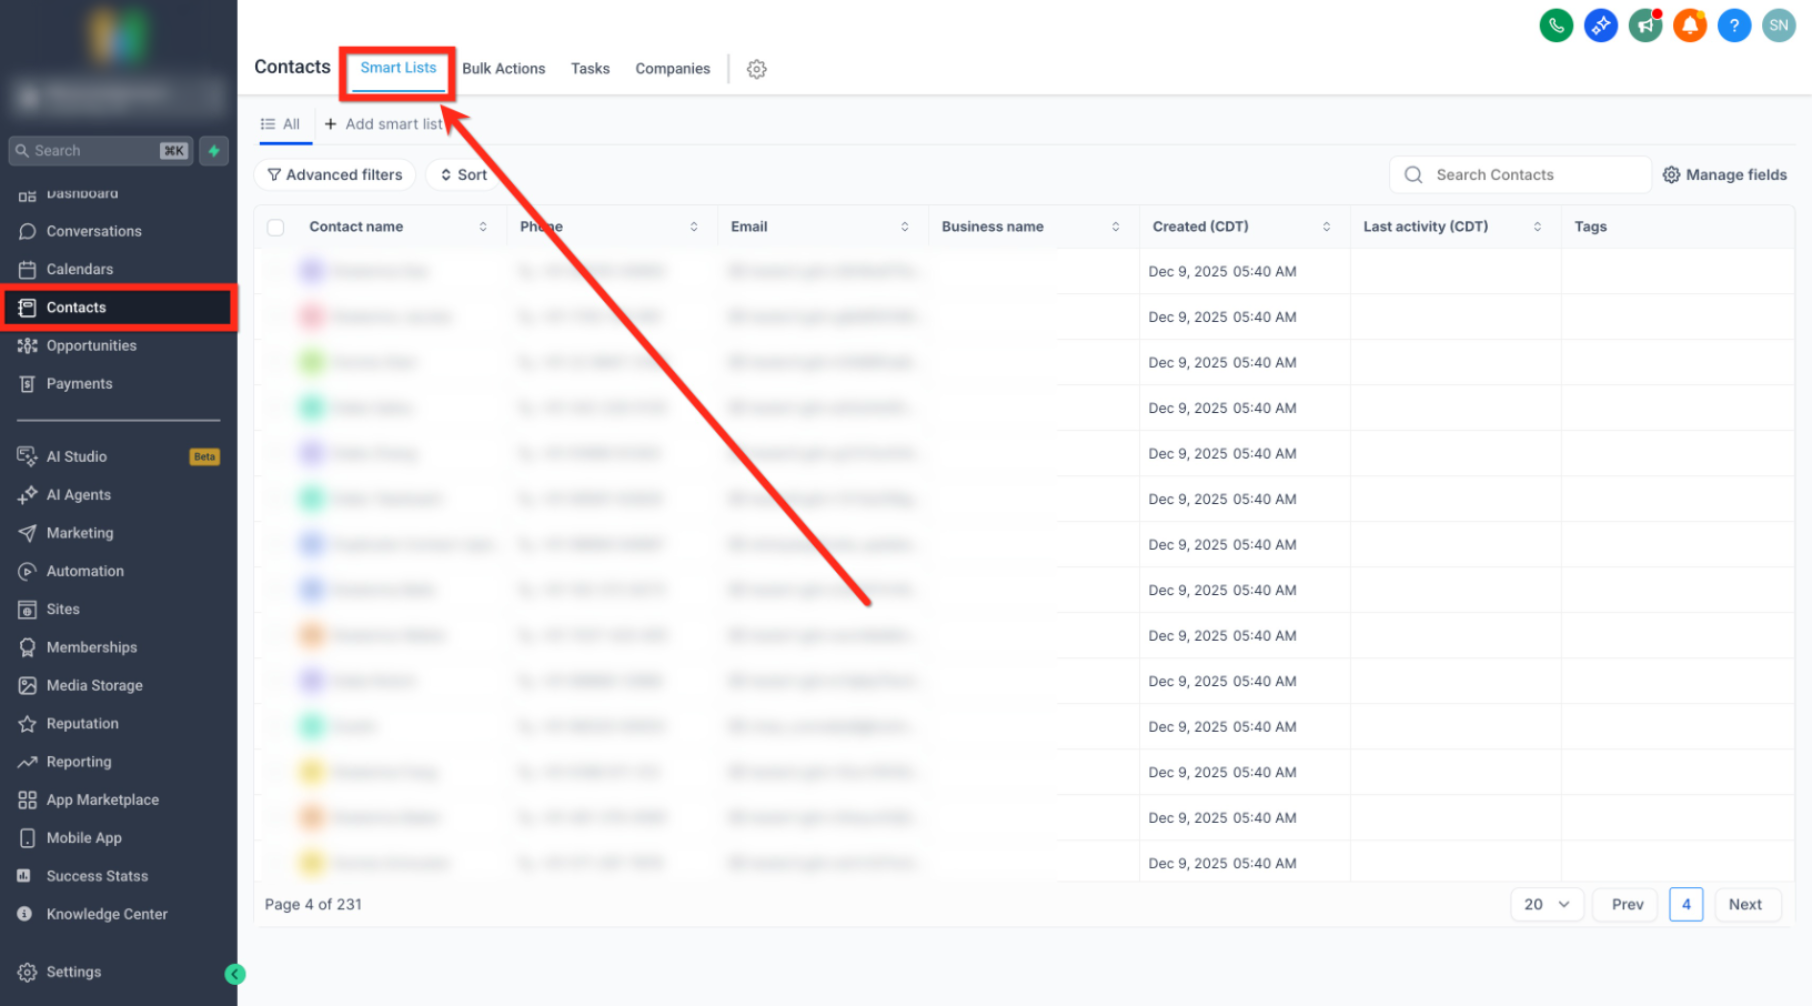
Click Advanced Filters, search for the field you want to filter, select the appropriate operator, enter or choose the value, and click Apply.
For example, to build an audience from a specific tag, select Tags, choose the appropriate operator, and select the tag value. Additional filters and nested filters can be used to narrow the audience further.
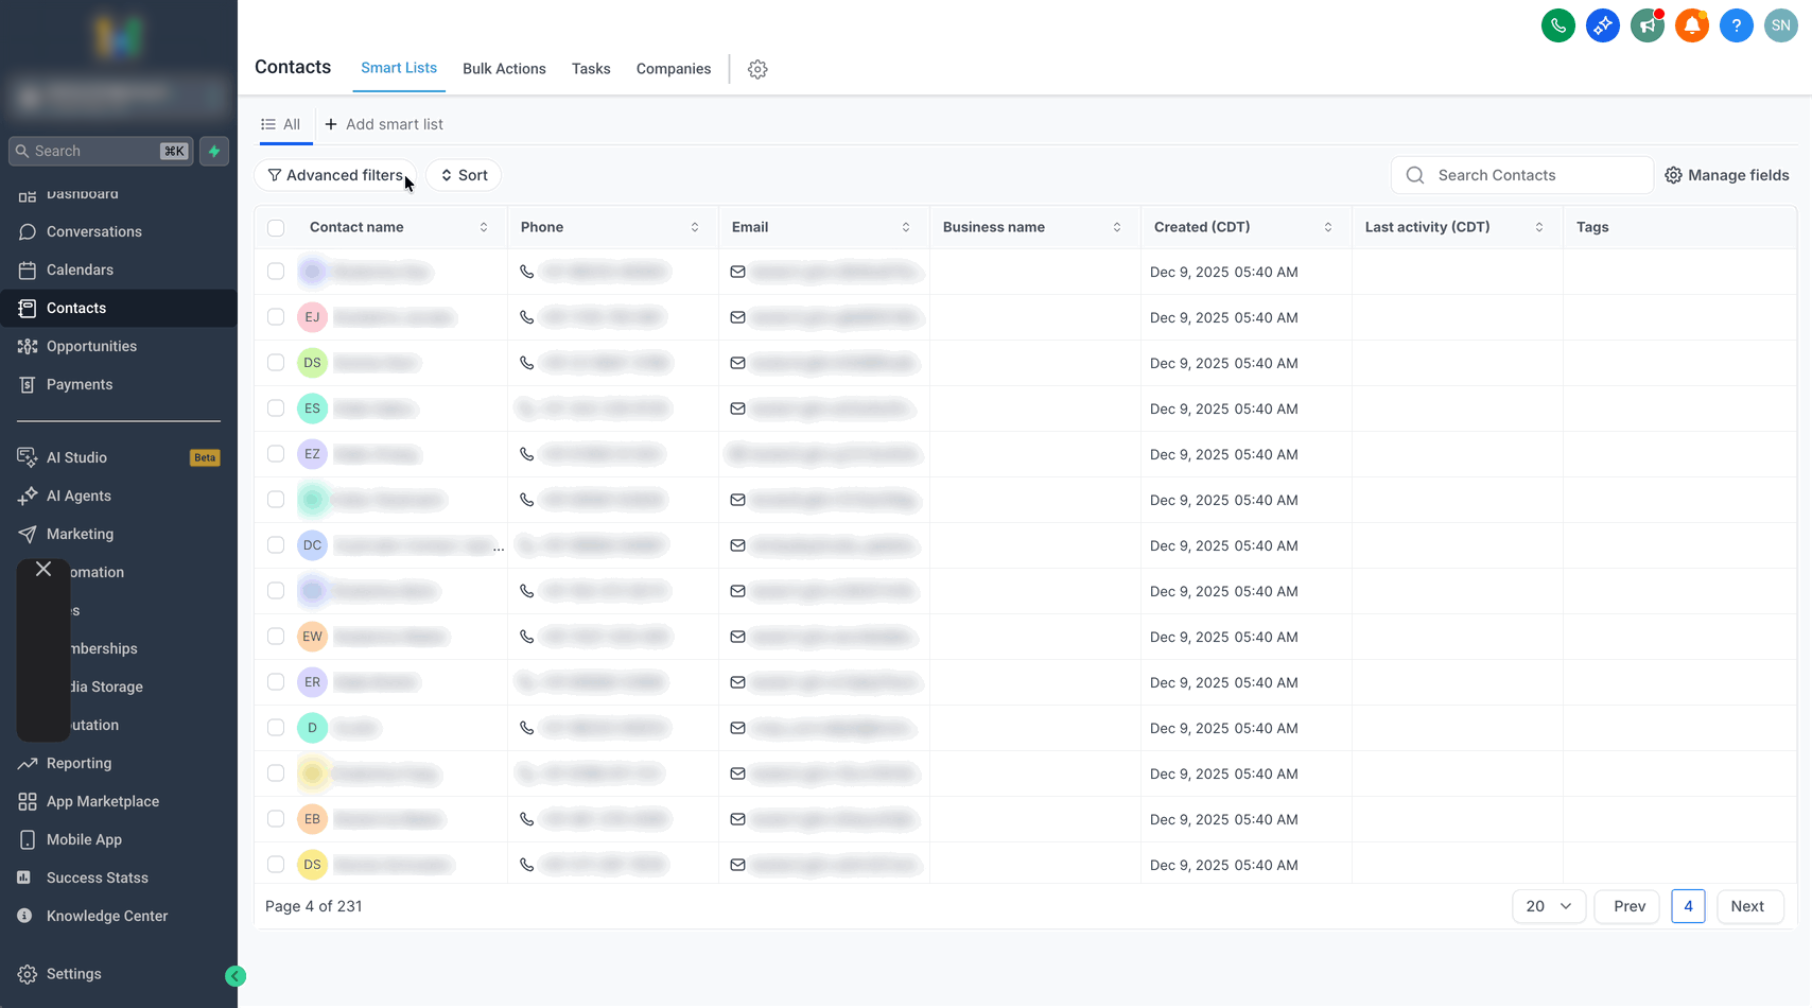
Use the contact checkboxes to select individual contacts, or use Select all when you want to include the full filtered audience. The bulk-action toolbar appears after contacts are selected.
From the bulk-action toolbar, click Trigger automation. The Add to Automation dialog opens with the selected contacts and automation settings.
Complete the available settings:
| Field | What to Enter |
|---|---|
| Action Name | Enter a recognizable name for the bulk action so it is easy to identify later on the Bulk Actions page. |
| Automation Type | Select Workflow. |
| Workflow | Choose the published workflow that should receive the selected contacts. |
| Mode | Choose whether contacts should be enrolled immediately, at a scheduled time, or in batches with Drip Mode. |
Review the configuration, then click Add to Automation. A confirmation message appears indicating that the contacts are being processed or that the action has been scheduled.
Select Check Progress from the confirmation when you want to review the job immediately, or return later through Contacts → Bulk Actions.
Scheduling Modes
The Mode setting determines when contacts are actually added to the workflow. Choose the option that matches the size of the audience, the timing of the campaign, and how quickly you want the workflow to begin processing contacts.
Send All at Once
All selected contacts are submitted for workflow enrollment immediately. This is the default option and does not require additional scheduling fields.
Send at Scheduled Time
All selected contacts are enrolled at one future date and time. This is useful when the workflow should begin around a campaign launch or another specific operating window.
| Field | Description |
|---|---|
| Pick a Start Date & Time | The date and time when the selected contacts should be enrolled. The interface displays the relevant account timezone. |
Send in Drip Mode
Drip Mode enrolls contacts in batches instead of submitting the entire audience at once. This is useful for larger contact groups or workflows with communication actions where you want processing to be spread over time.
| Field | Description |
|---|---|
| Pick a Start Date & Time | Sets when the first batch begins processing. |
| Number of Messages per Batch | Controls the number of contacts processed in each batch. |
| Repeat After | Sets the interval between batches using the available minute, hour, or day options. |
Drip scheduling: The bulk-action scheduler may also provide additional controls for processing days and allowed processing windows. Use the options shown in your current Drip Mode configuration to control when batches are allowed to run.
Tracking Progress
The Bulk Actions page provides a central place to confirm that a bulk workflow-enrollment job was submitted and to review its processing status. This is also the best place to investigate a bulk action when the number of processed contacts does not match what you expected.
Go to Contacts → Bulk Actions. Depending on the action and its state, you can review information such as:
- Action Label: The name entered when the bulk action was created.
- Operation: The type of bulk action that was submitted.
- Status: The current processing state of the job.
- User: The user who initiated the bulk action.
- Created / Completed: Available timing information for the job.
- Statistics: Available processing details, counts, or error information for the bulk action.
Use the available date, status, action-type, and user filters to narrow the Bulk Actions table when several jobs are present.
Frequently Asked Questions
Need Help?
- Trigger automation is not visible: Confirm at least one contact is selected so the bulk-action toolbar appears.
- The expected contacts are missing: Review the active Advanced Filters and Smart List conditions to confirm those contacts currently match the segment.
- The workflow is not listed: Confirm the workflow has been published.
- The wrong contacts were selected: Do not submit the action until you have reviewed the filtered audience and selected-contact count.
- A scheduled action has not started: Review its scheduled start time and the relevant account timezone, then check the Bulk Actions page for its current status.
- Drip batches are running later than expected: Review the start time, batch interval, and any processing-window or allowed-day settings currently configured in Drip Mode.
- Some contacts were not processed: Open the action's statistics or available error details from the Bulk Actions page and review the affected records.
- Issue continues: Collect the bulk action label, workflow name, contact count, selected mode, scheduled time or drip configuration, current job status, and screenshots of the Bulk Actions details before contacting support.