
Flow Agent Triggers let existing flow-based AI agents start automatically when a supported contact action or system event occurs. Configure a Start trigger to respond to form submissions, tag changes, inbound chat messages, or workflow-based invocations without manually starting the agent. This guide explains how to configure, test, and publish Start triggers for existing Flow Agents. New agents should be created using Managed Agents.
TABLE OF CONTENTS
- What Are Flow Agent Triggers?
- Available Trigger Types
- Set Up a Flow Agent Trigger
- Configure the Trigger
- Test and Publish the Flow Agent
- Frequently Asked Questions
- Need Help?
What Are Flow Agent Triggers?
Flow Agent Triggers are event listeners connected to an agent's Start trigger node. When a configured event occurs, the Flow Agent starts automatically and continues through its connected nodes.
Existing Flow Agents and their configured triggers continue to operate normally. You can still open, edit, test, and manage existing Flow Agents from the Flow Agents page. Use Managed Agents when creating a new agent.
Available Trigger Types
When configuring a Start trigger, select the event that should start the existing Flow Agent.
Form Submitted
Starts the Flow Agent when one of the selected forms is submitted. Submitted form fields can be made available as variables for later steps in the flow.
Lead Tag
Starts the Flow Agent when a selected tag is added to or removed from a contact. Contact context, including existing tags and custom fields, can be used by the flow.
Chat Message
Starts the Flow Agent when a new inbound message arrives through a supported connected chat channel. The flow can use message text, sender information, and conversation context.
Workflows
Use workflow-based invocation when an existing Flow Agent should be started as part of a configured workflow.
Set Up a Flow Agent Trigger
Step 1: Open Agent Studio
From the Sub-Account view, go to AI Agents → Agent Studio.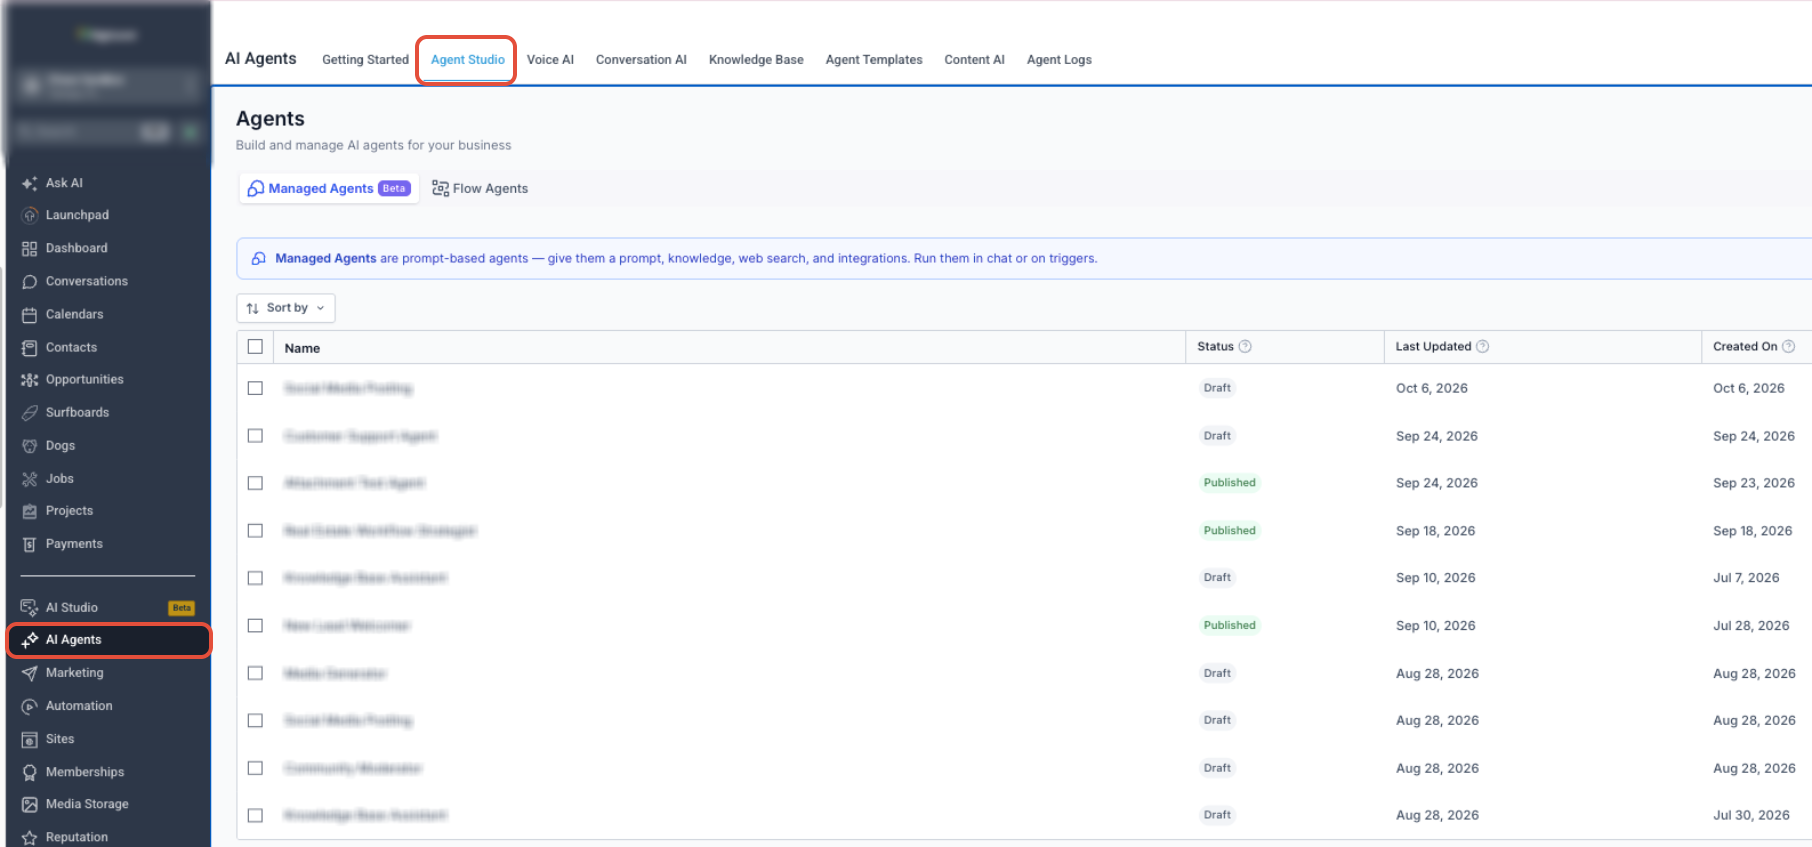
Step 2: Open Flow Agents
Select Flow Agents to view the existing flow-based agents in the Sub-Account.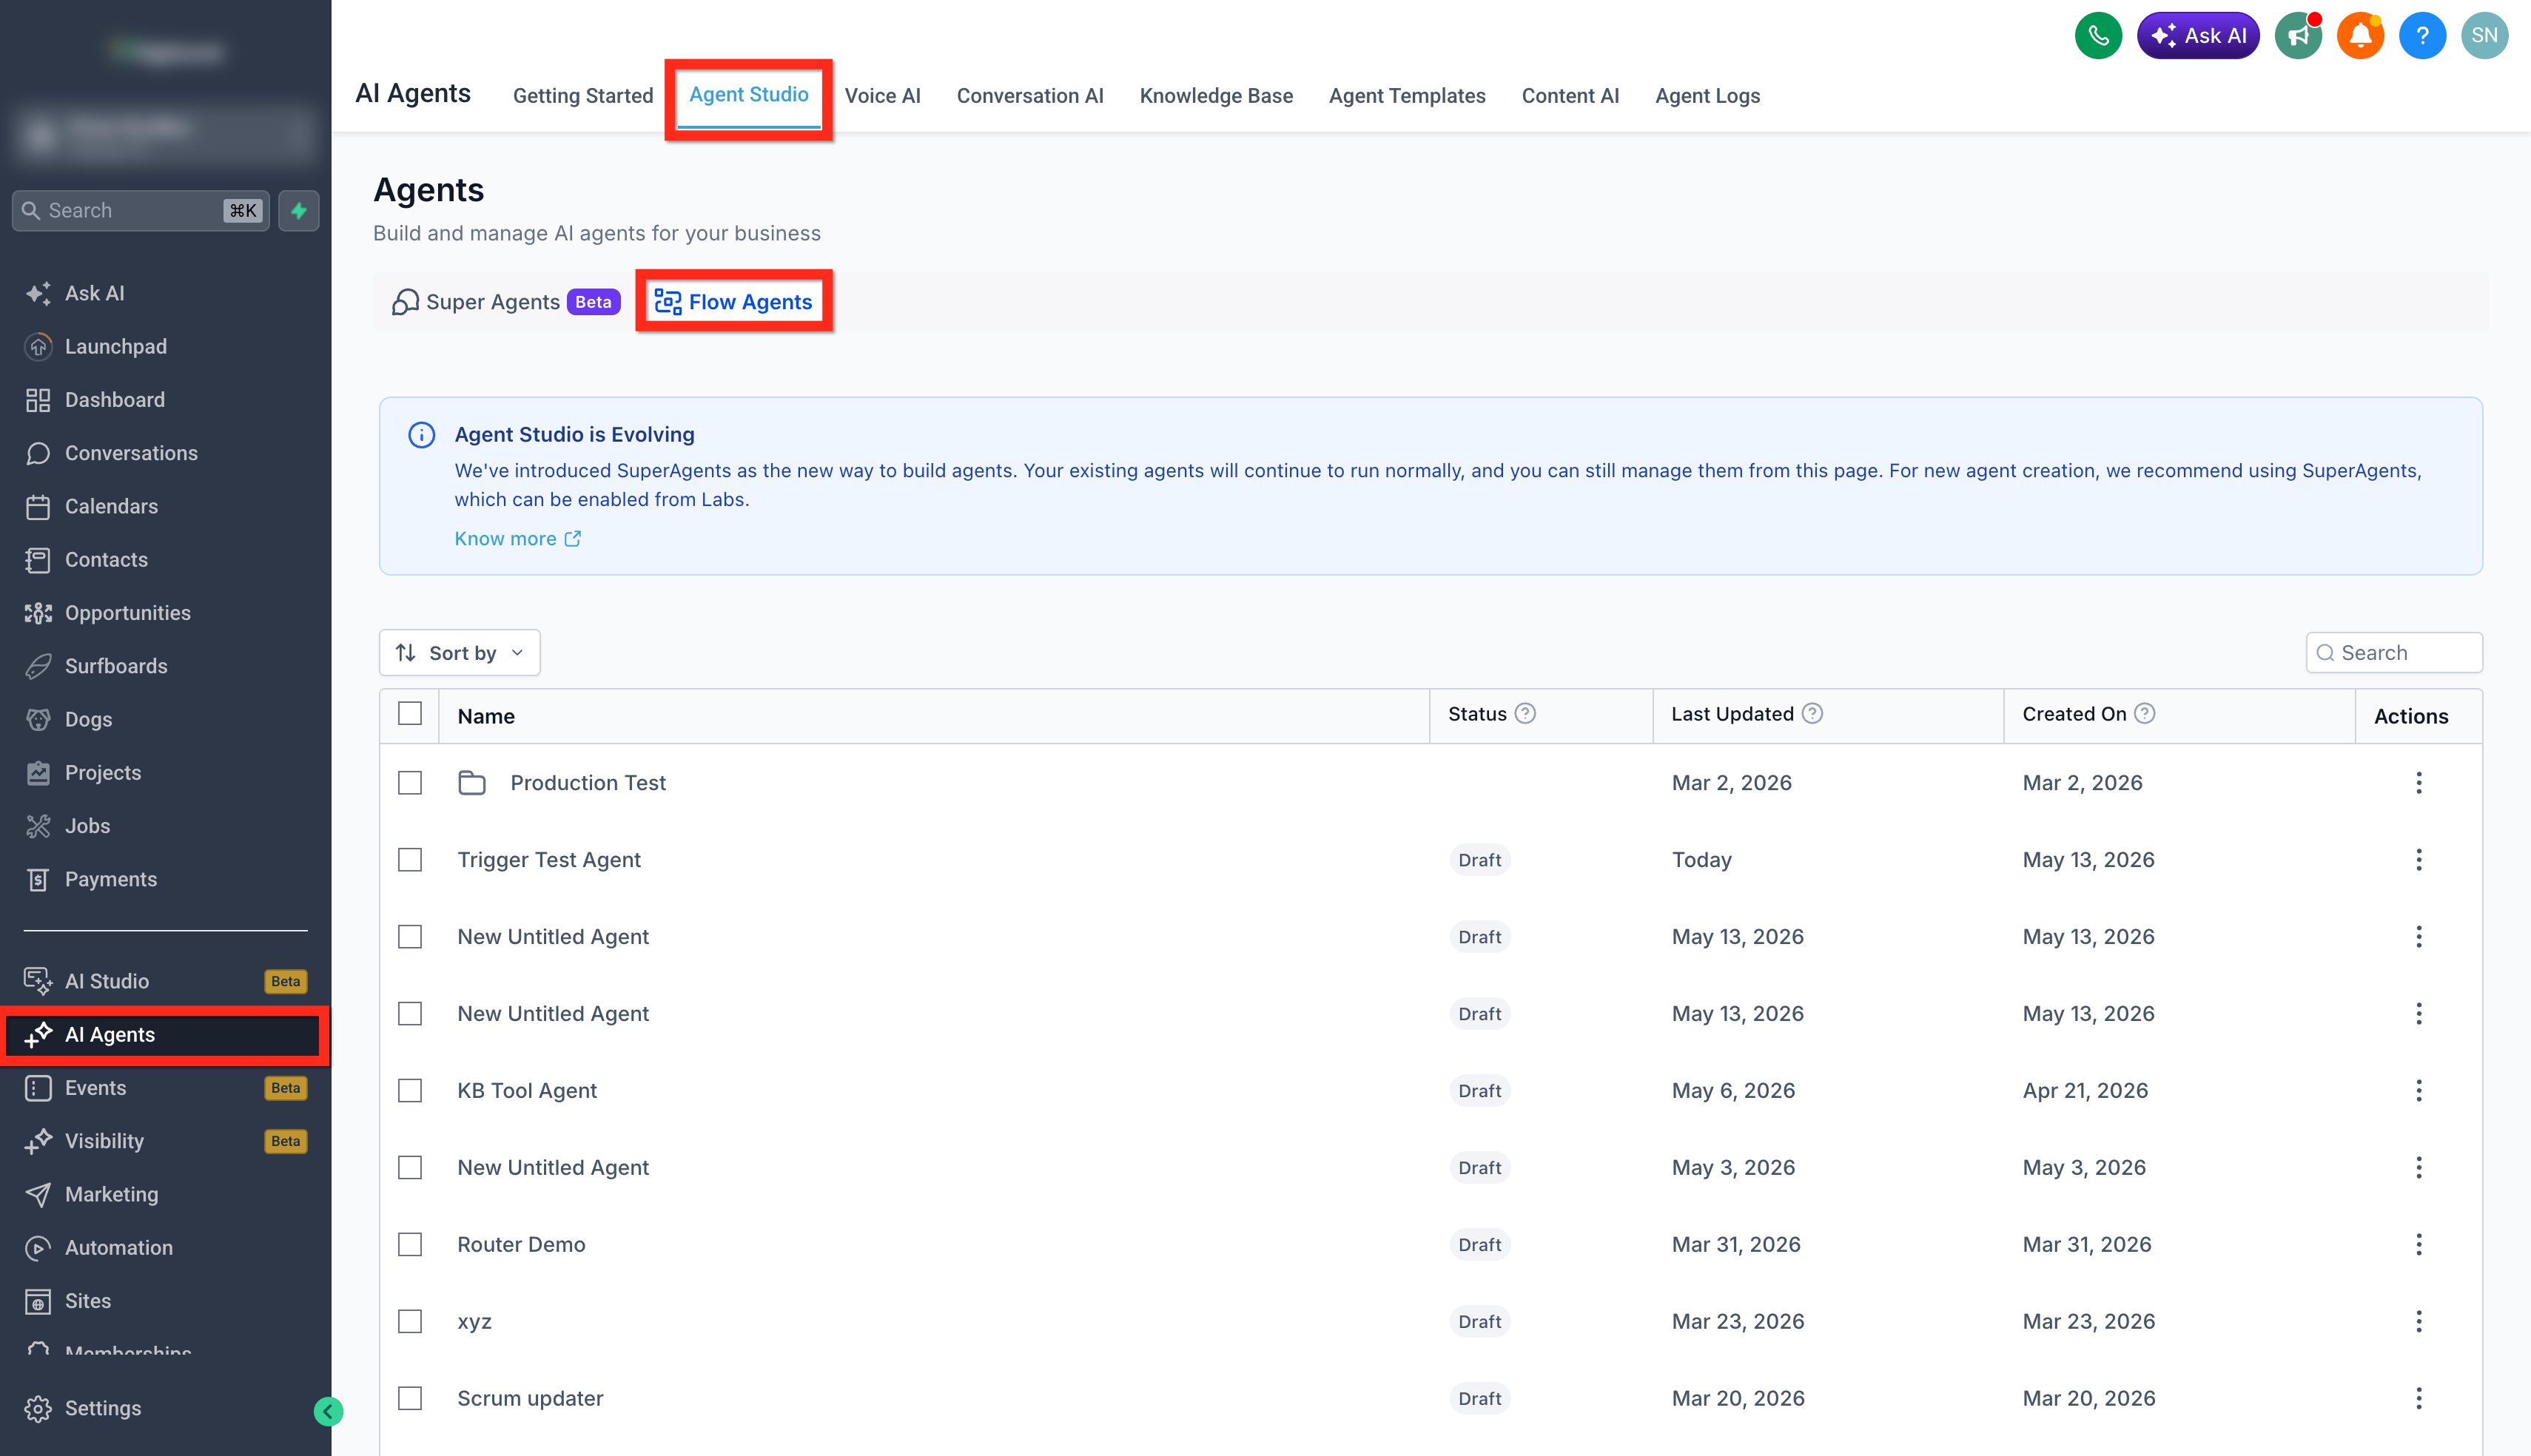
Step 3: Open an Existing Flow Agent
Click the name of the existing Flow Agent you want to configure.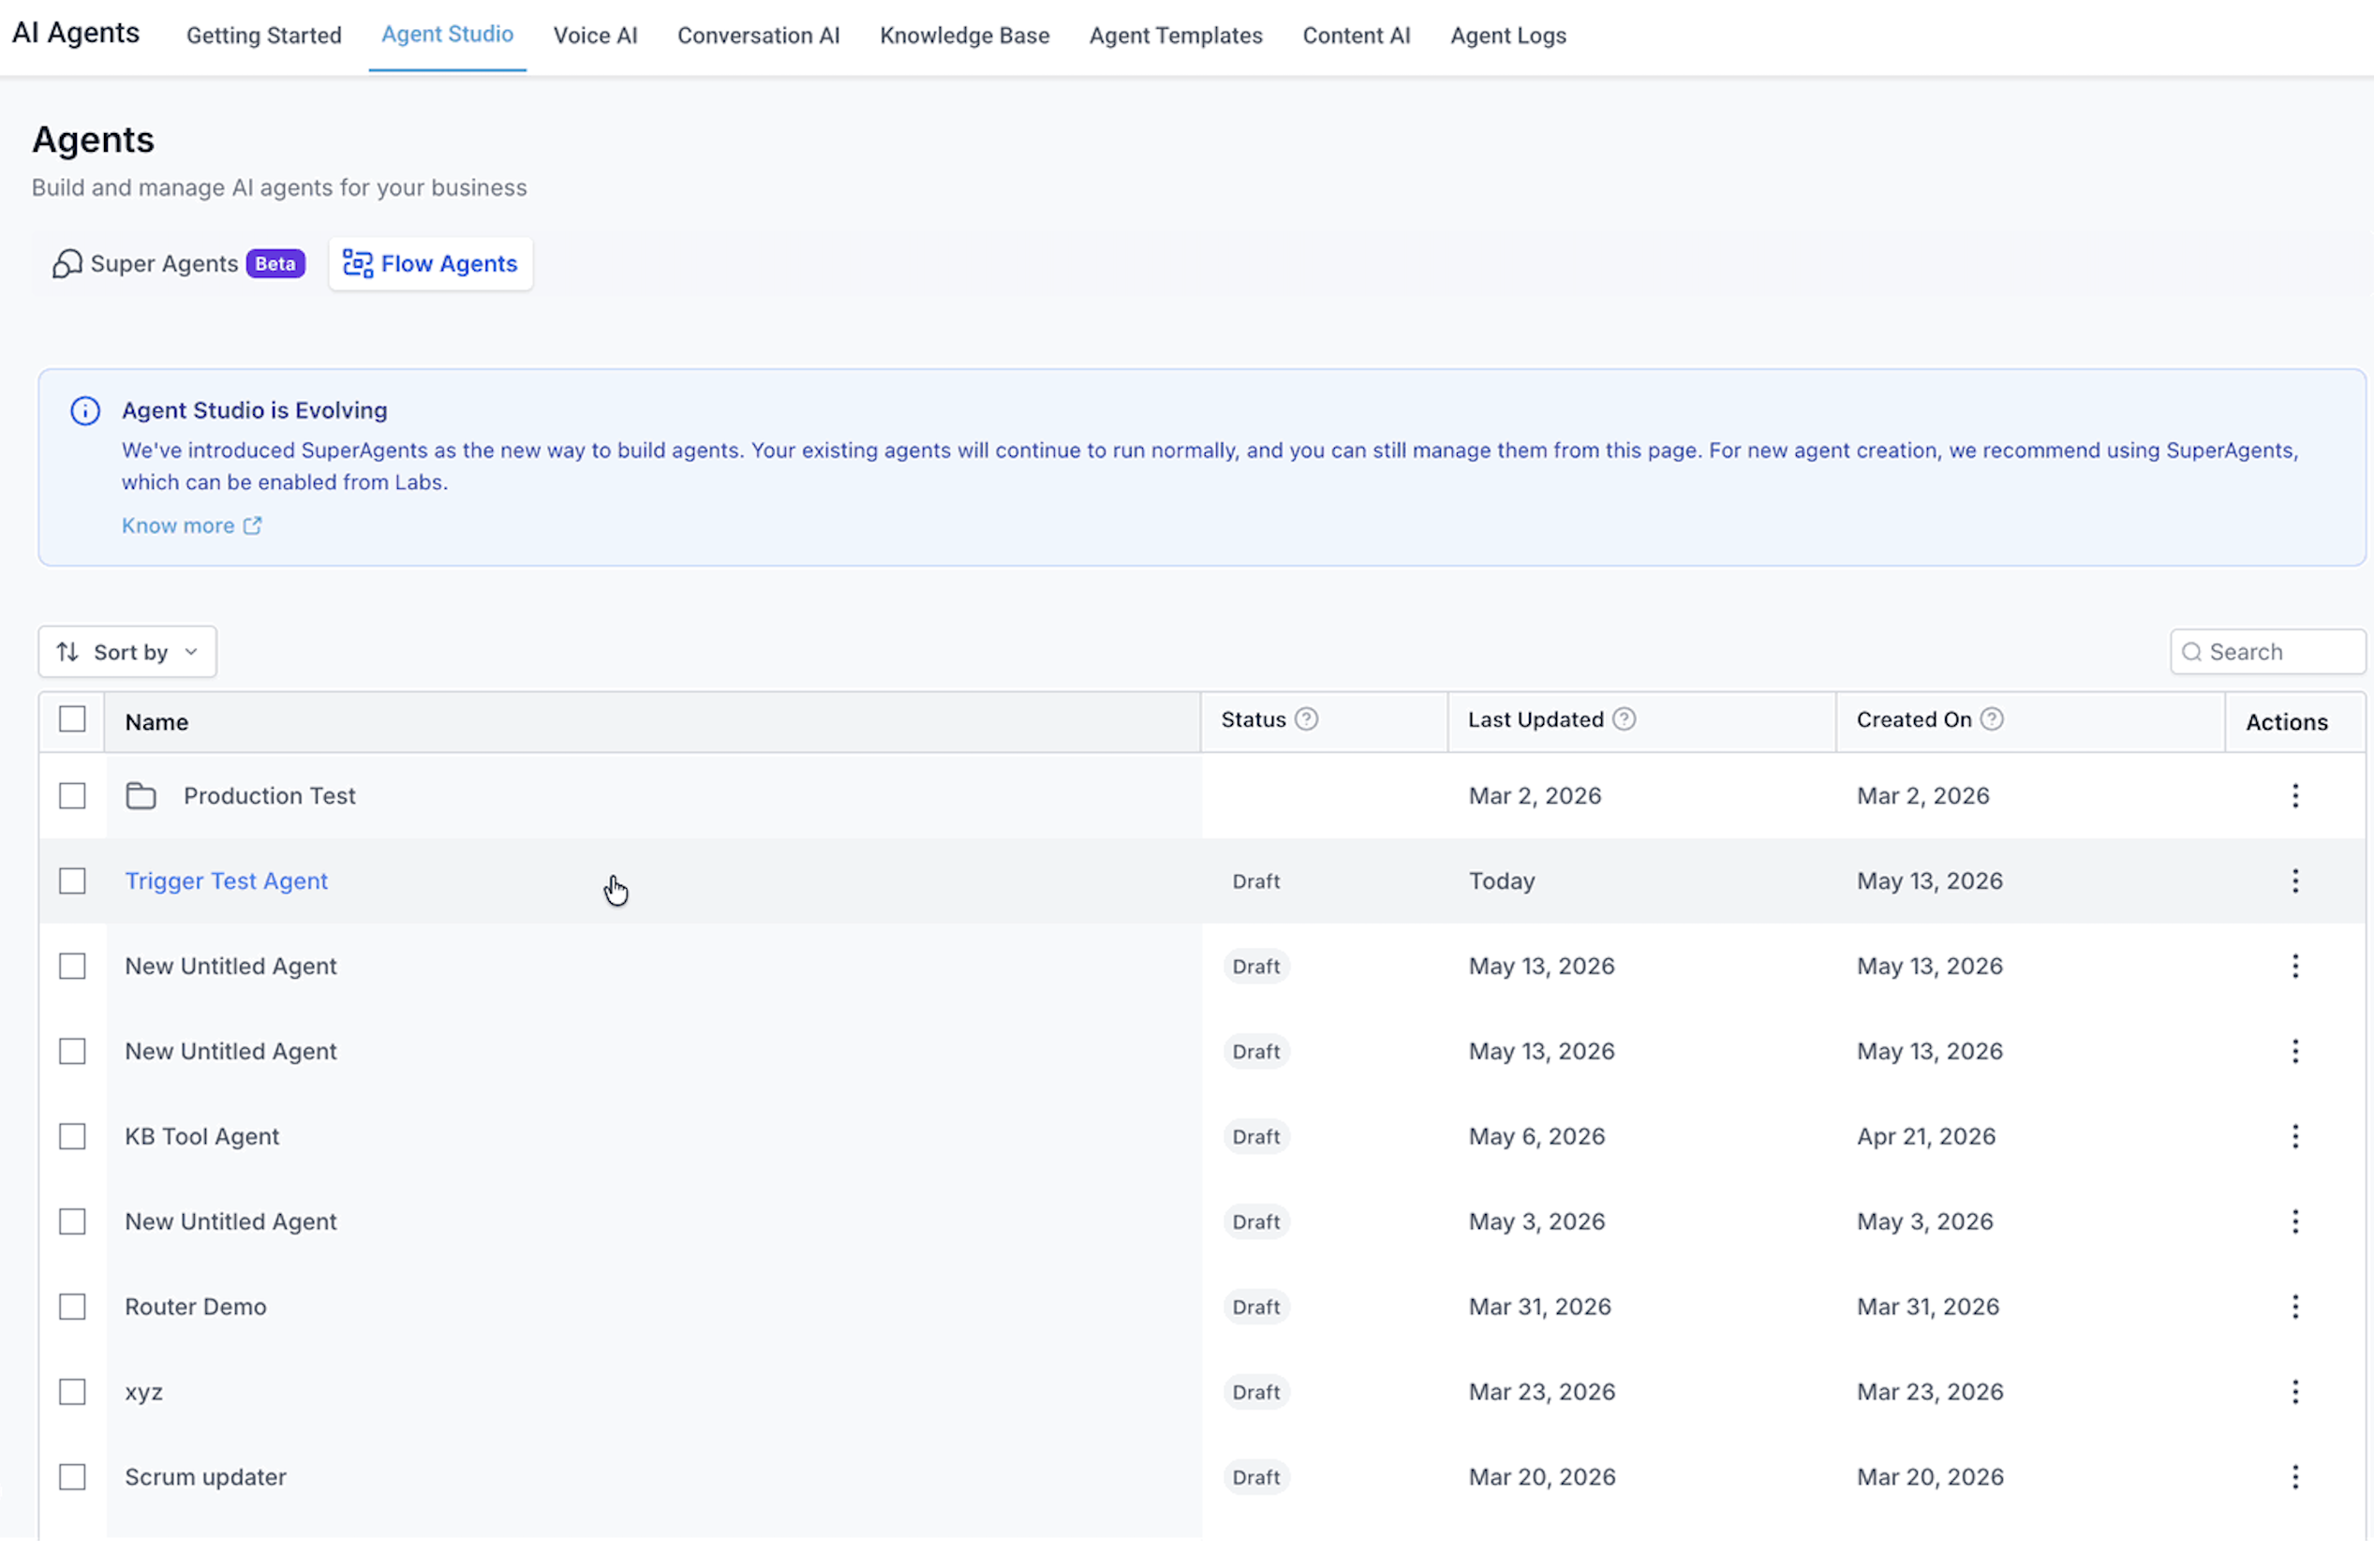
Step 4: Add or Locate the Start Trigger
In the builder canvas, locate the starting area of the existing flow. If a Start trigger needs to be added, use Add New Node, then select Start trigger under Flow Control.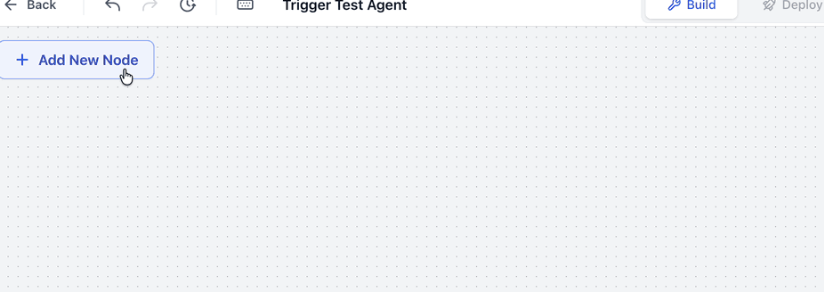
Step 5: Select the Trigger
In the Select trigger panel, choose Form submitted, Lead tag, Chat message, or Workflows. The available configuration options depend on the trigger you select.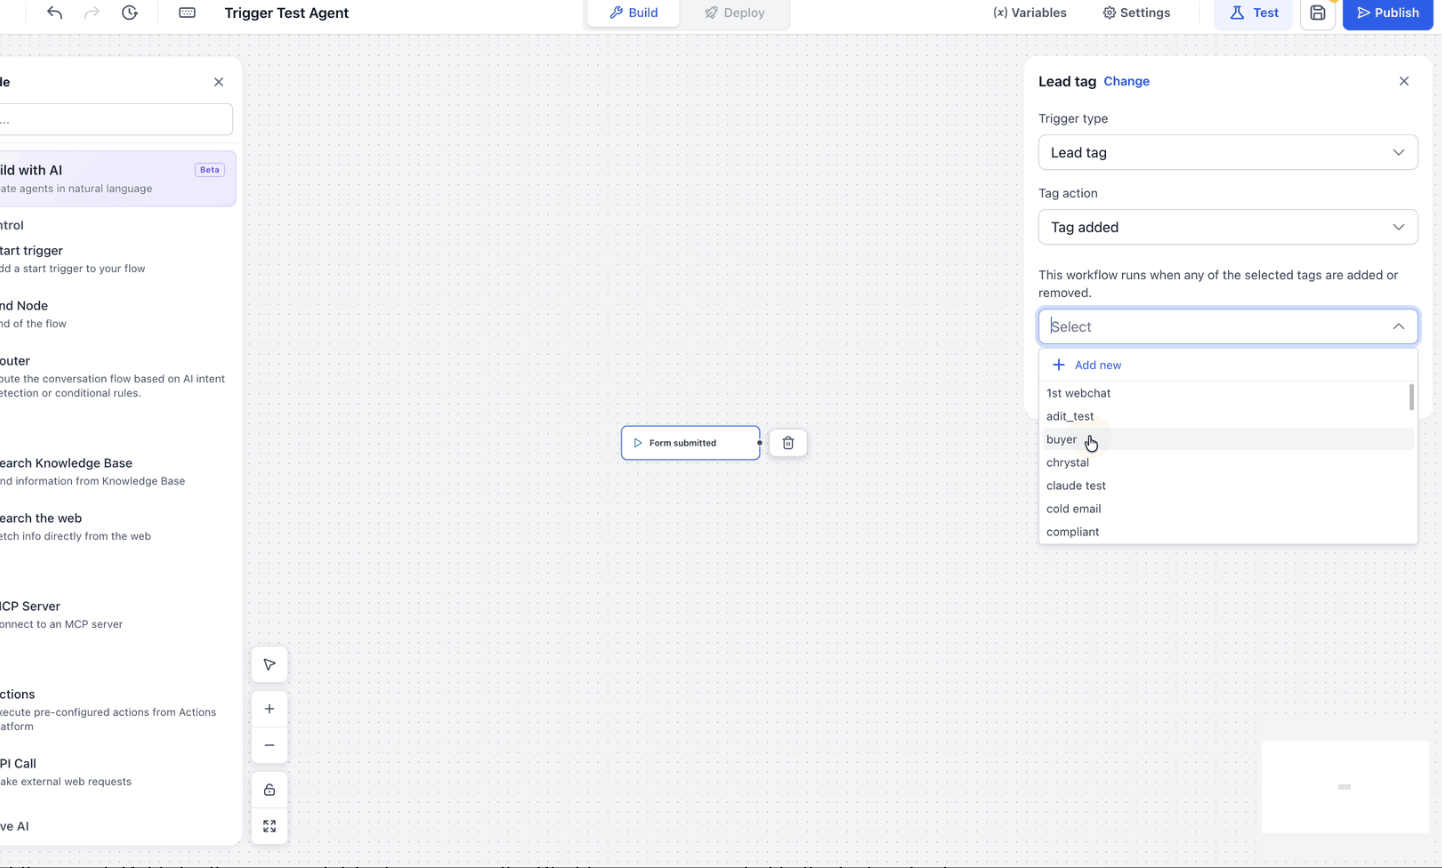
Configure the Trigger
Form Submitted
- Select Form submitted.
- Choose one or more forms from the dropdown.
- If the required form does not exist yet, create it before completing the trigger configuration.
The Flow Agent starts whenever one of the selected forms is submitted.
Lead Tag
- Select Lead tag.
- Set Tag action to Tag added or Tag removed.
- Select the tag the Flow Agent should monitor.
When testing tag-based triggers, use a small test group first if the tag could otherwise be applied to many contacts at once.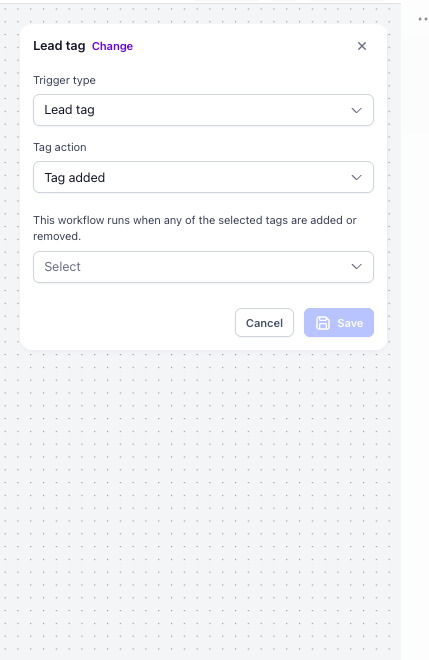
Chat Message
Select Chat message when the Flow Agent should start after a new inbound message arrives through a supported connected chat channel. No additional trigger configuration is required.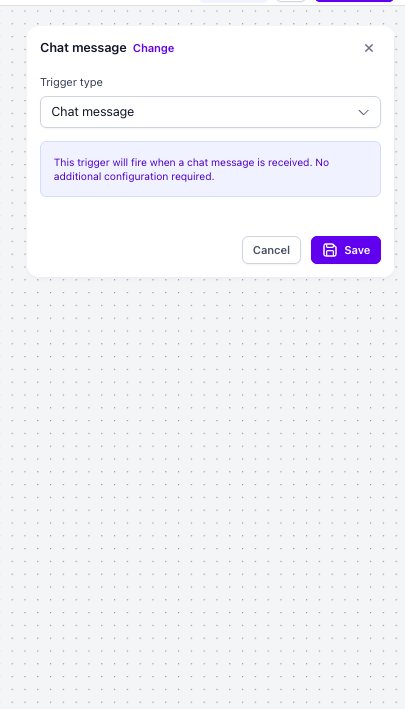
Workflows
Select Workflows when the existing Flow Agent should be invoked from a workflow. Configure the workflow that will call the Flow Agent before testing the full automation.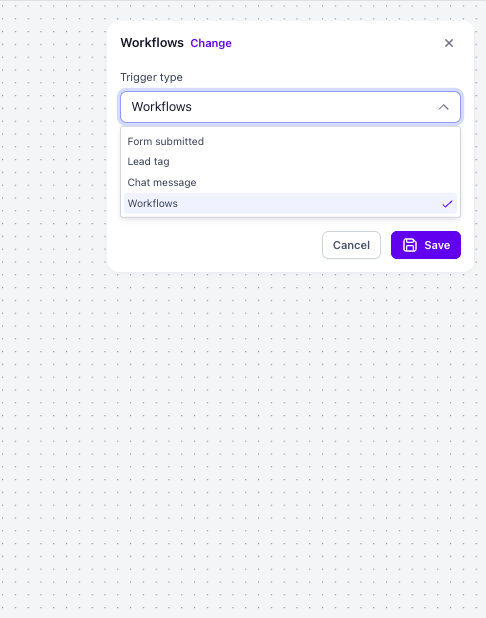
Test and Publish the Flow Agent
Test the Trigger
Use the available Test option to simulate the selected trigger and review the information the Flow Agent receives. Confirm that variables, inputs, and connected nodes behave as expected before going live.
Save the Changes
Save the current configuration as the working Staging version. Saving your changes does not replace the live Production version.
Publish to Production
After testing successfully, publish or promote the updated configuration to Production. Confirm that the Start trigger is connected to the intended first node before allowing real events to start the Flow Agent.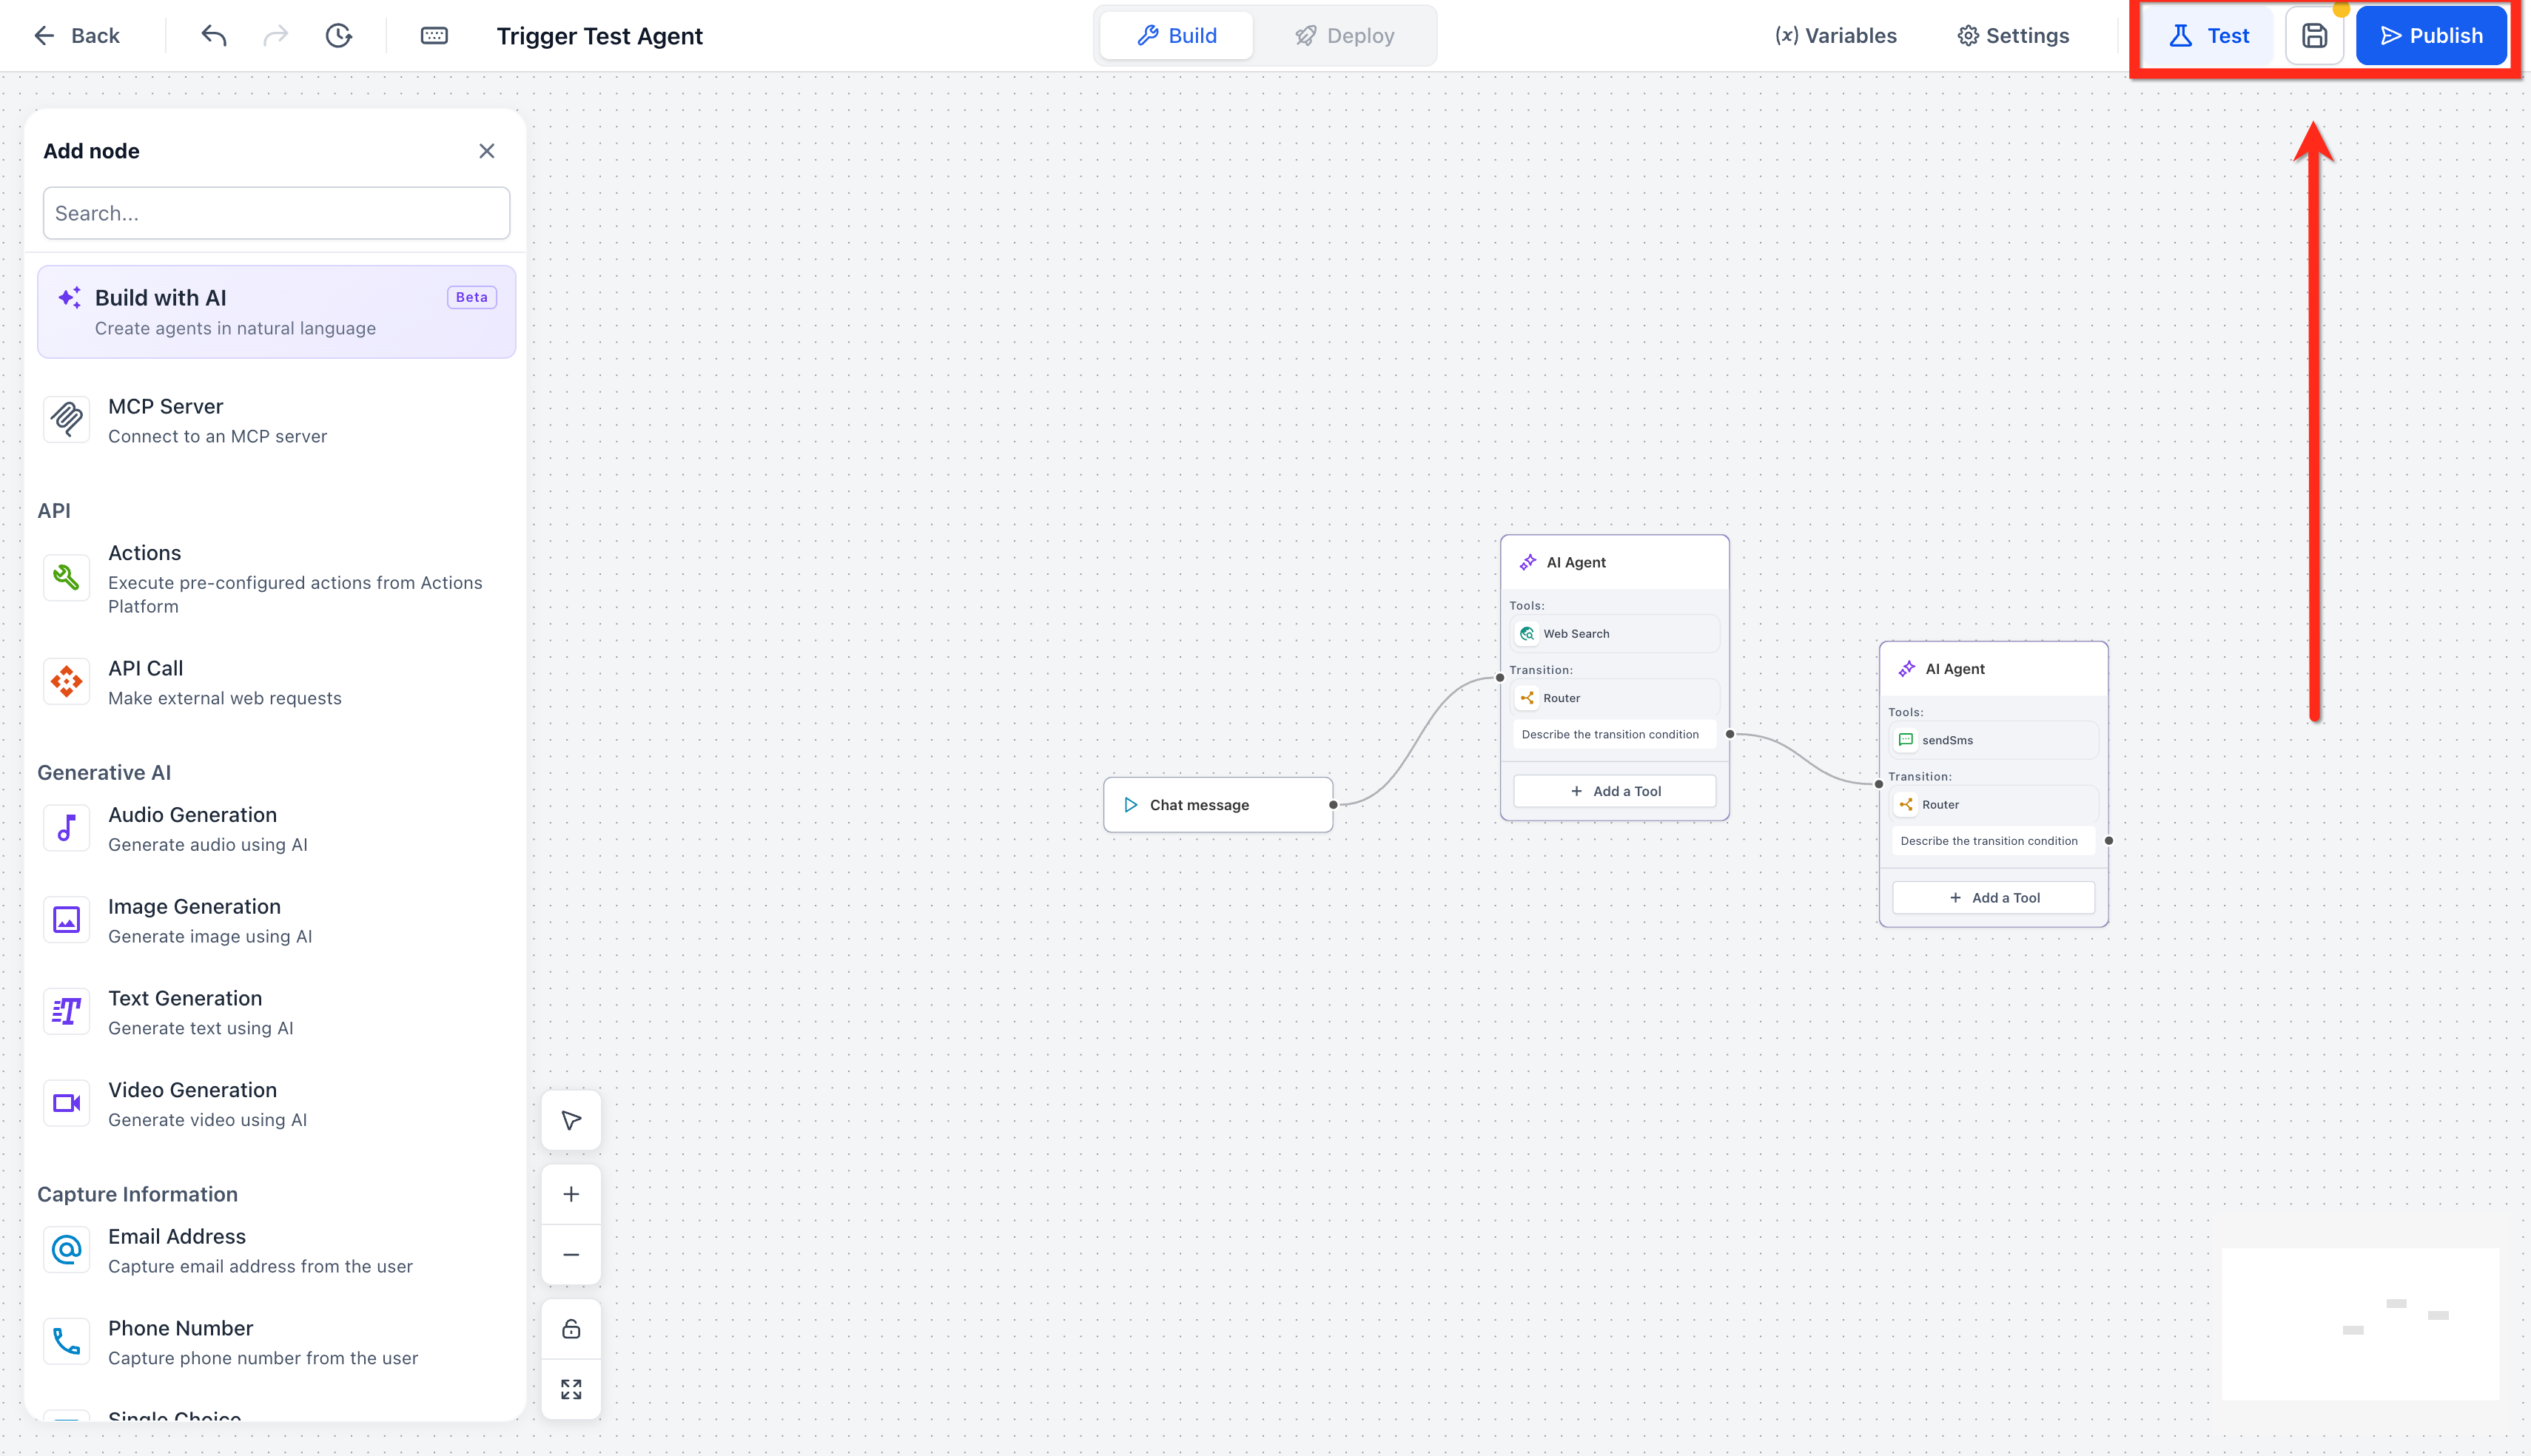
Frequently Asked Questions
Q: Can I create a new Flow Agent for real-time Start triggers?
No. New agents should be created using Managed Agents. Existing Flow Agents can still be opened, edited, tested, and managed from the Flow Agents page.
Q: Will my existing Flow Agent triggers continue to work?
Yes. Existing Flow Agents and their configured triggers continue to operate normally.
Q: Do Start triggers change how existing API-invoked agents work?
No. Start triggers are additive. Existing API-based flows can continue working, while configured Start triggers provide another way to launch an existing Flow Agent.
Q: Can I test a trigger before going live?
Yes. Use the available Test option to simulate the event and validate the variables, inputs, and agent behavior before publishing.
Q: Which chat sources can start a Flow Agent?
The Chat message trigger works with supported connected chat channels available in the Sub-Account.
Q: What information is available when a trigger fires?
Form submissions can provide submitted form fields, Lead tag events provide contact context, and Chat message events provide message and conversation information.
Q: What if I do not see a form or tag in the dropdown?
Confirm that you are working in the correct Sub-Account and that the form or tag exists there. After creating a new form or tag, refresh the builder and check the dropdown again.
Need Help?
If a Flow Agent is not starting when expected, verify that:
- You are editing the correct Flow Agent in the correct Sub-Account.
- The Start trigger is connected to the intended flow.
- The correct trigger type is selected.
- The selected form or tag exists in the same Sub-Account.
- The correct tag action is selected for a Lead tag trigger.
- The expected chat channel is connected when using a Chat message trigger.
- The trigger behaves correctly during testing.
- The latest configuration was saved.
- The intended version was published to Production.
If the issue continues, collect the Flow Agent name, trigger type, selected form or tag when applicable, expected behavior, actual behavior, test results, and relevant screenshots before contacting support.