We're thrilled to introduce Certificates, a fantastic feature designed to acknowledge and celebrate user accomplishments in your community. With Certificates, you can create personalised certificates and issue them to your users. In this initial release, we've focused on making it easy to award certificates for course completion.
Here's how to get started:
In This Article
Key Features:
The Certificate Builder is rebuilt to load faster, edit smoothly, and support more professional layouts without third-party tools.
Responsive canvas: Smooth, real-time editing with instant previews.
Standard and custom sizes: Choose A4, US Letter, or set a custom canvas size.
Rich design elements: Add editable lines, shapes, graphics, and icons using drag-and-drop.
Modern templates: Start from professionally designed templates and customize for your brand.
Frames and signatures: Expanded frame options and signature fields with pre-designed font styles.
Background customization: Use a gradient background or upload an image, then zoom, pan, and crop to the exact area you want.
Tip: If you’ve used the Badge Builder, this experience is powered by the same design engine for consistent performance.
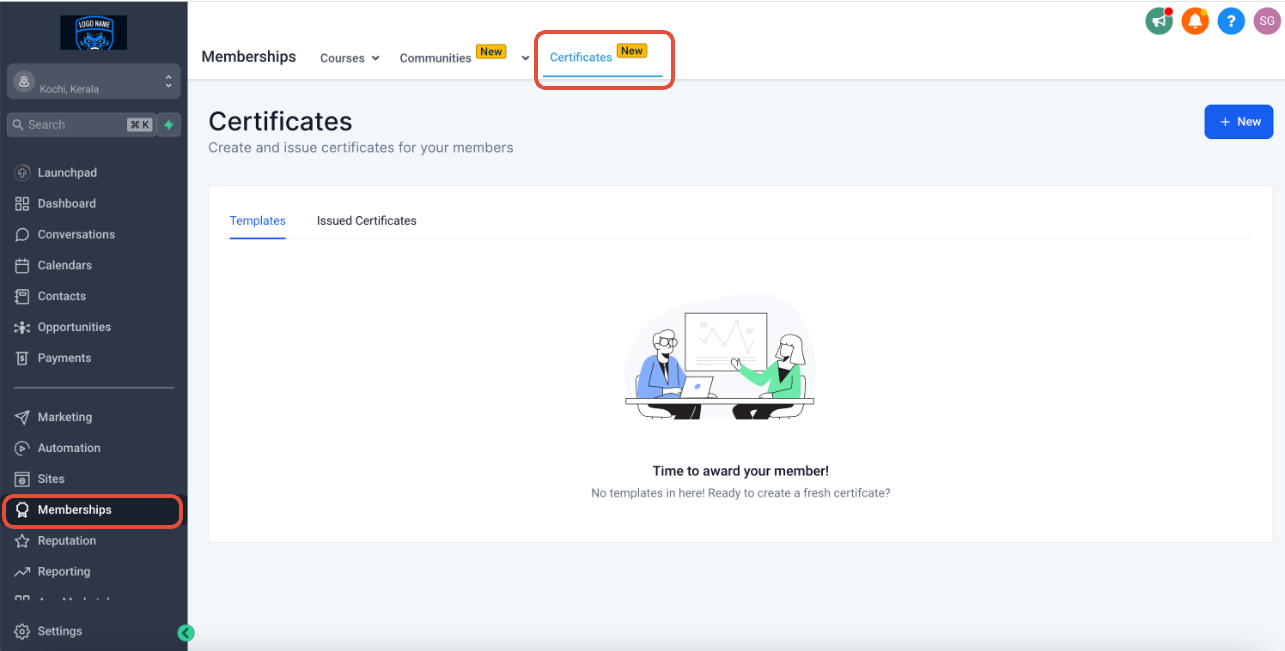
Where to find Certificates ?
To get started with certificates:
Go to Memberships from the left bar (in a location) > Certificates
Create a template
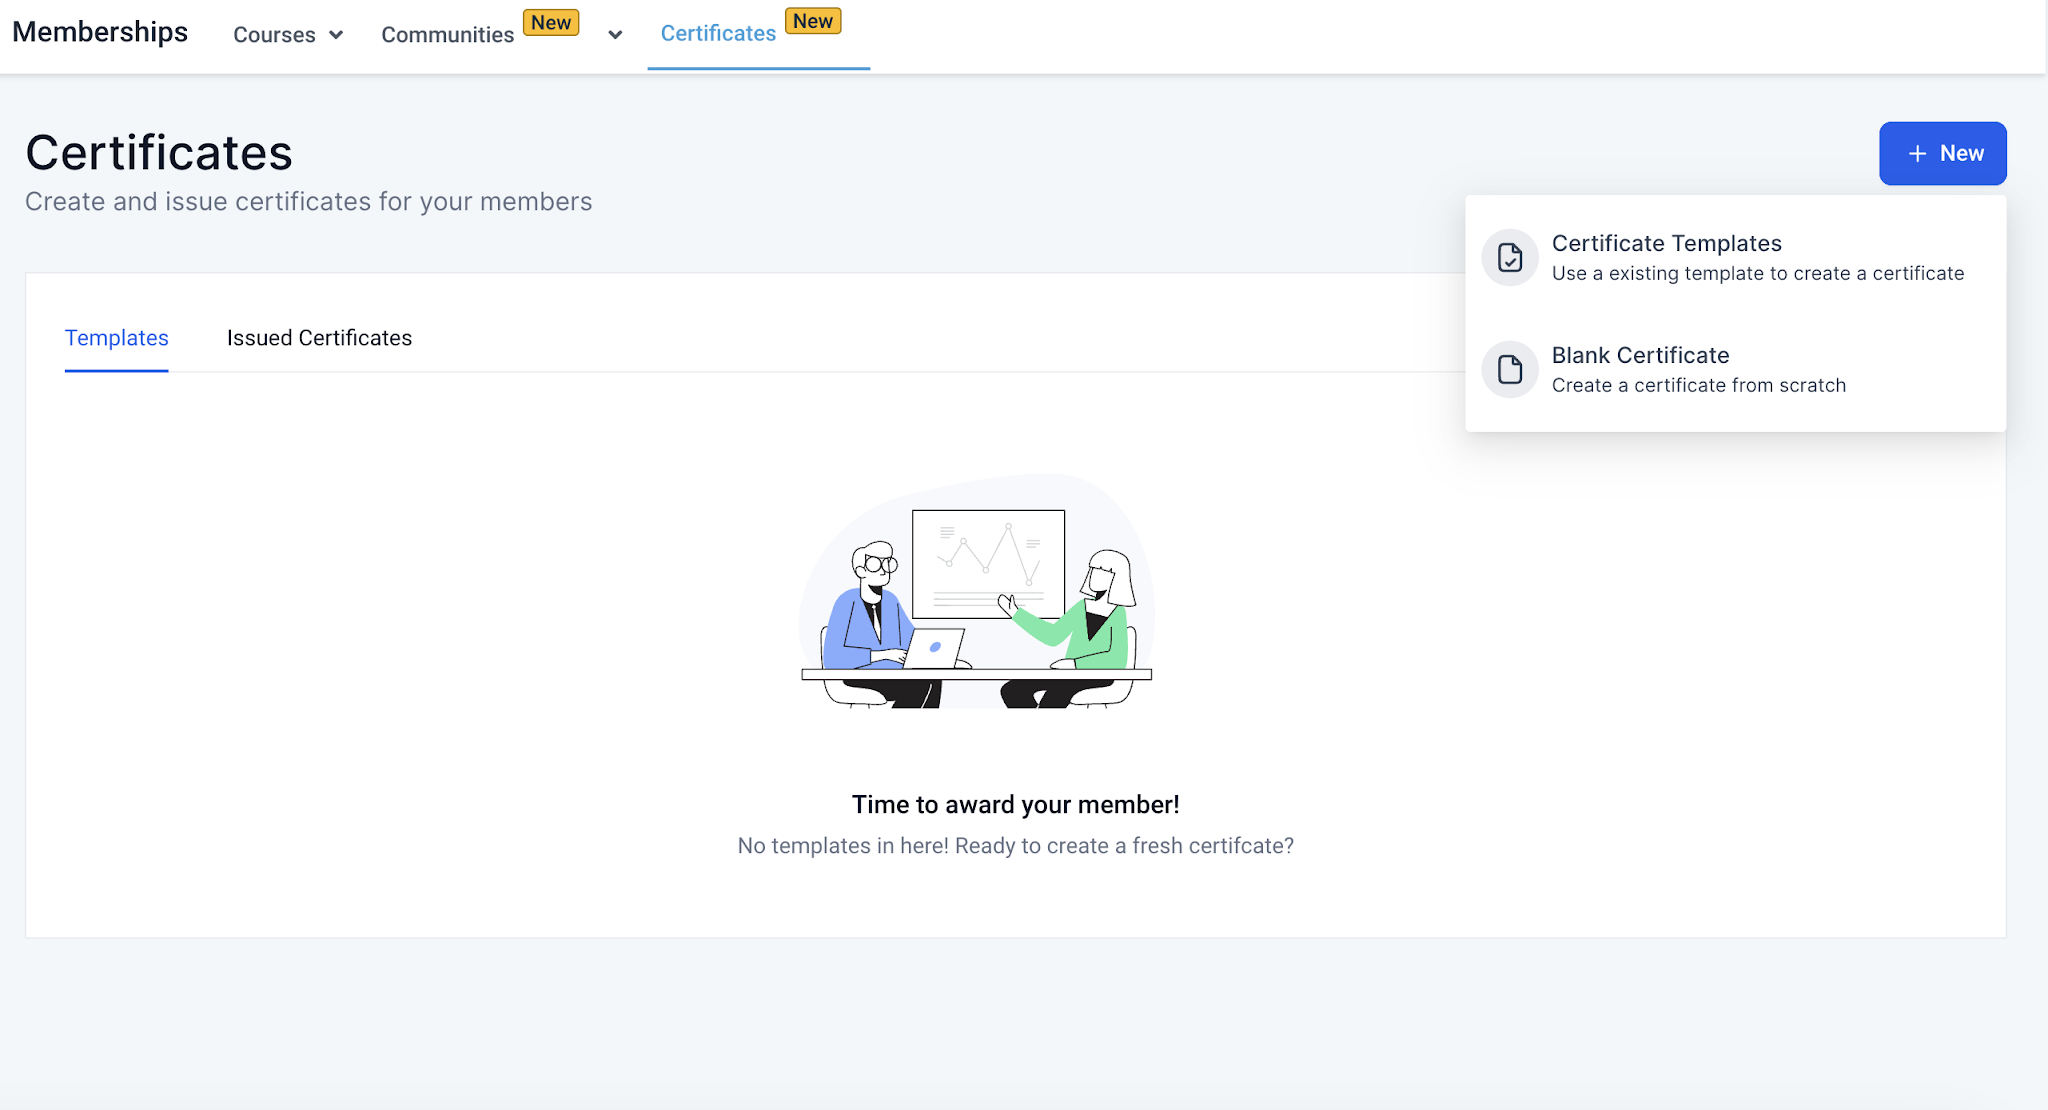
To start creating a certificate template:
Click on New
To create a template, choose Certificate Templates or Blank Certificates
Choose an existing template
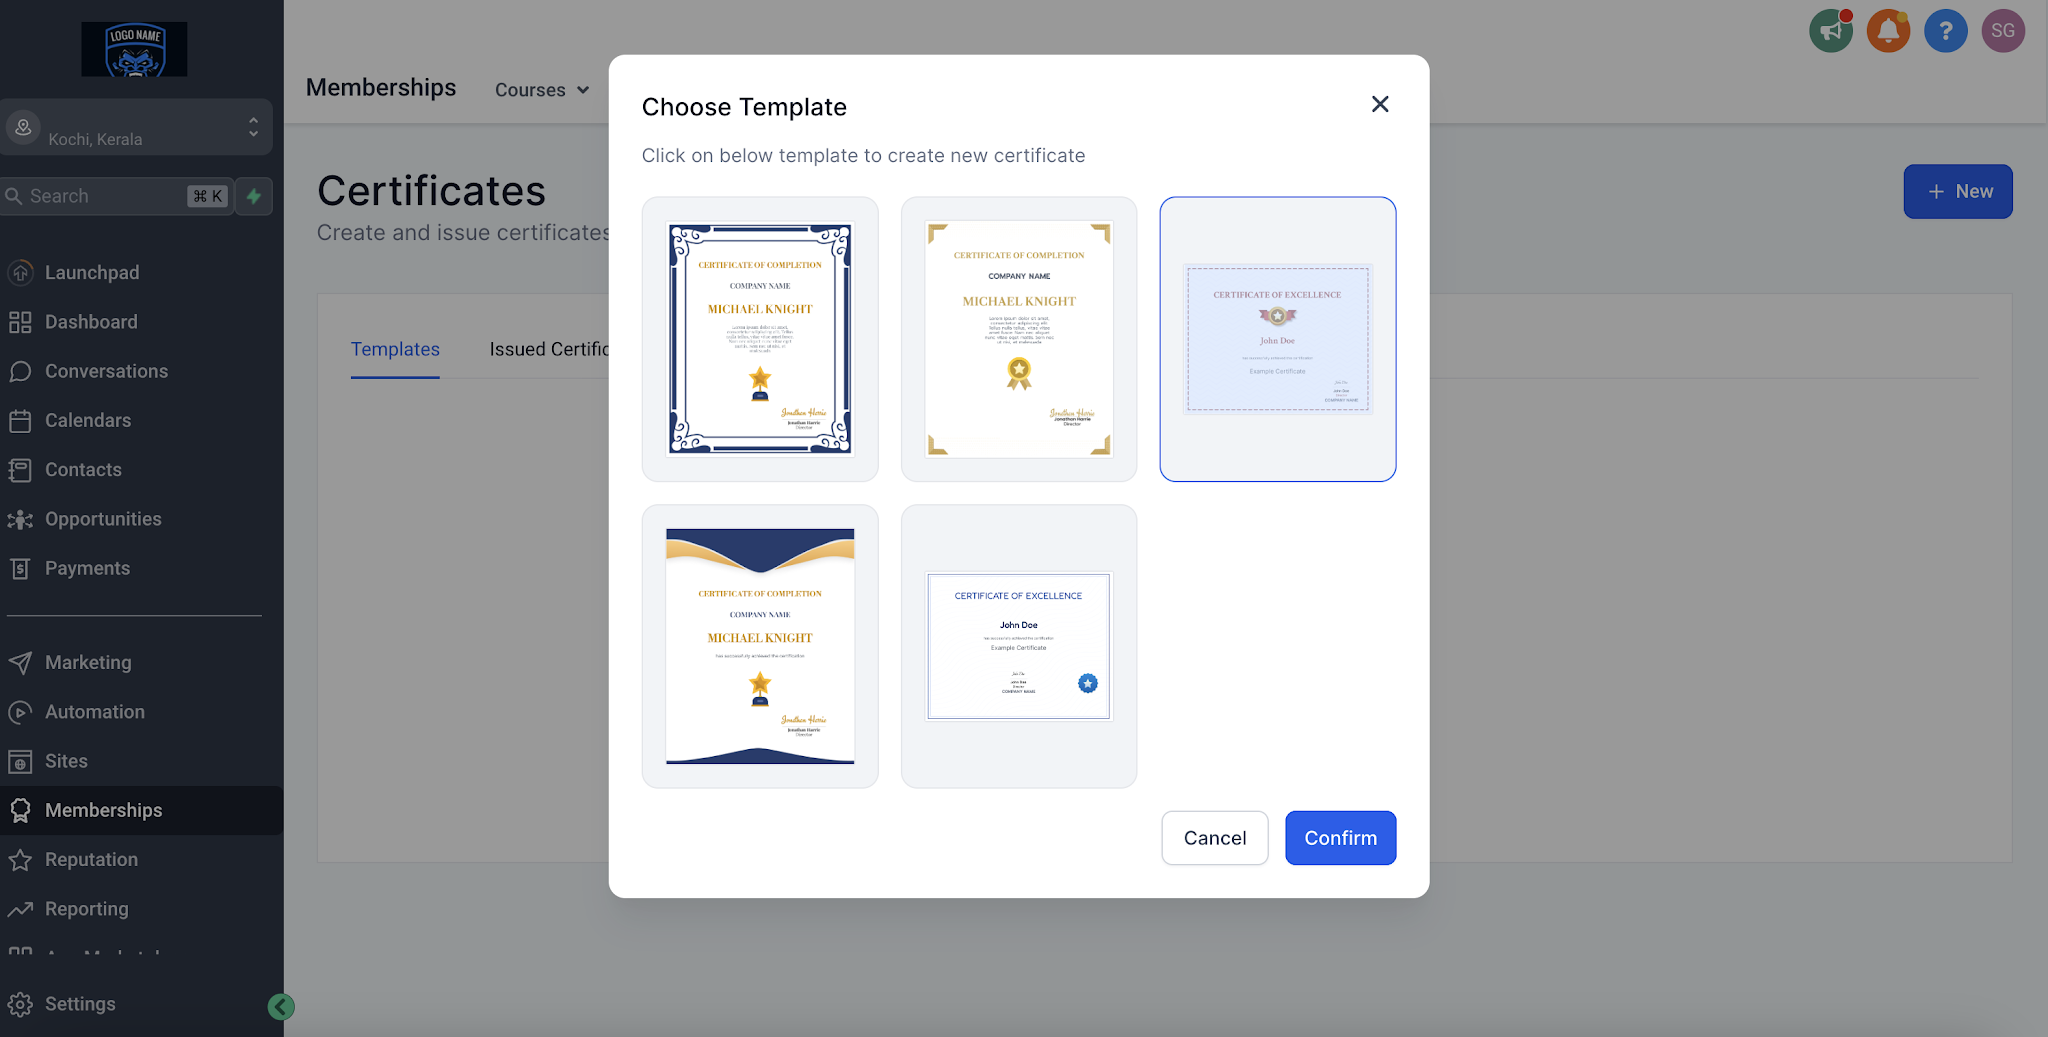
To create a template, choose from the existing templates:
Select a template
Click on Confirm
Template is ready to use
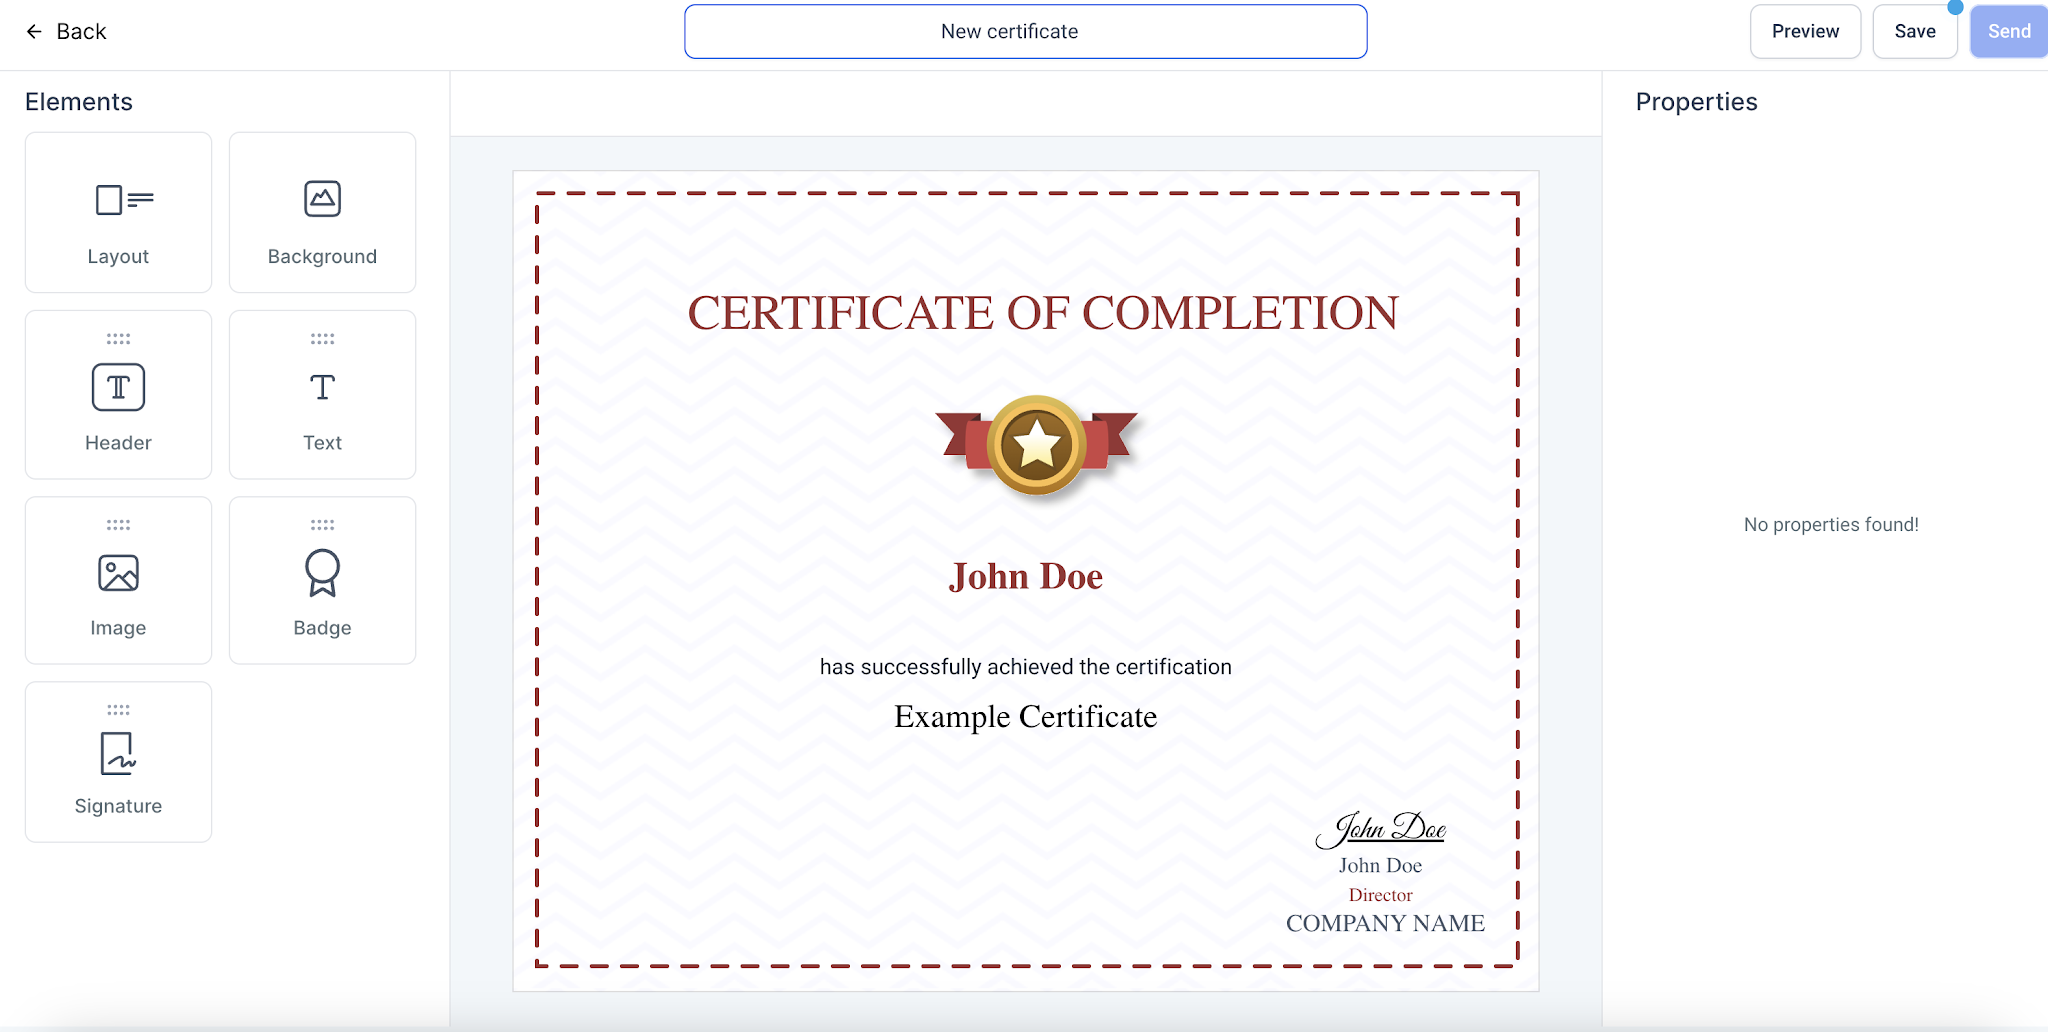
Create a template from scratch
To create a template from scratch:
Click on Blank Certificates
Start creating from scratch
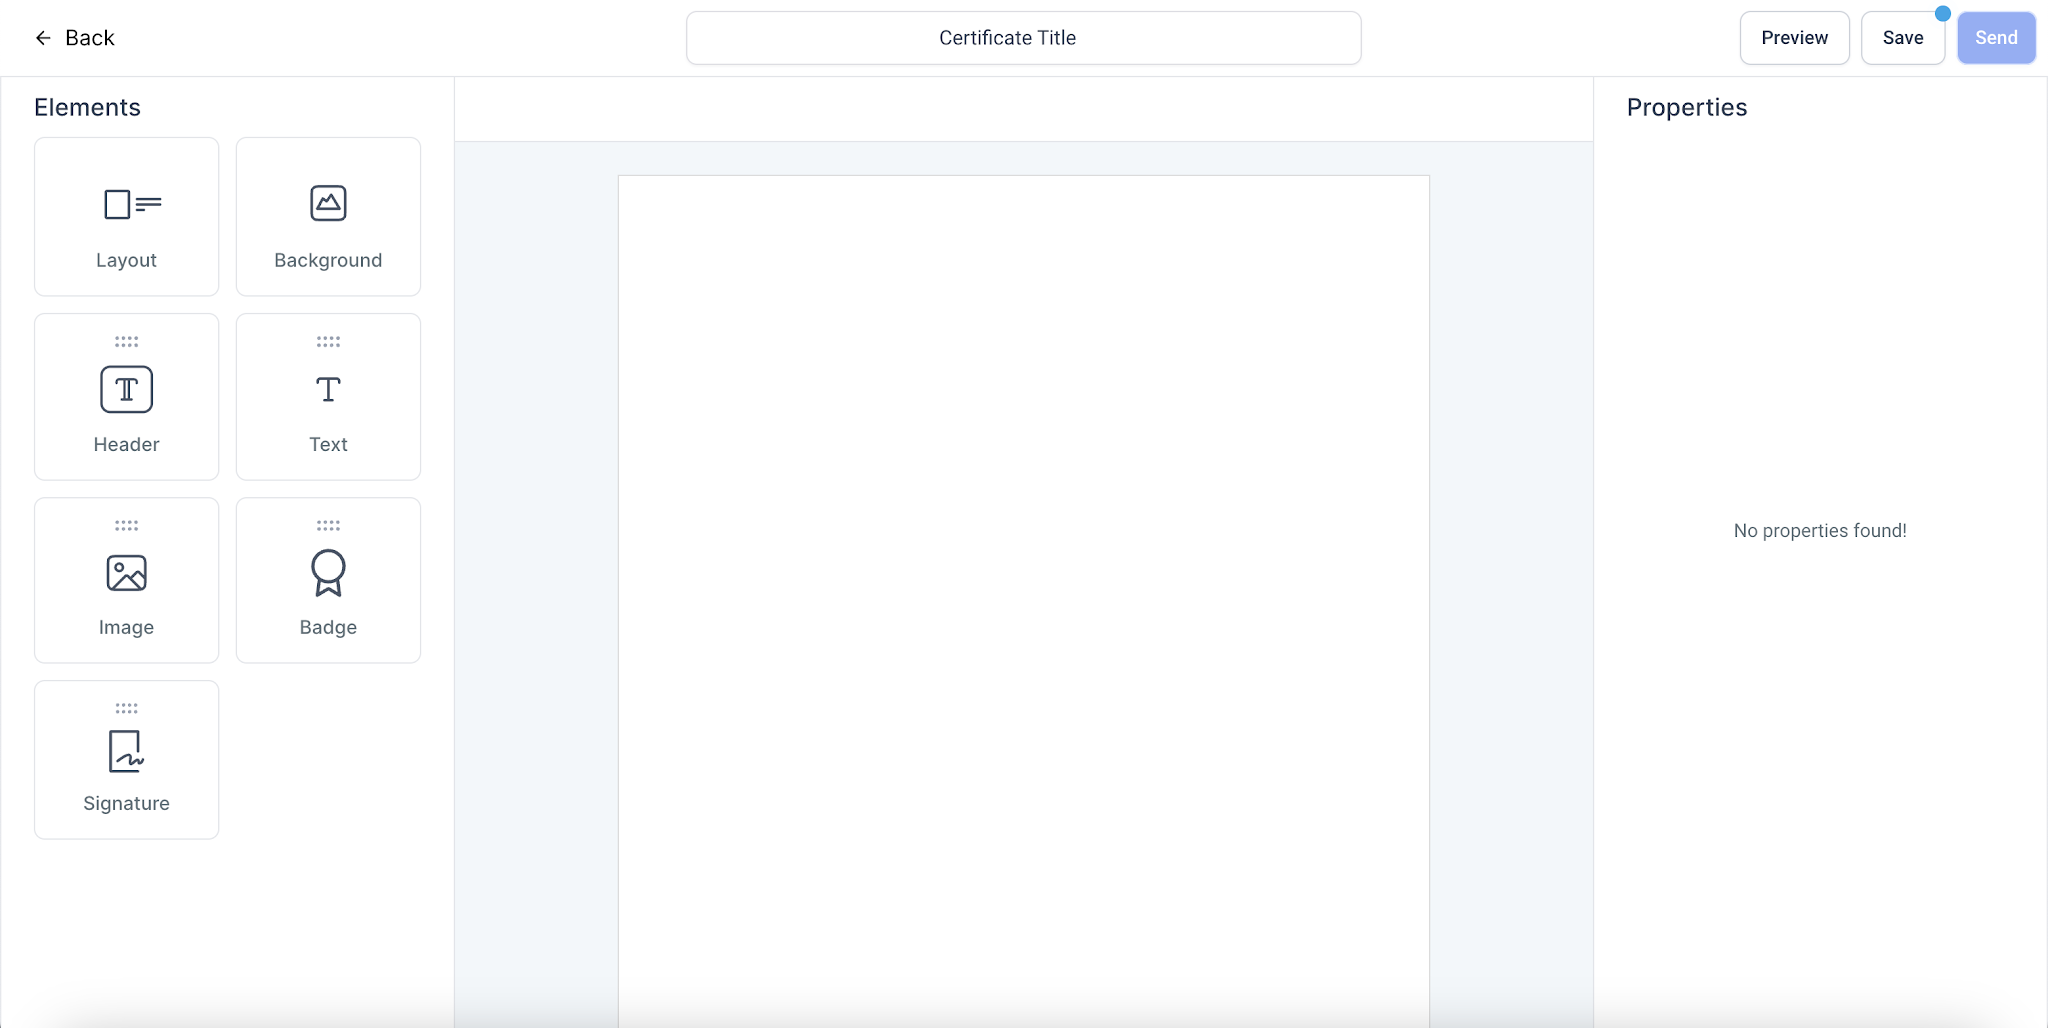
Selecting and Resizing Elements
Hover over an element in the Certificate Builder to highlight it before selecting it. This makes it easier to identify the element you want to edit, especially when working with complex designs.
To resize an element, select it and drag an edge or corner to the desired size.
Editing Templates
To edit a template, there are various elements to use:
1. Layout:
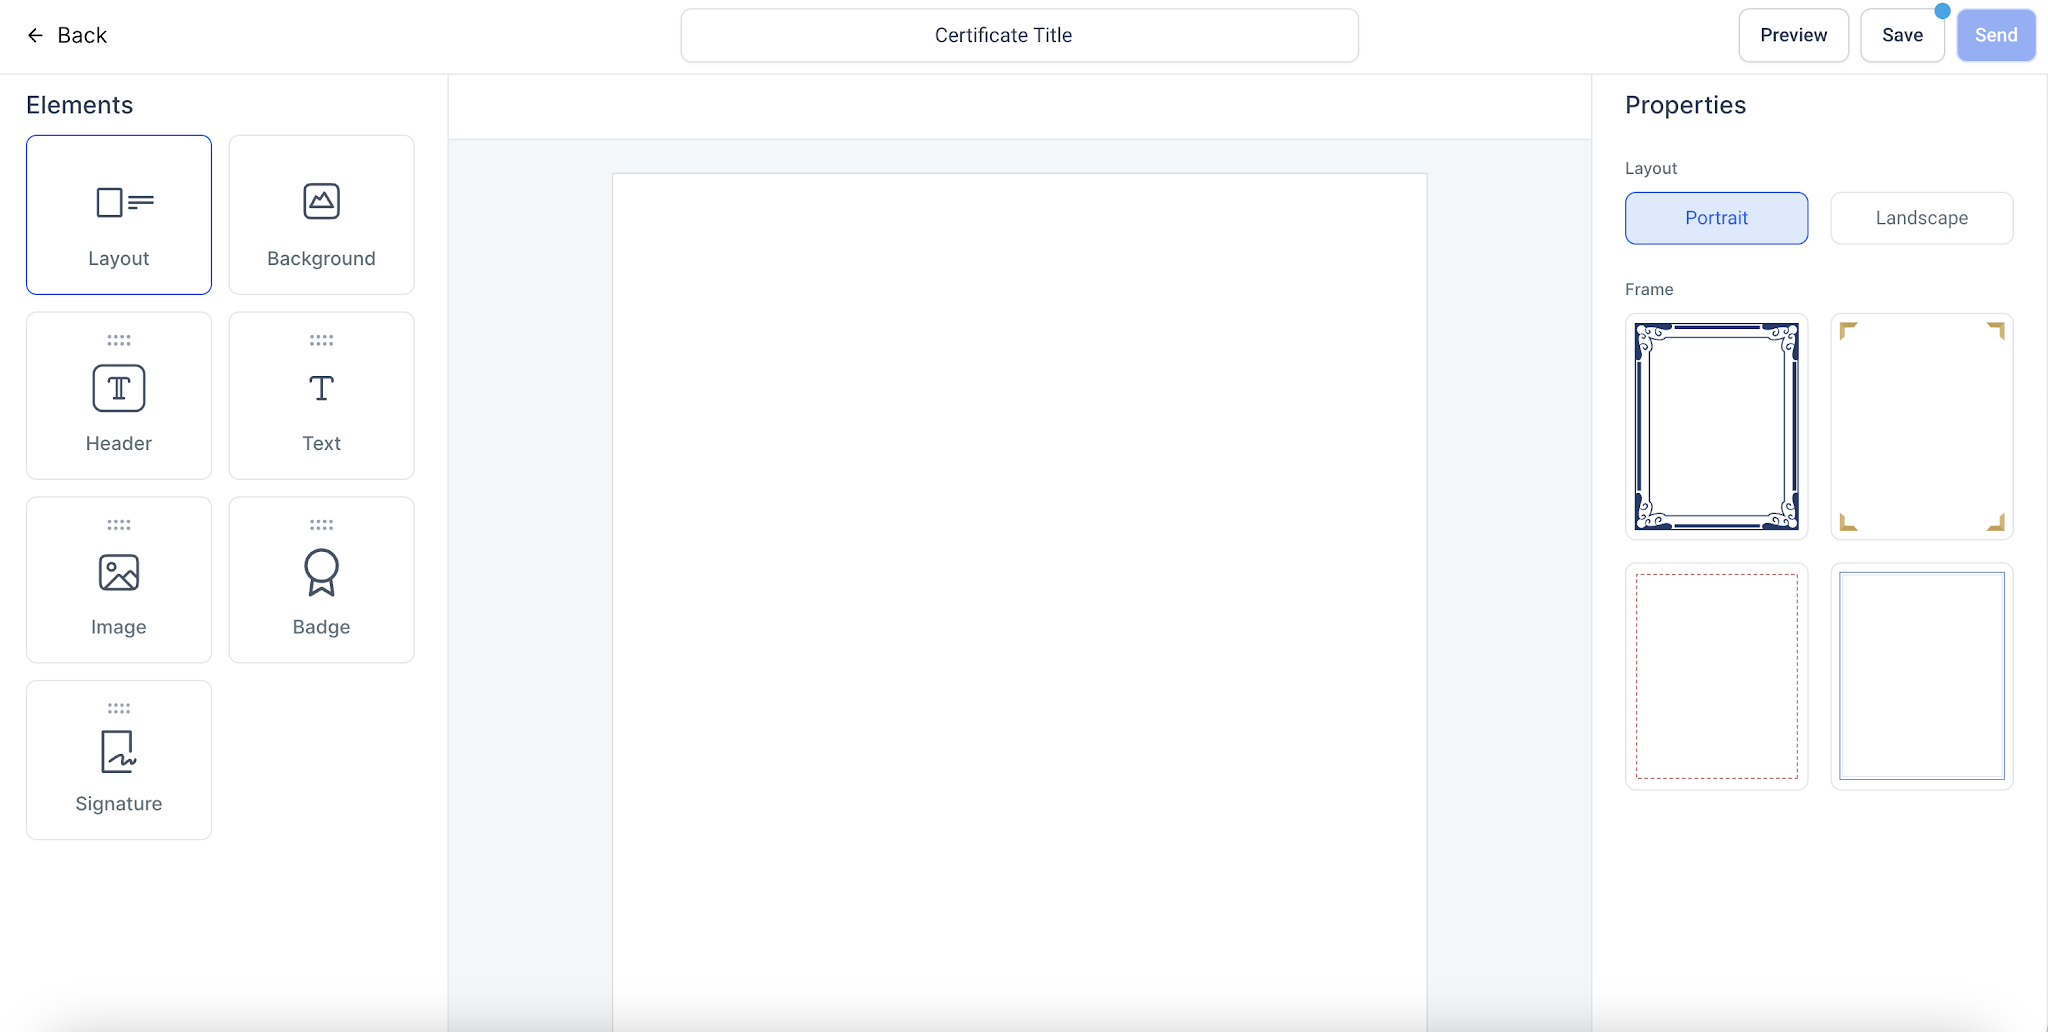
To choose a layout, click on Layout, and choose between Portrait or Landscape
Once selected, you can choose frames for both the layouts, respectively
To remove a frame, click on the same frame again (from the right bar)
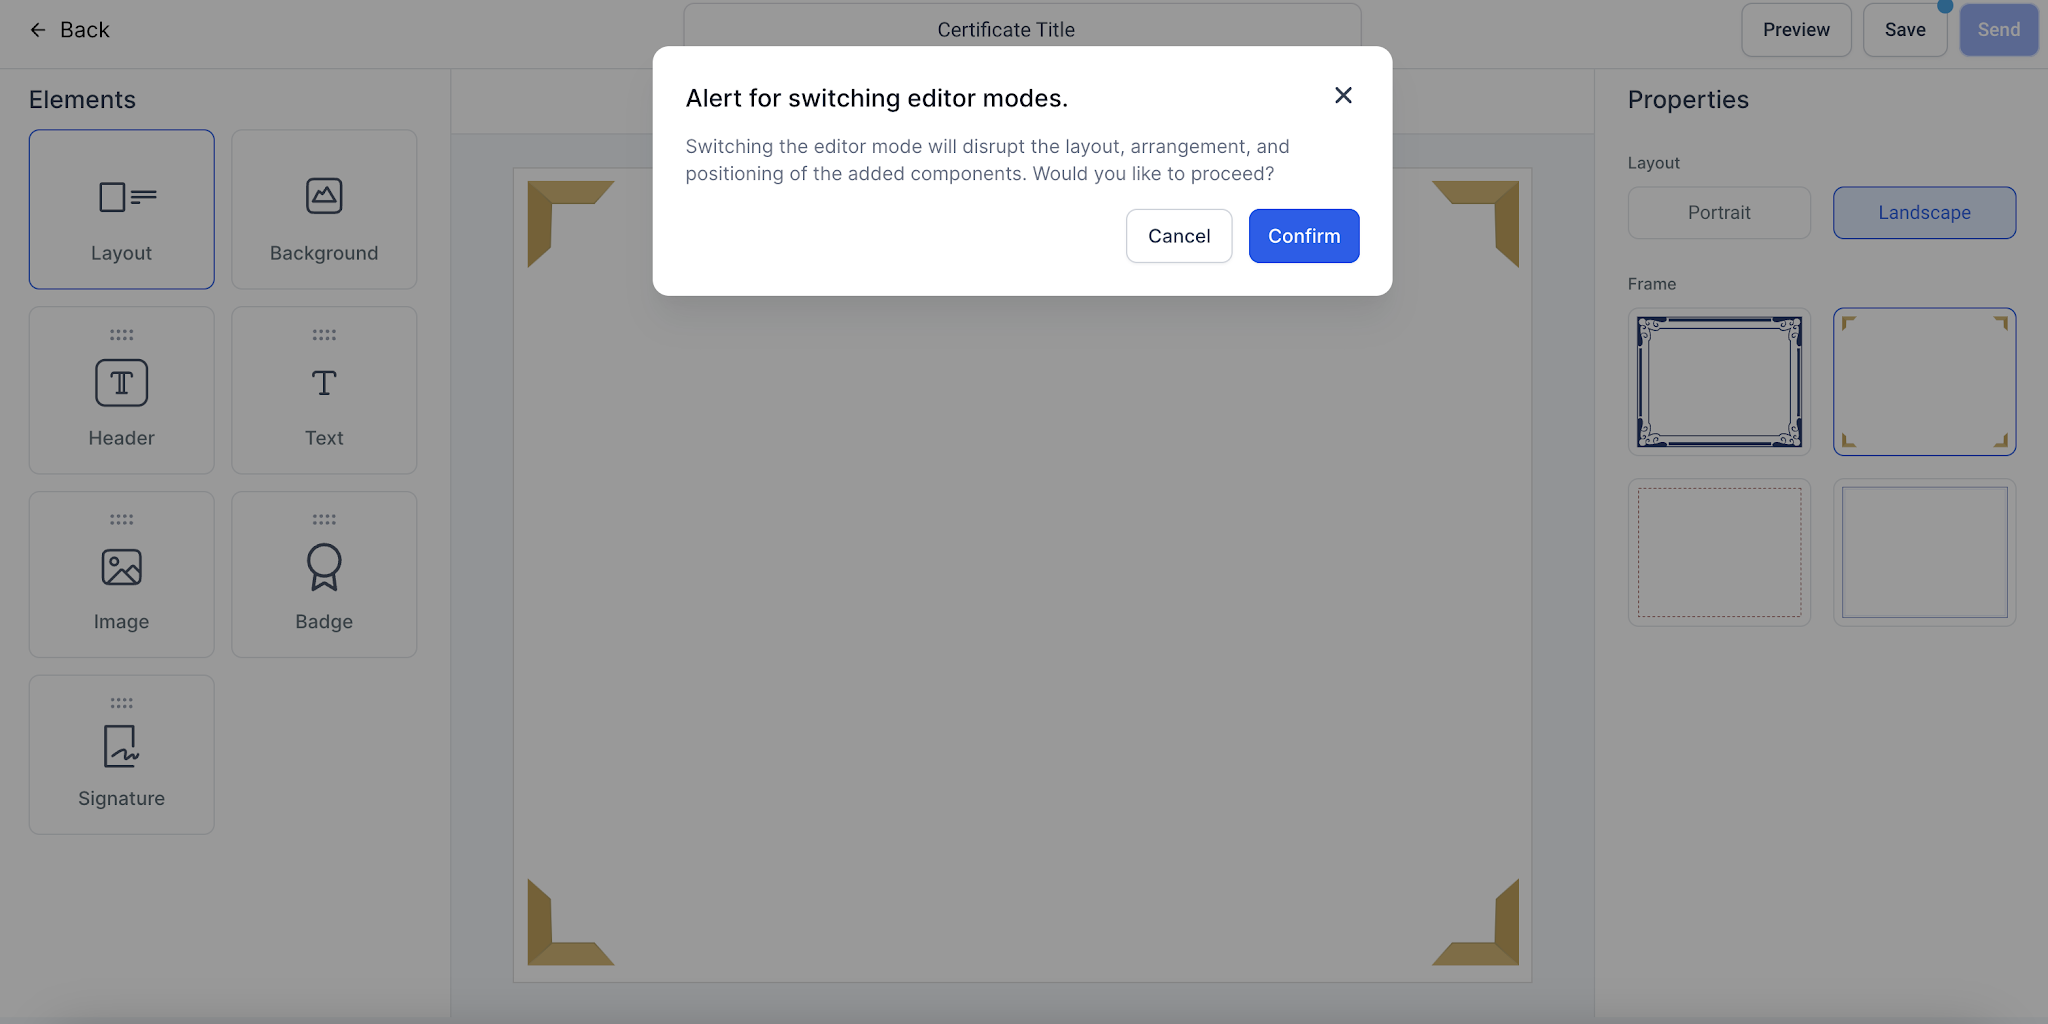
Note: Changing the layout from Portrait to Landscape or vice-versa, will disrupt the edits
2. Background:
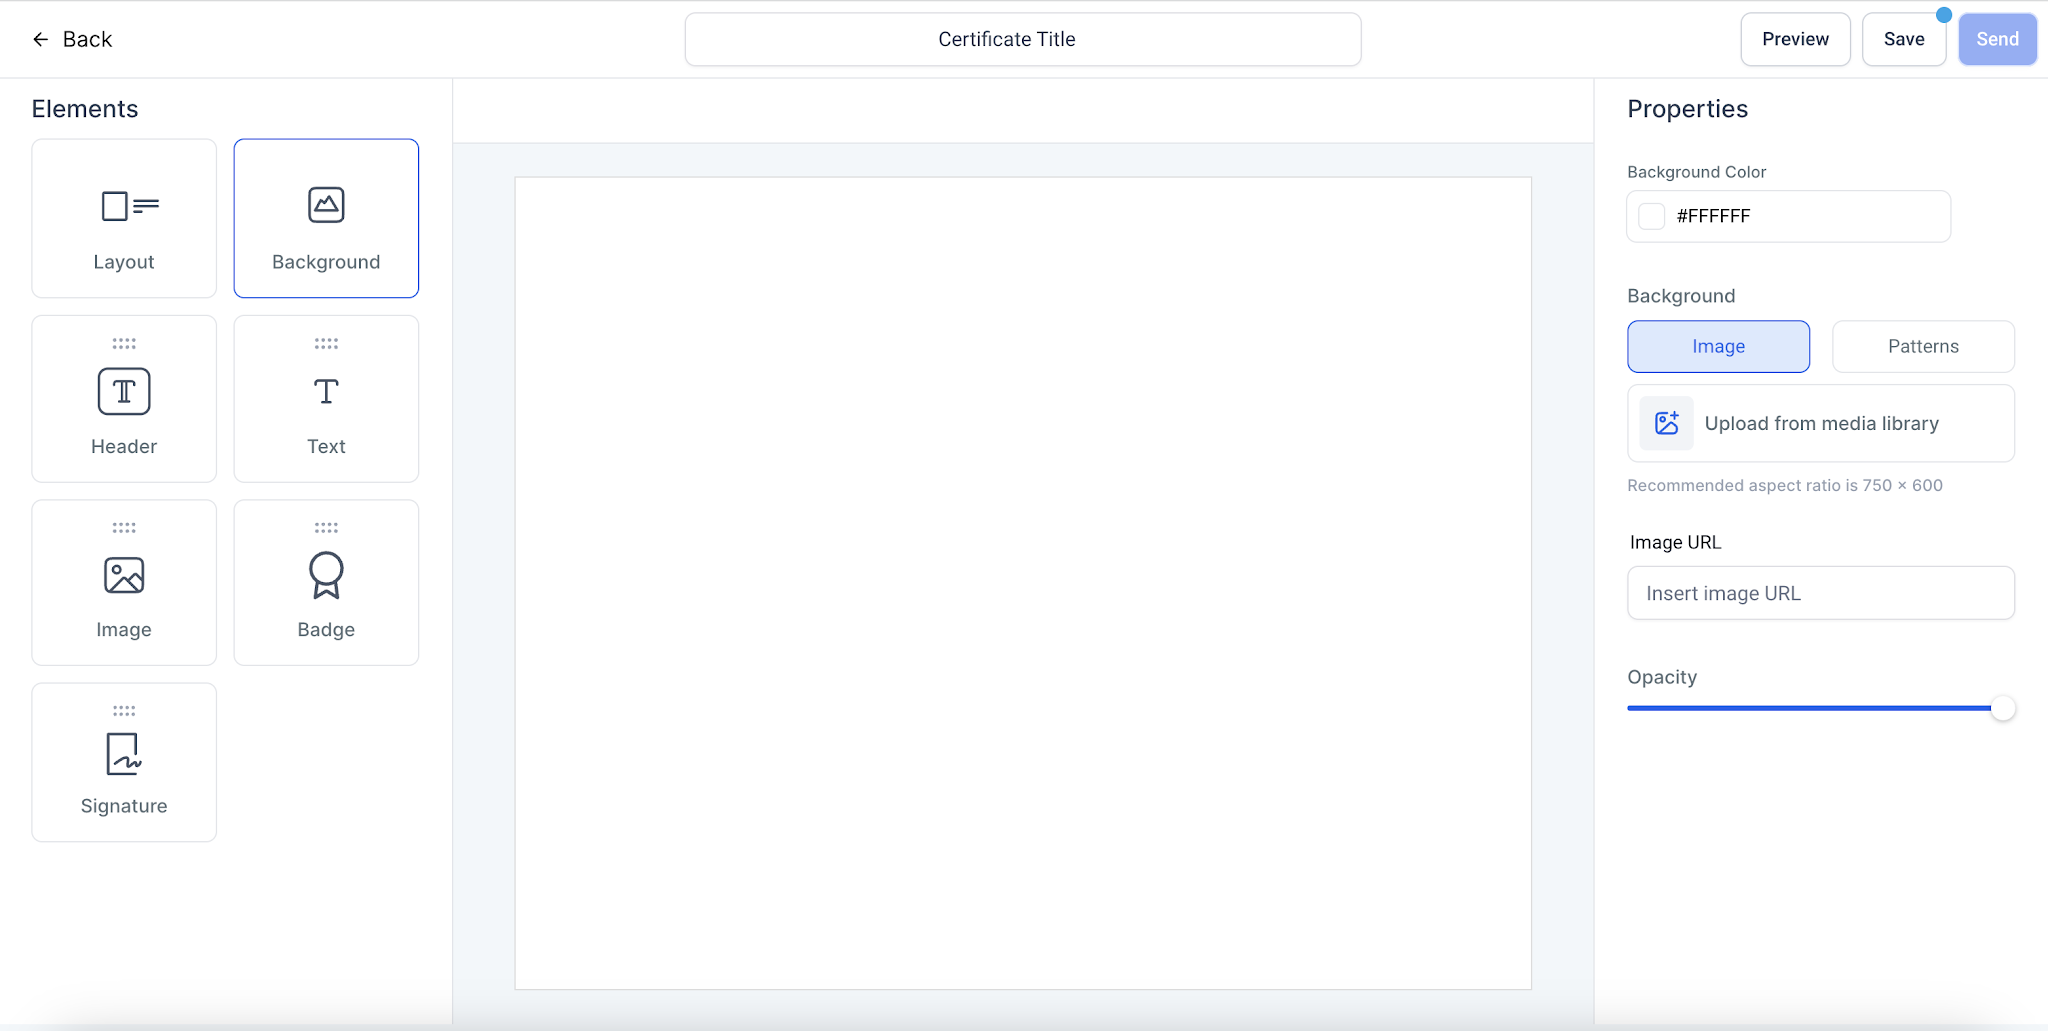
To choose a background, click on Background
Choose the colours
Upload an image as background or enter image link to upload
Choose the opacity of the background image or colour by using the opacity slider
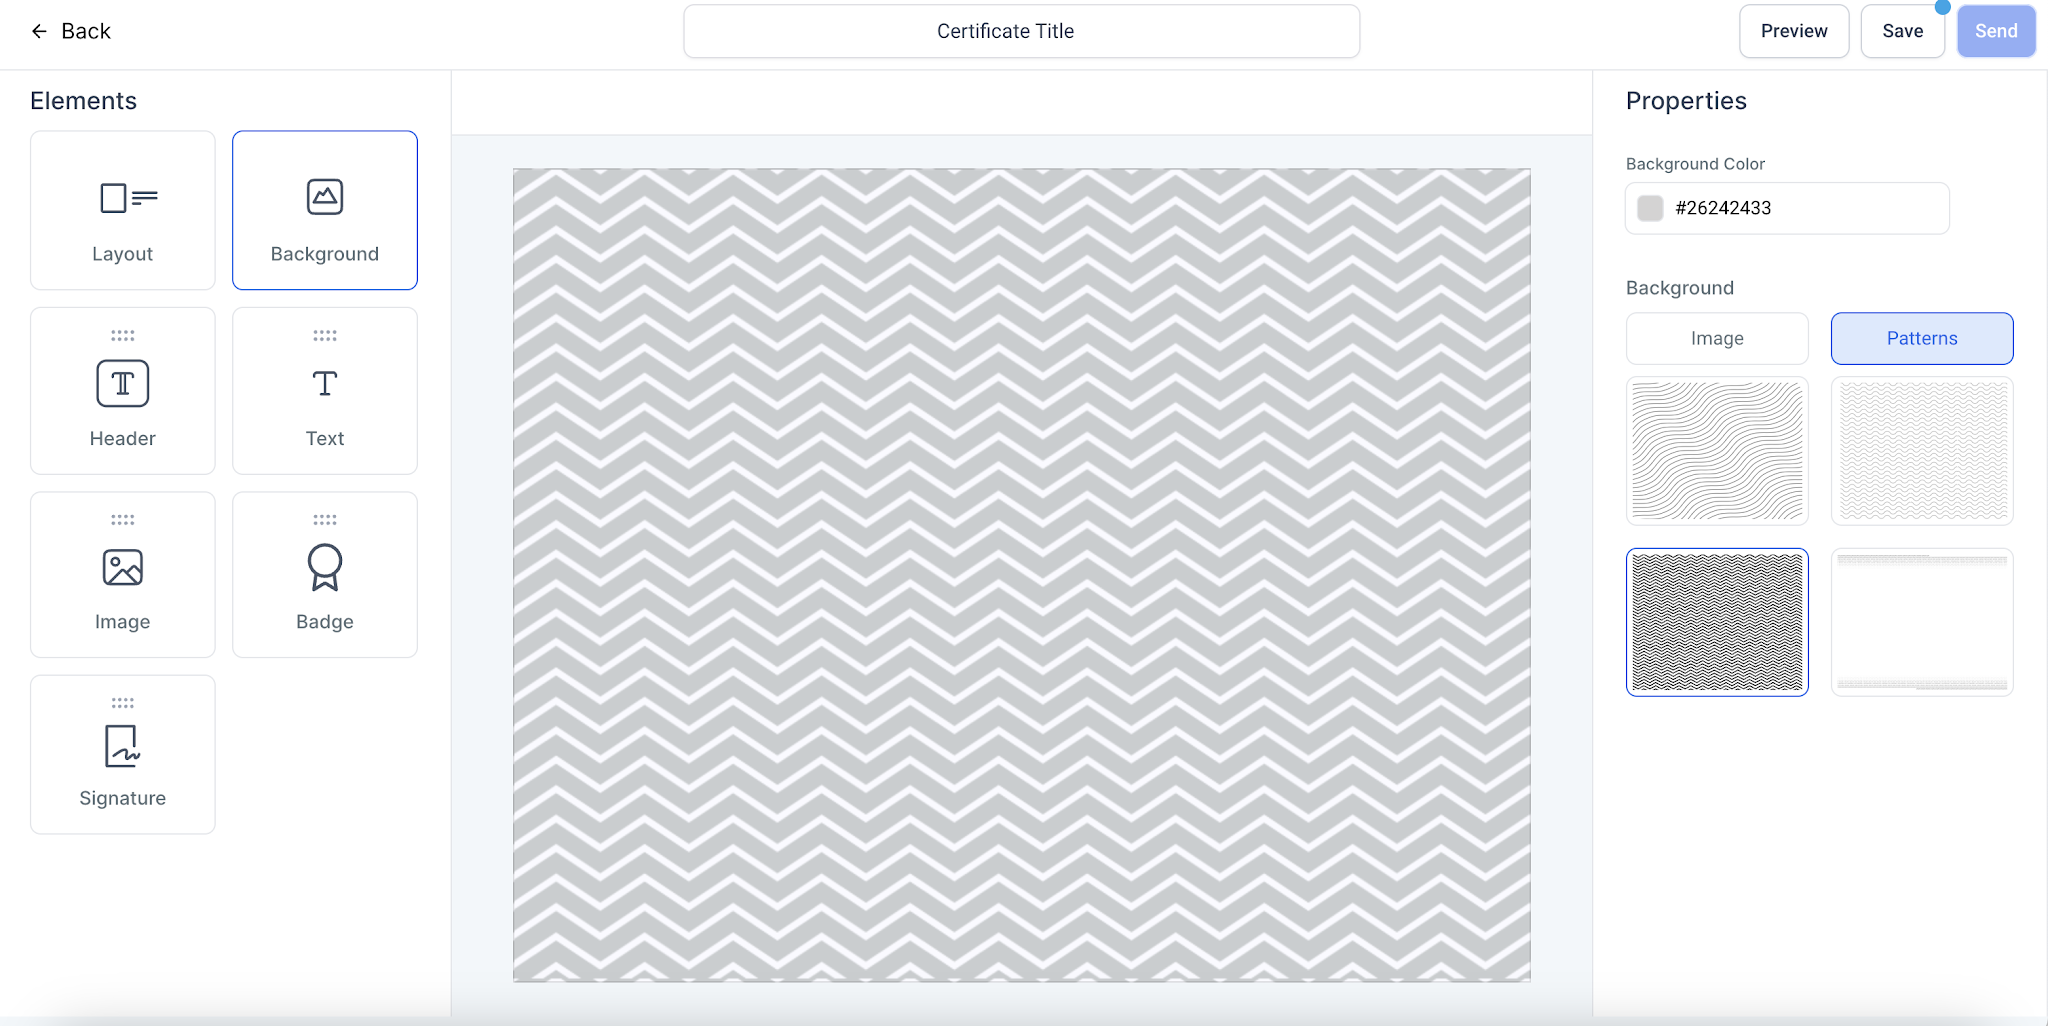
To choose a pattern as background image, click on Patterns and choose a pattern. Further choose the colour of the pattern
3. Header
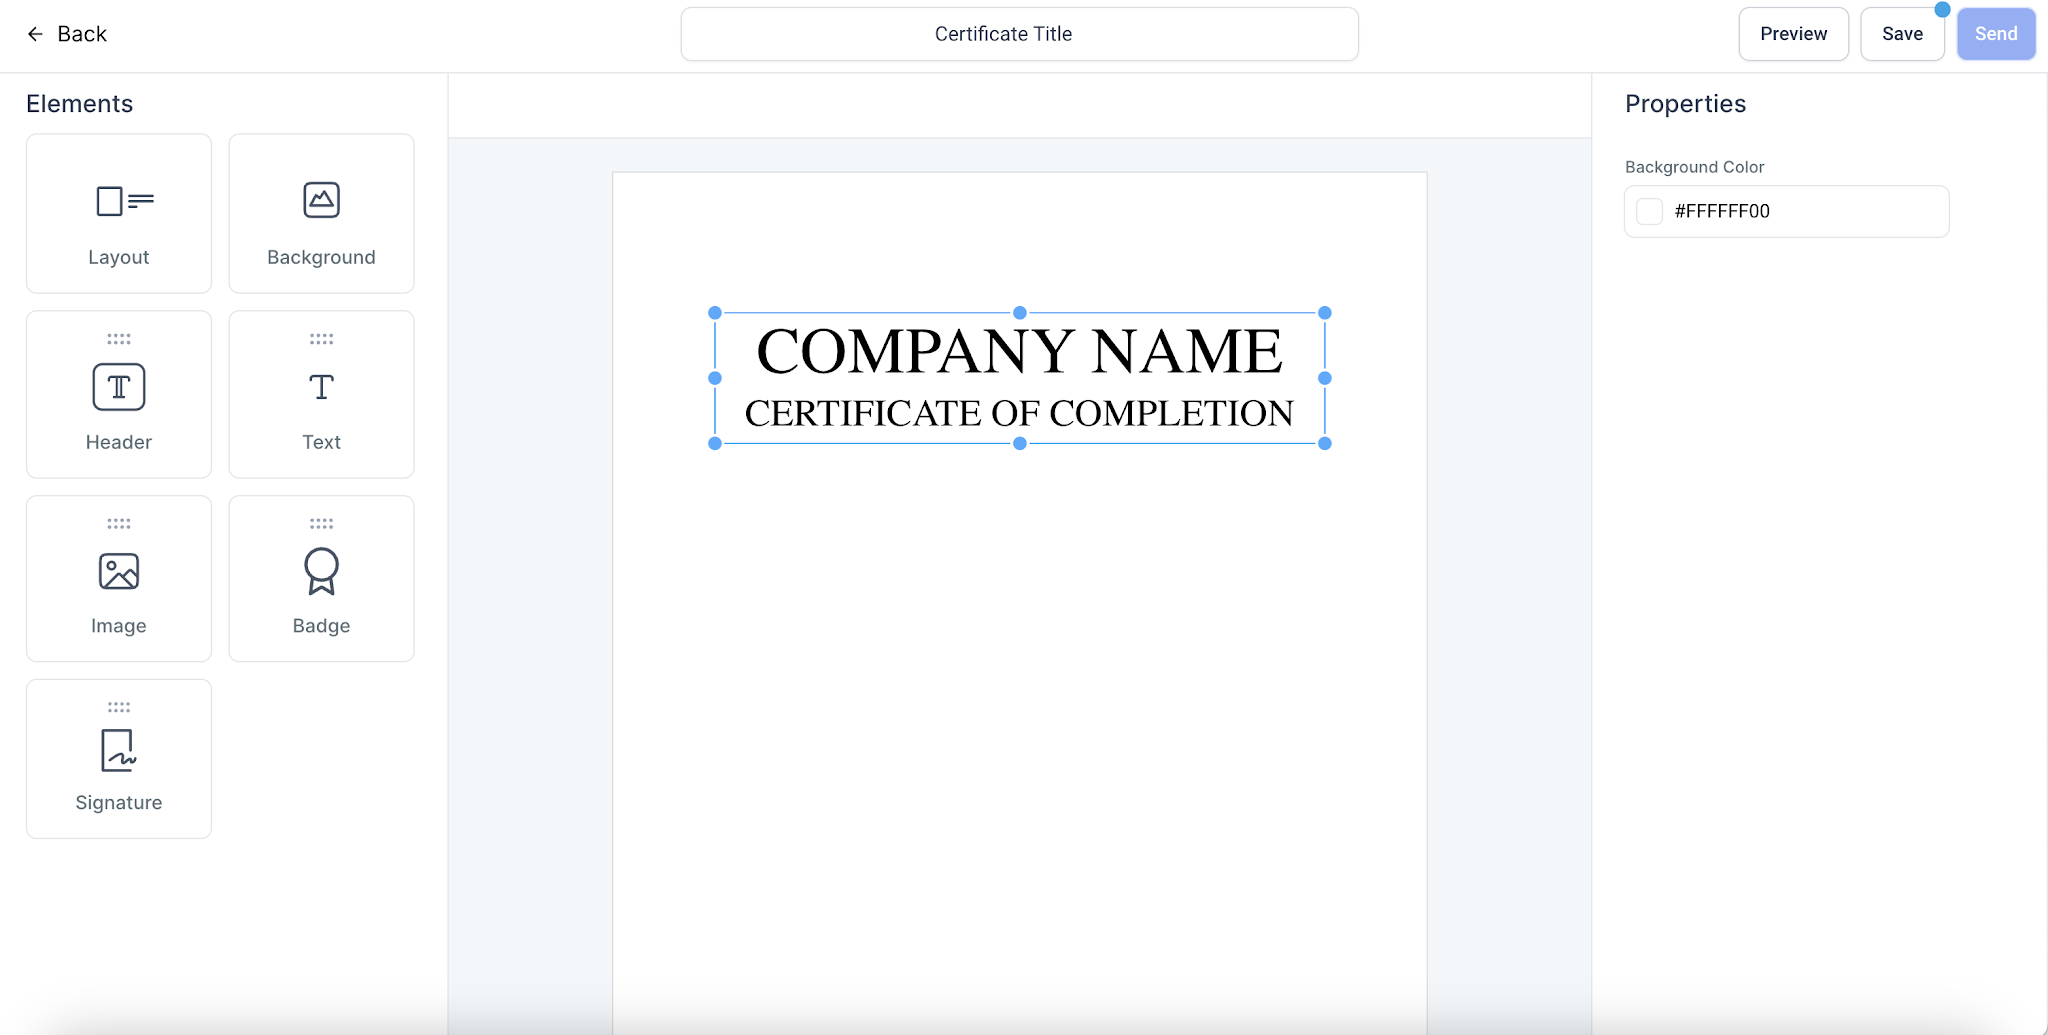
To add a header, drag and drop the Header element to your template and start editing the text after selection
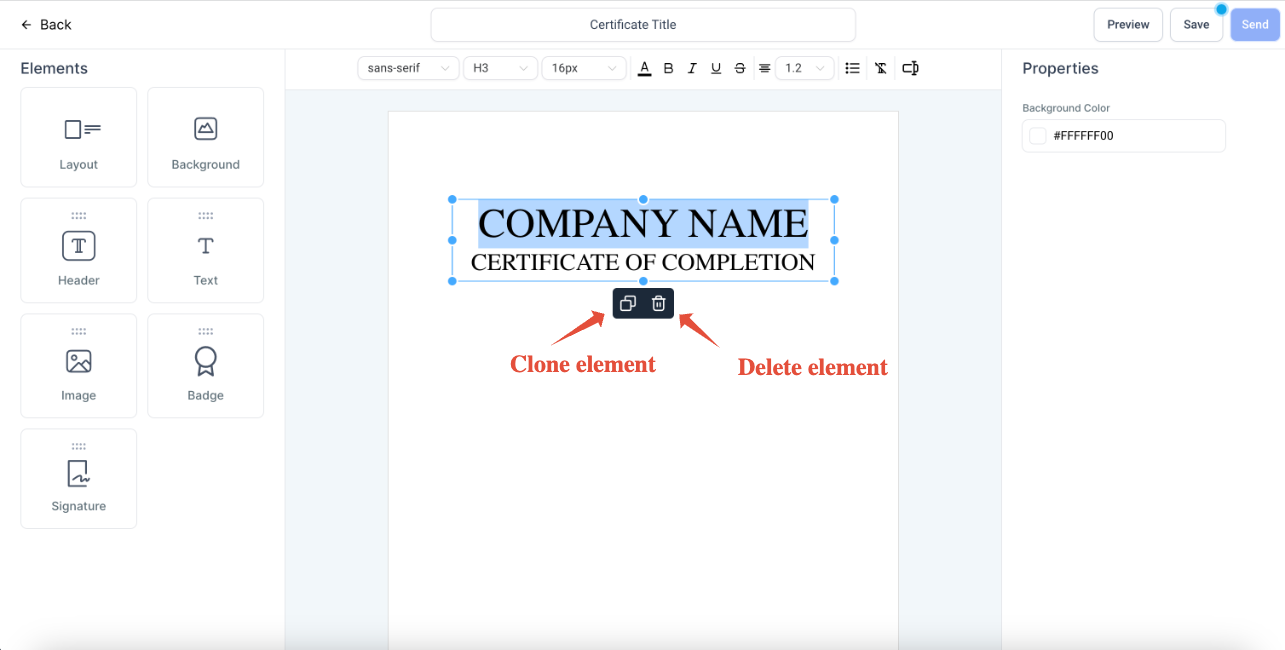
Elements can be cloned or deleted by clicking on the copy and delete icons
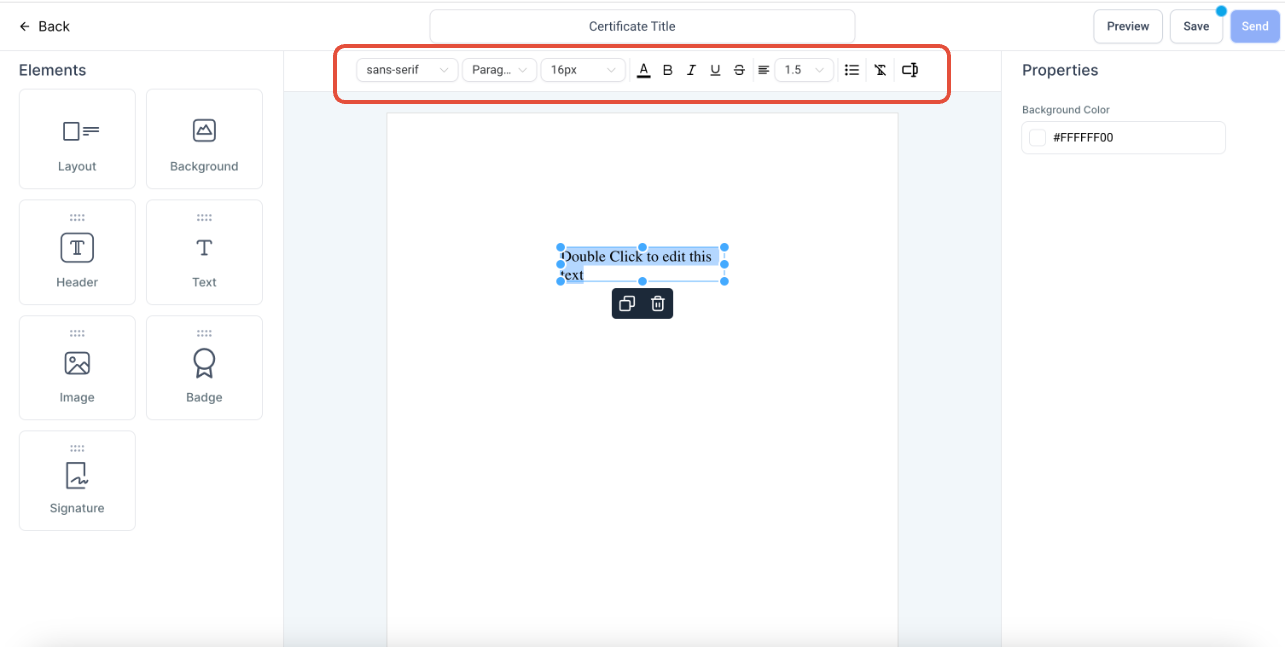
Choose Font Styles, Font Size, Font Type (Heading 1, Heading 2, etc ...), Font Colour, etc. from the top bar after selecting a text
To resize the element, select it and drag an edge or corner to the desired size.
4. Text
To add a text, drag and drop the Text element to your template and start editing the text after selection
Elements can be cloned or deleted by clicking on the copy and delete icons
Choose Font Styles, Font Size, Font Type (Headings,Paragraohs, etc..), Font Colour, etc. from the top bar after selecting a text
To resize the element, select it and drag an edge or corner to the desired size.
When editing text, use these keyboard shortcuts to apply formatting:
Ctrl/Cmd + B: Bold
Ctrl/Cmd + I: Italic
Ctrl/Cmd + U: Underline
You can copy content from external sources and paste it into the Certificate Builder. Pasted content is handled without introducing broken formatting, making it easier to bring existing content into your design.
5. Image
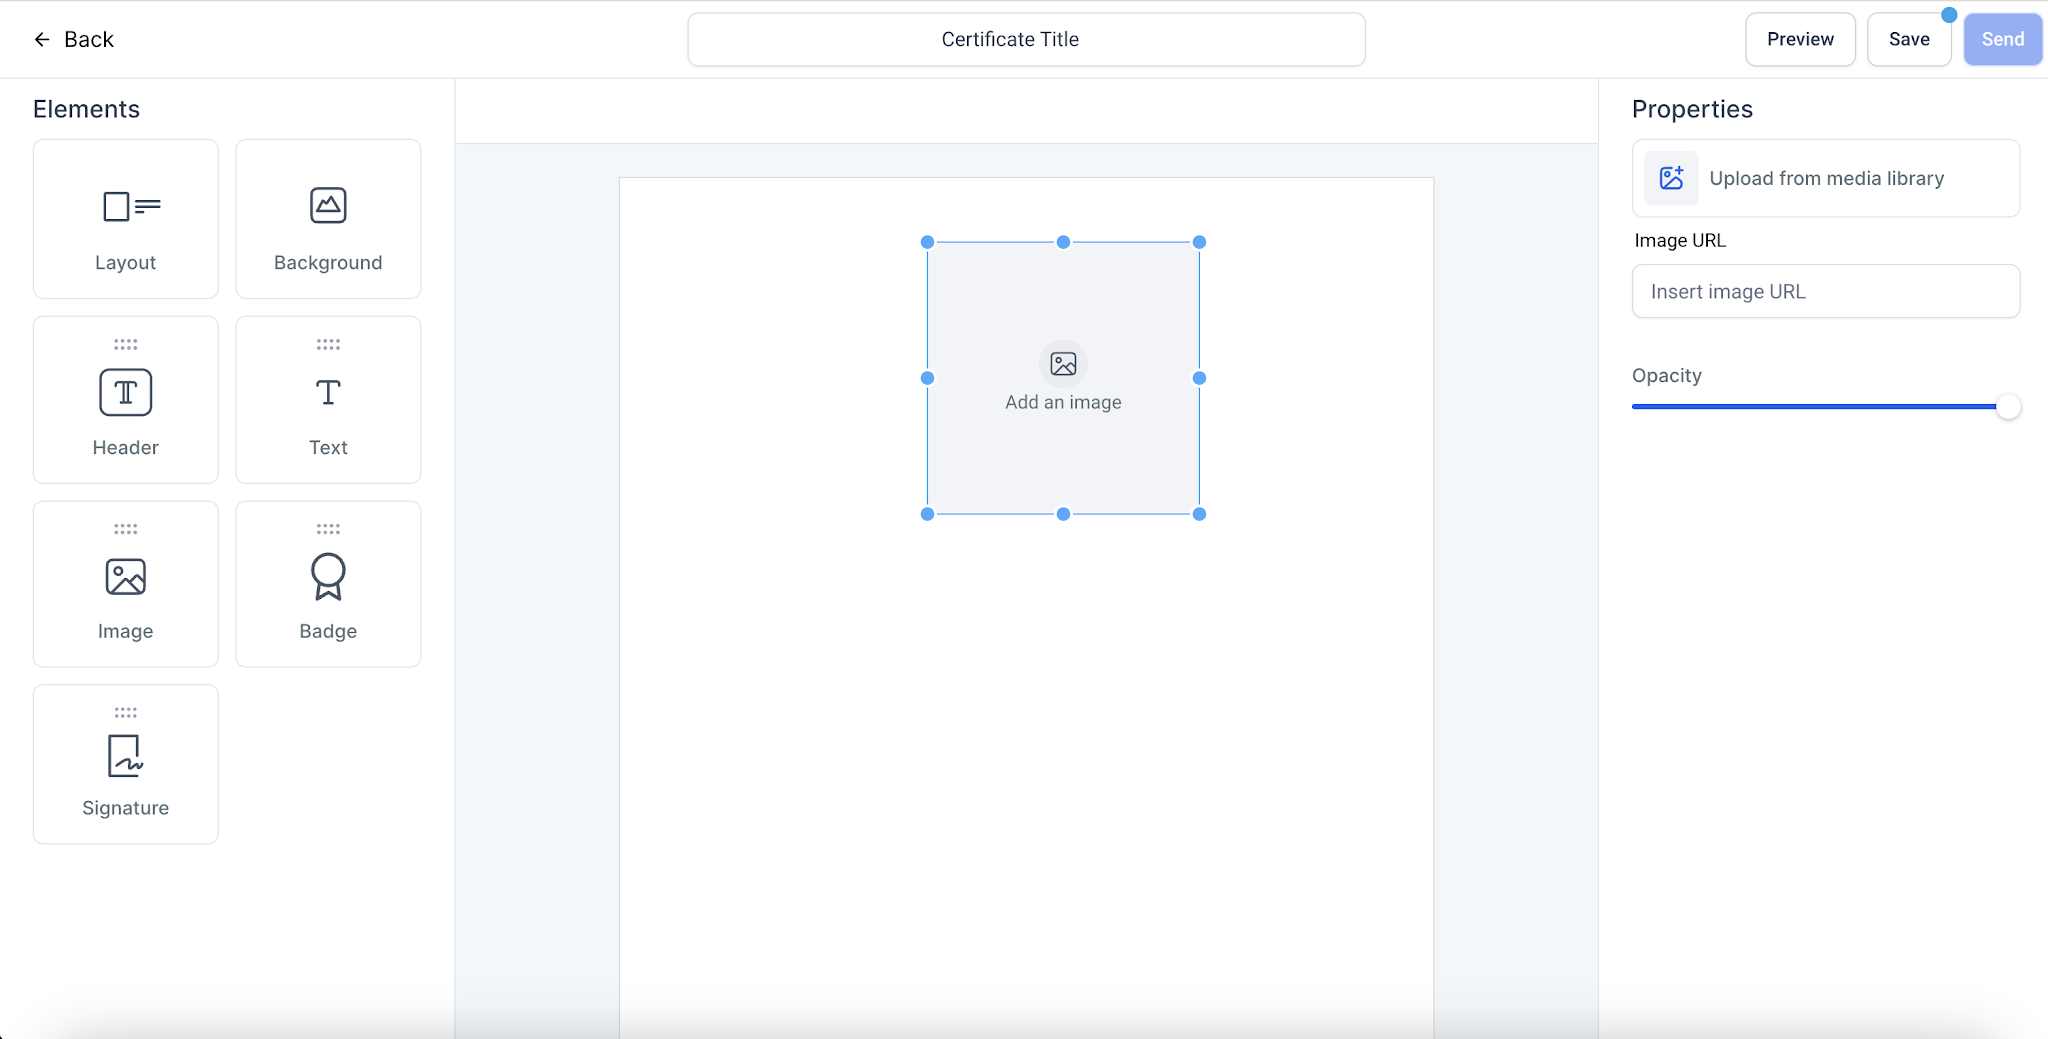
To add an image, drag and drop the Image element to your template
Upload an image or add the image link to upload
Choose the opacity of the background image by using the opacity slider
To resize the element, select it and drag an edge or corner to the desired size.
6. Badge
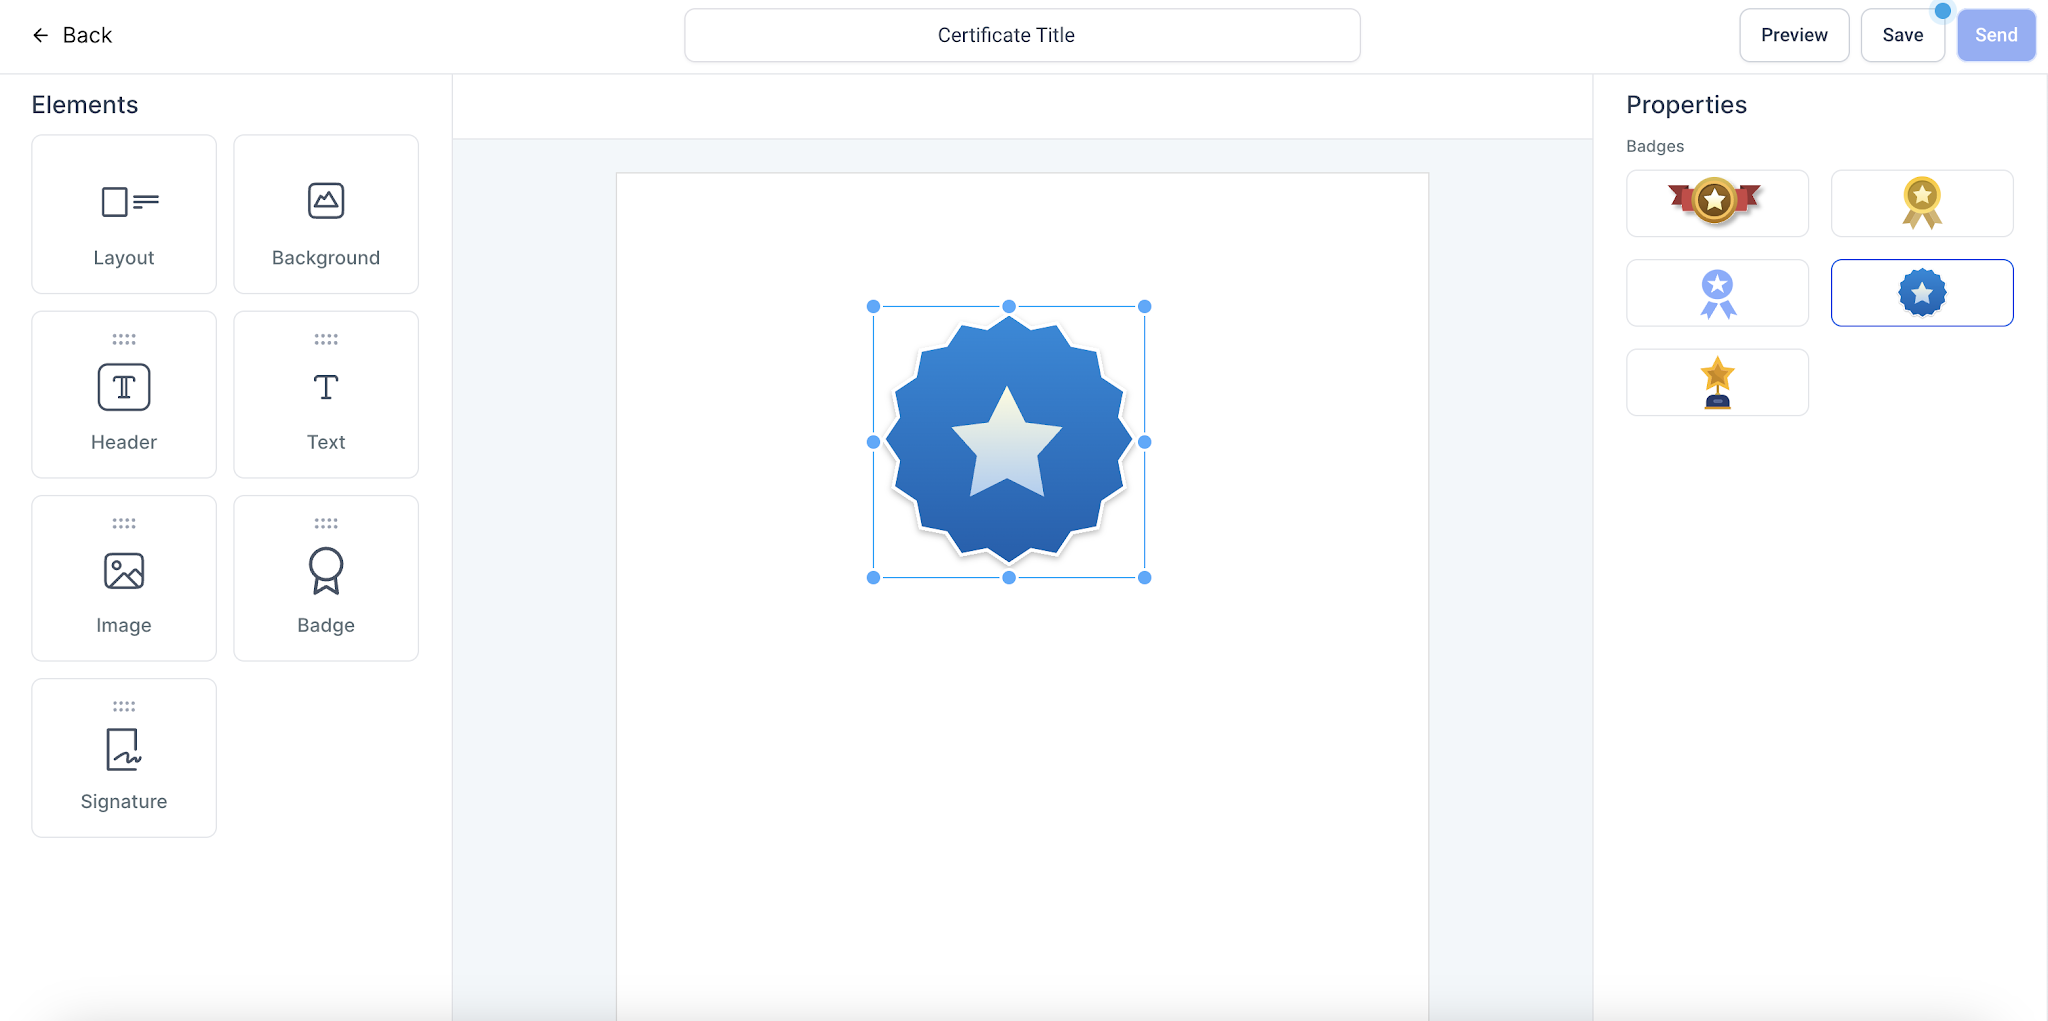
To add a badge, drag and drop the Badge element to your template
Choose a badge with from the options by clicking on it
To resize the element, select it and drag an edge or corner to the desired size.
7. Signatures
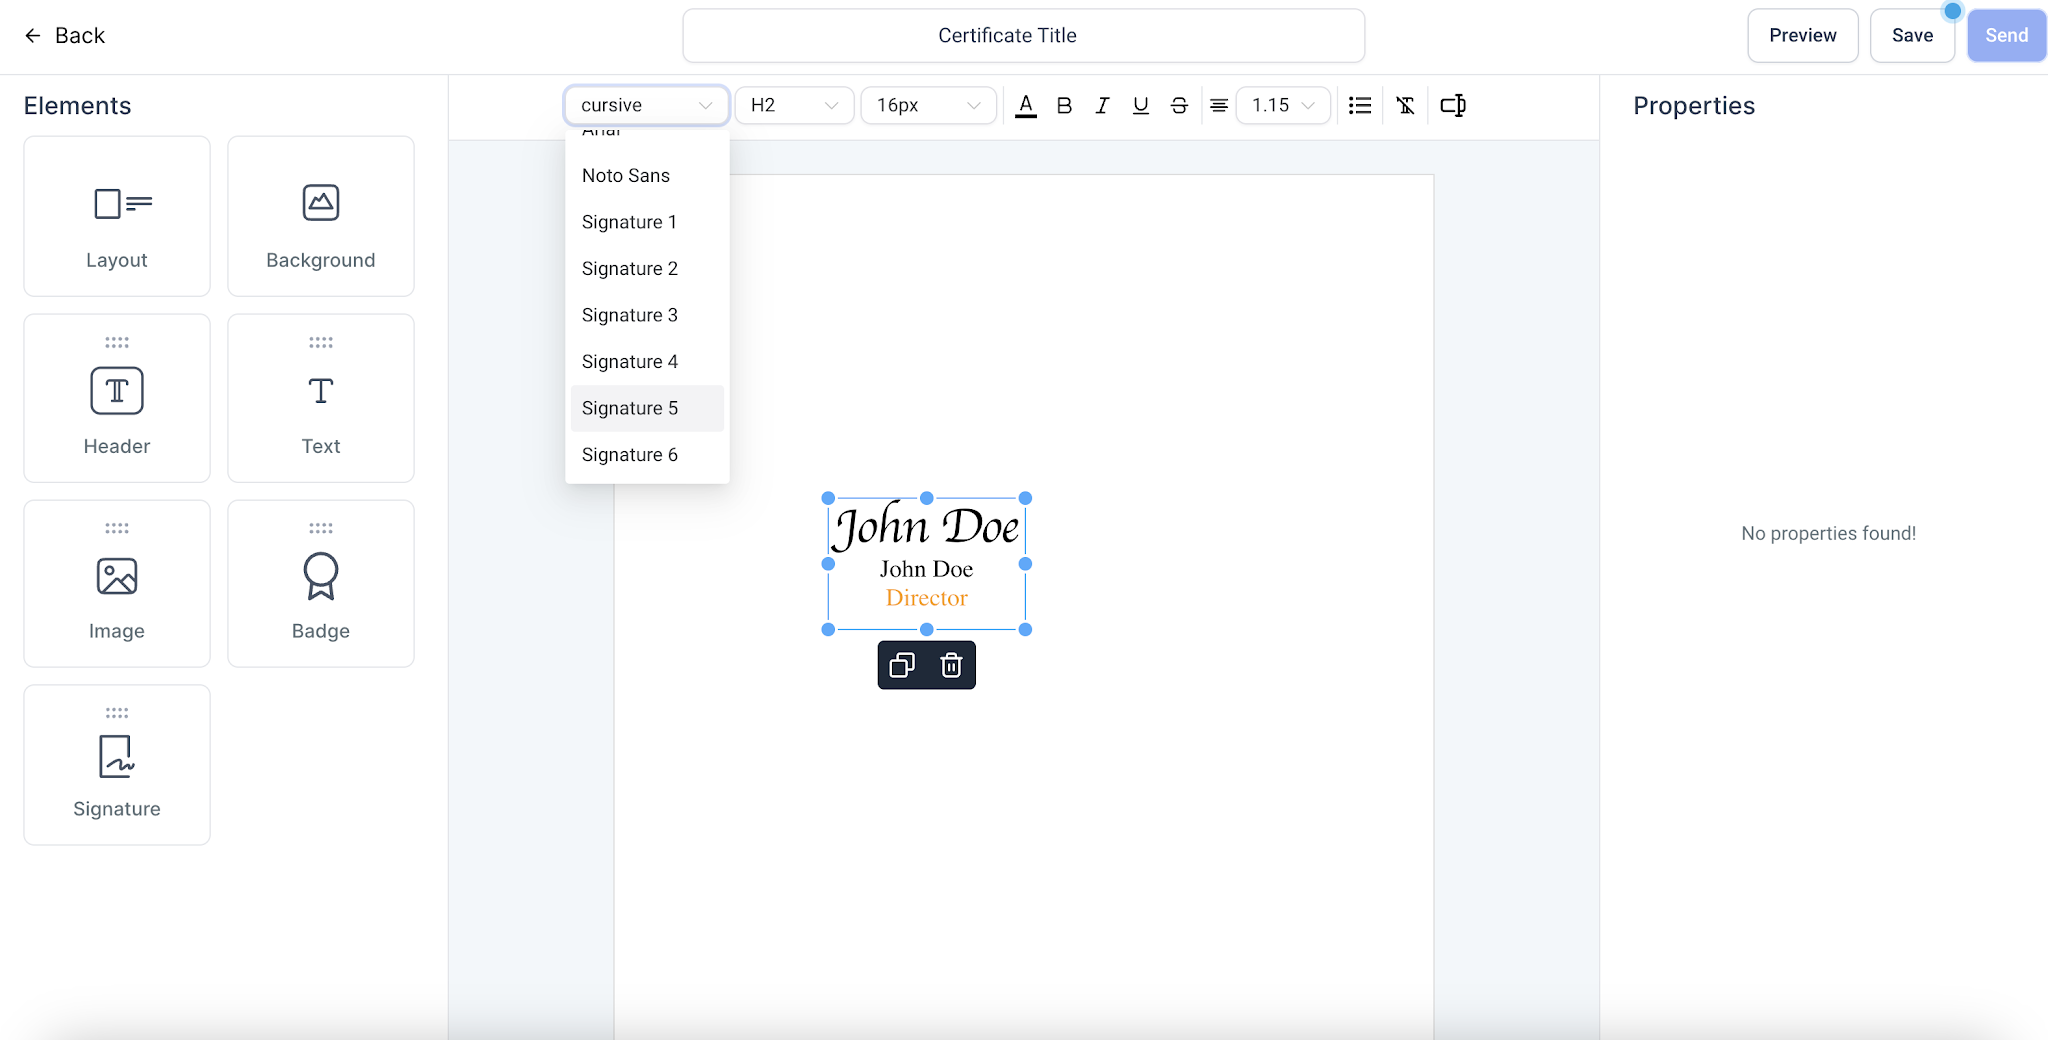
To add a signature, drag and drop the Signature element to your template
Choose a badge with from the options by clicking on it
Choose the signature styles after selecting the signature
To resize the element, select it and drag an edge or corner to the desired size.
Preview and Save a template
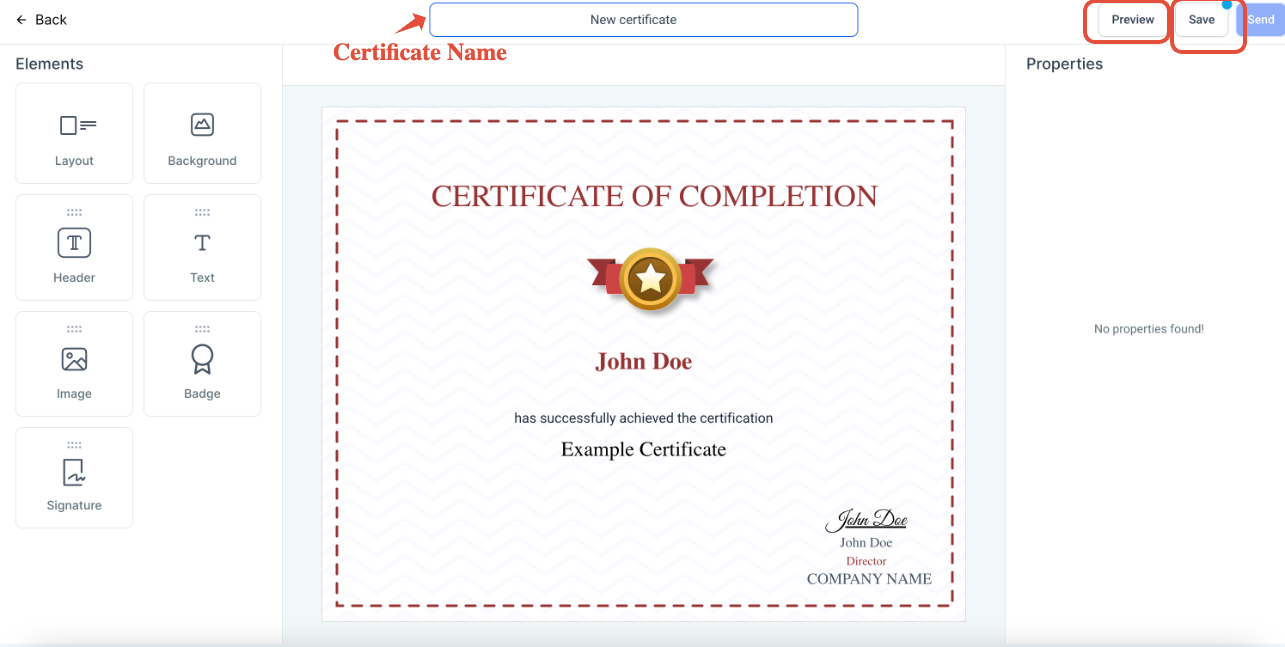
To preview a template, click on Preview
To save a template, click on Save
Before saving a template, enter a relevant name for your certificate from the top section
Saved Templates
Once saved, click on Back
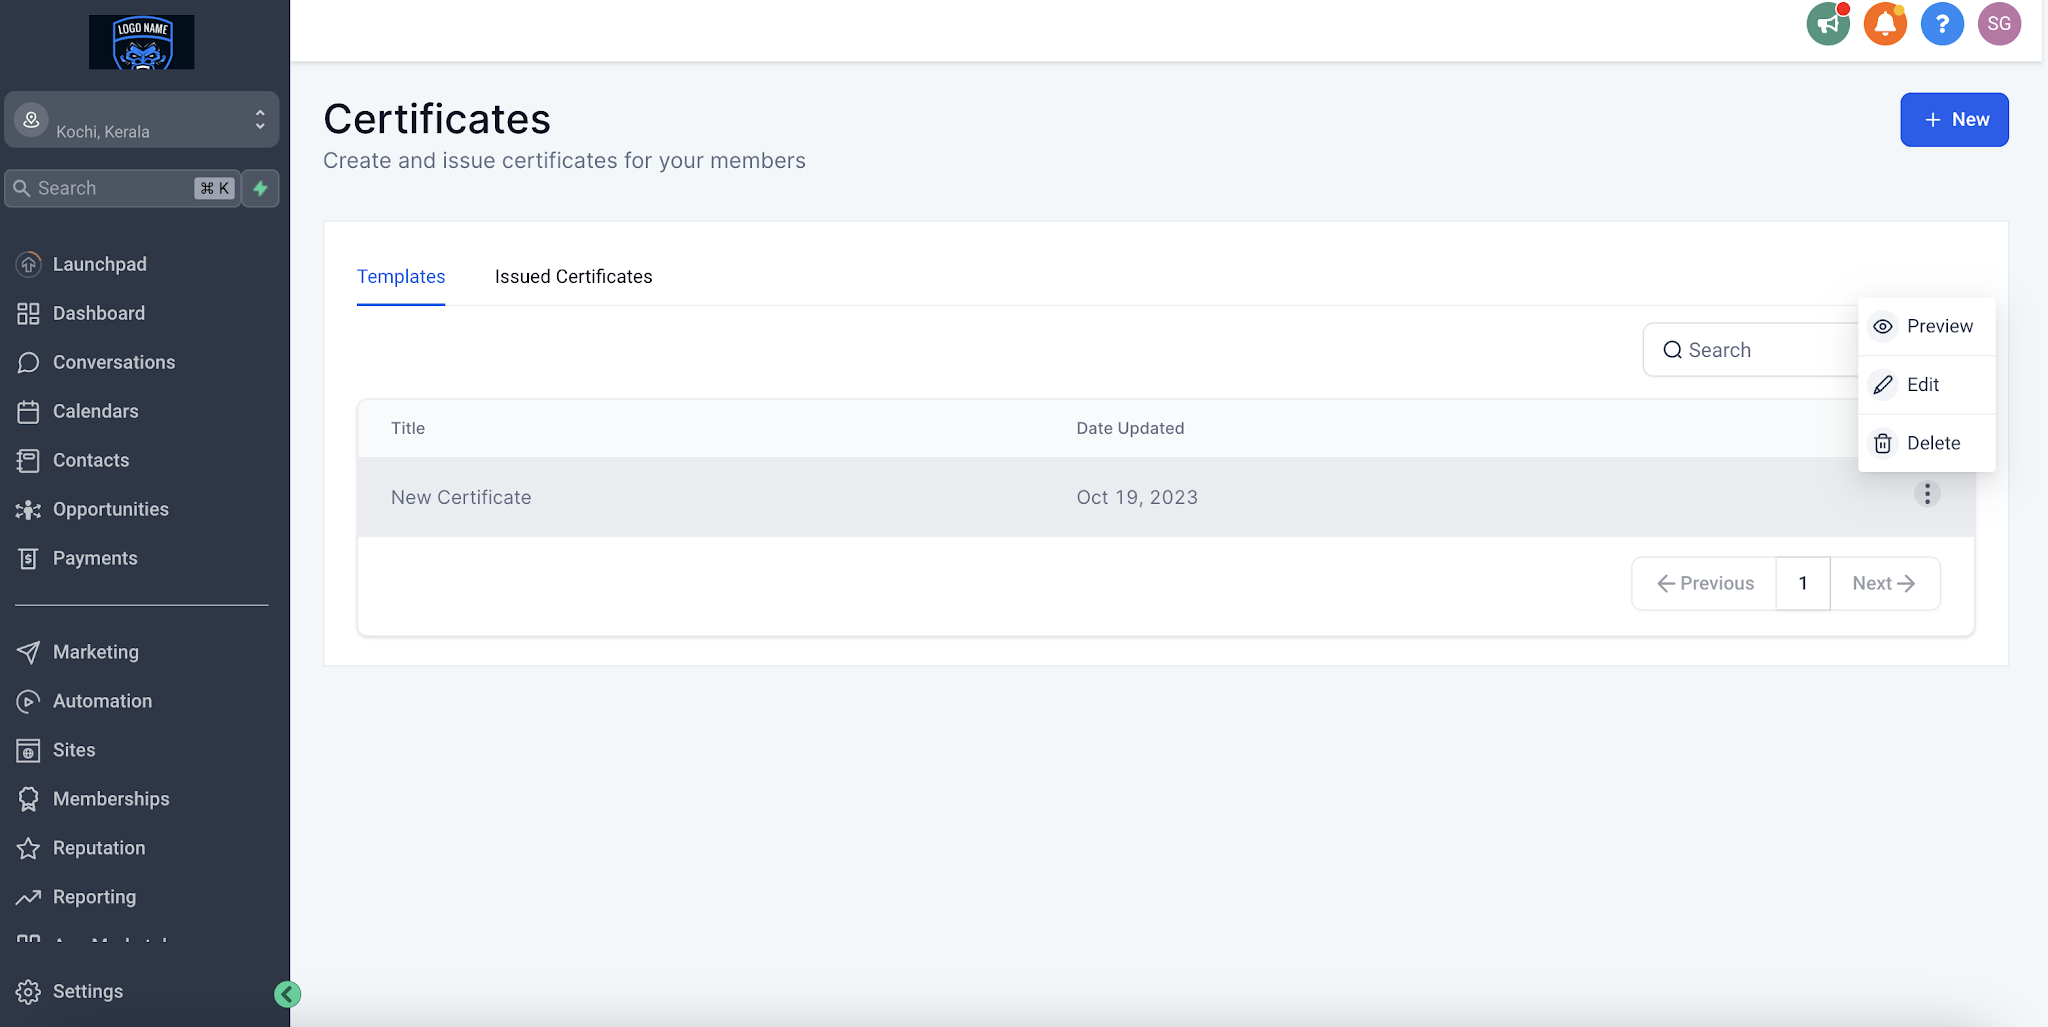
Saved templates are visible under the Template tab
From the three dots, choose to Preview, Edit or Delete a template