
Restaurants brings menus, reservations, dine-in service, and online ordering into one connected workspace. It helps restaurant owners and staff manage daily operations while keeping guest information connected to the CRM. This guide covers the key features and steps to get your restaurant up and running.
TABLE OF CONTENTS
- What is Restaurants?
- Key Benefits of Restaurants
- Restaurant Overview
- Restaurant Orders
- Restaurant Website
- How to Set Up Restaurants
- Frequently Asked Questions
What is Restaurants?
Restaurants is an industry-specific workspace that helps businesses manage daily restaurant operations while keeping guest information connected to the CRM. It provides six integrated modules for managing restaurant activities.
| Module | Purpose |
|---|---|
| Overview | Monitor performance and setup progress. |
| Menu | Manage menu items and availability. |
| Reservations | Manage bookings, tables, and walk-ins. |
| Restaurant Orders | Track dine-in, pickup, and delivery orders. |
| Restaurant Website | Accept online orders and reservations. |
| Restaurant Settings | Configure hours, payments, delivery, and notifications. |
Key Benefits of Restaurants
Restaurants connects restaurant operations with customer management, helping businesses simplify daily tasks and deliver a more consistent guest experience.
Centralized Operations: Manage menus, orders, reservations, and tables in one workspace.
Connected CRM: Associate bookings and orders with CRM contacts for follow-ups and campaigns.
Online Ordering: Accept pickup and delivery orders through a customizable restaurant website.
Business Insights: Monitor sales, orders, reservations, and popular menu items.
Guest Communication: Send email and SMS notifications for supported order and reservation events.
How to Set Up Restaurants
Setting up your restaurant workspace ensures that menus, ordering, reservations, and payments are configured before customers begin using them. Follow the guided checklist to prepare the restaurant for daily operations.
Step 1: Open Restaurant Overview
Navigate to Restaurants → Overview and locate the setup checklist.
Step 2: Configure Restaurant Details
Add the restaurant name, branding logo, and colors.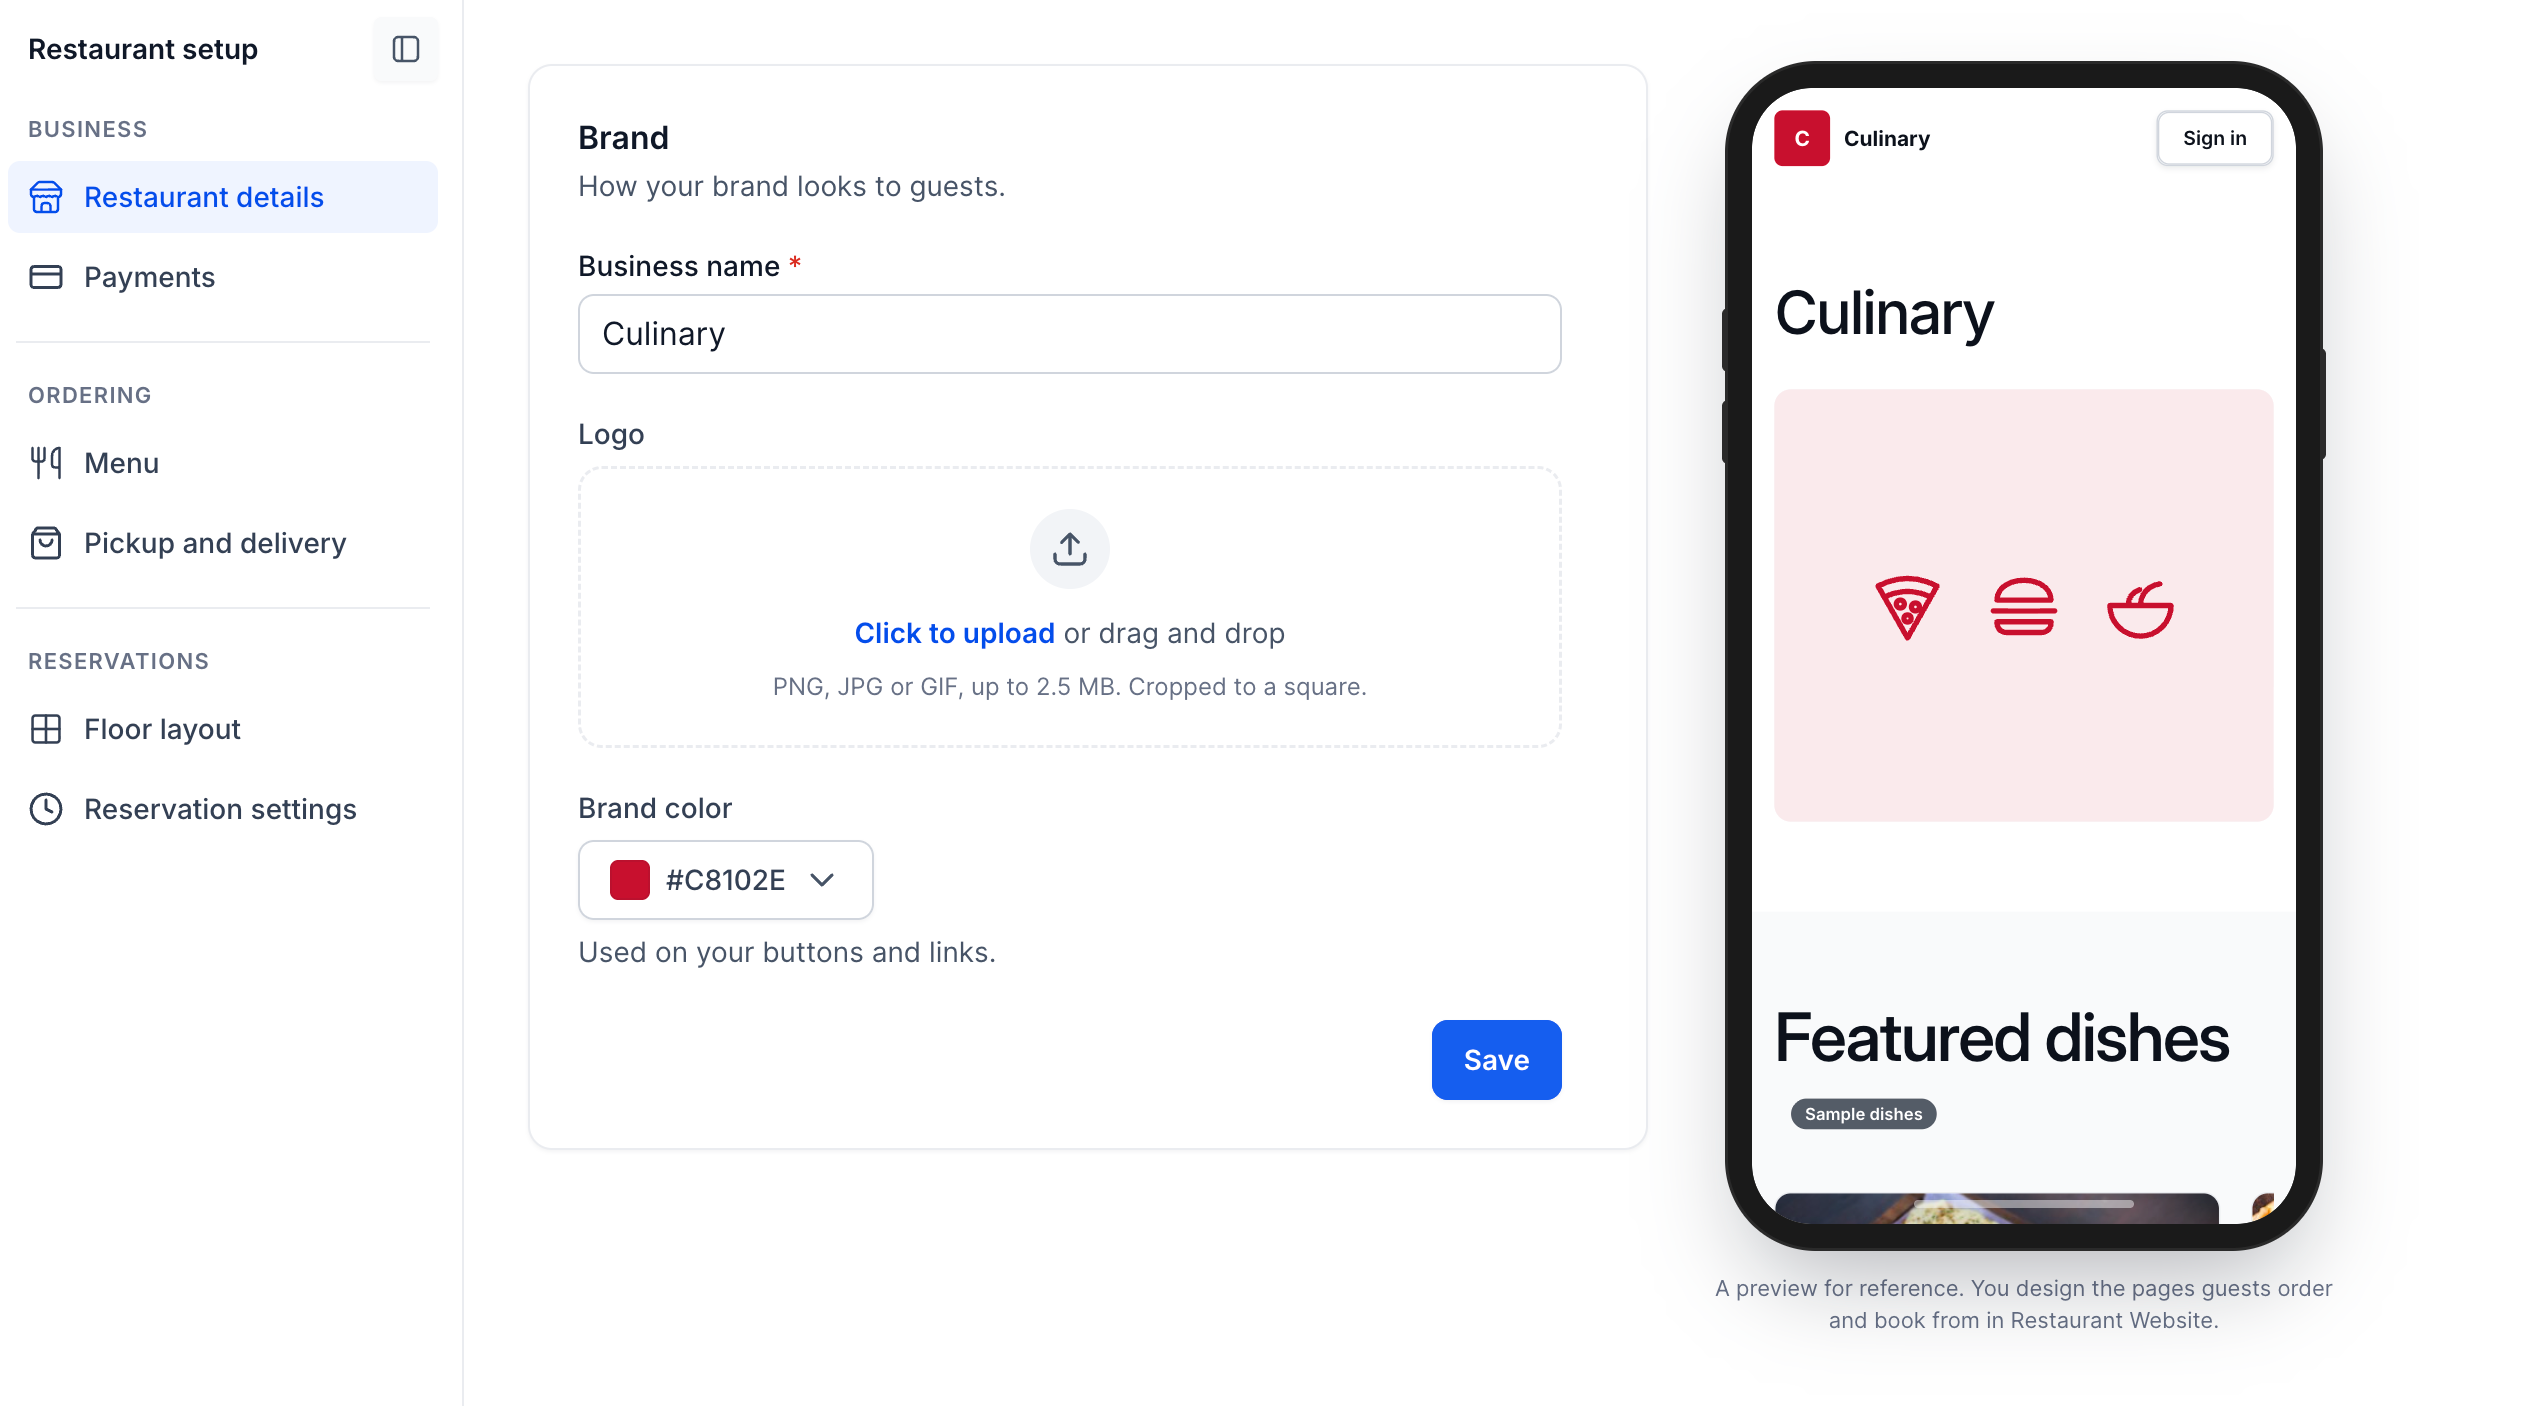
Step 3: Connect Payments
Open the Payments setup task and connect a supported payment provider.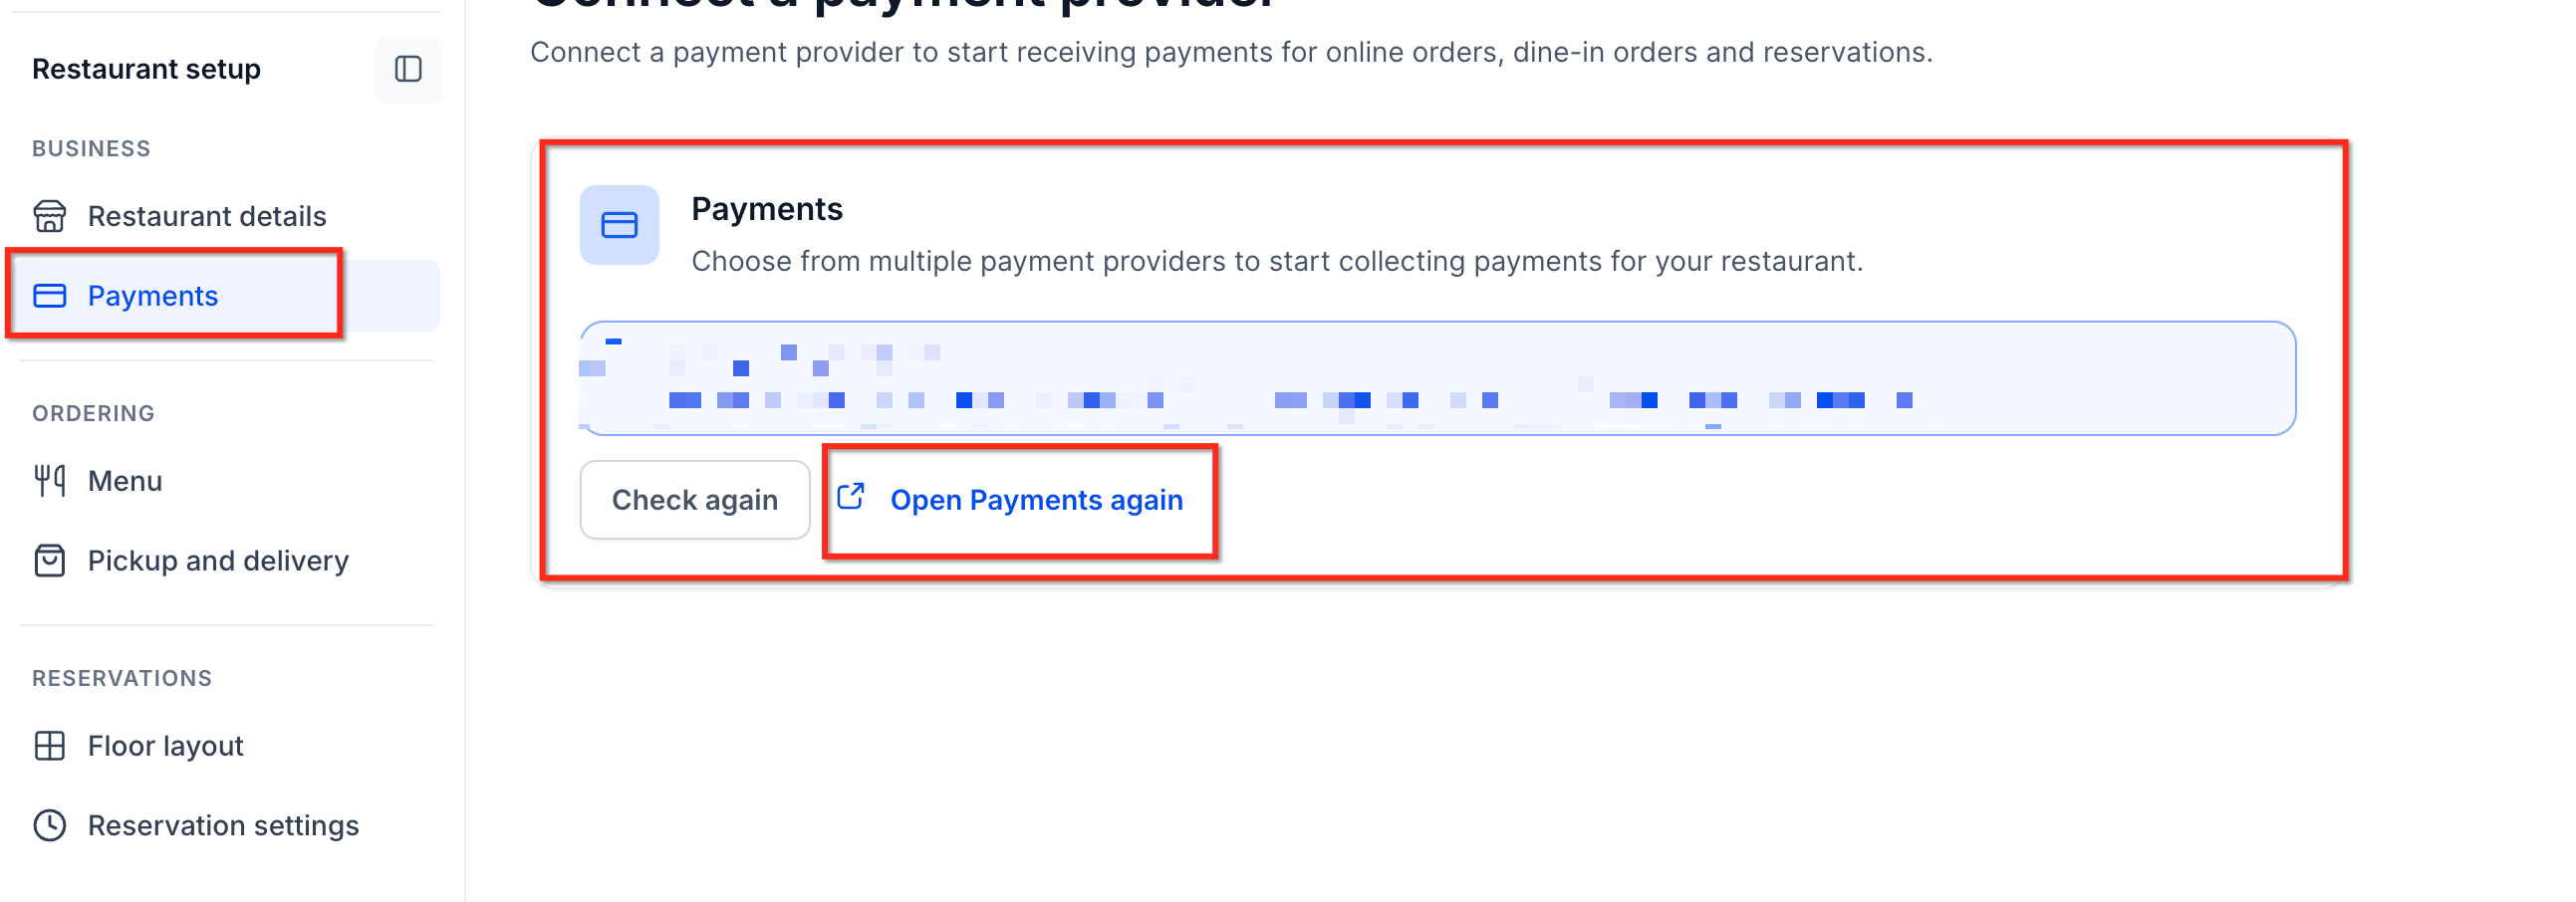
Step 4: Create Your Menu
Import an existing menu or manually add categories, items, and modifiers.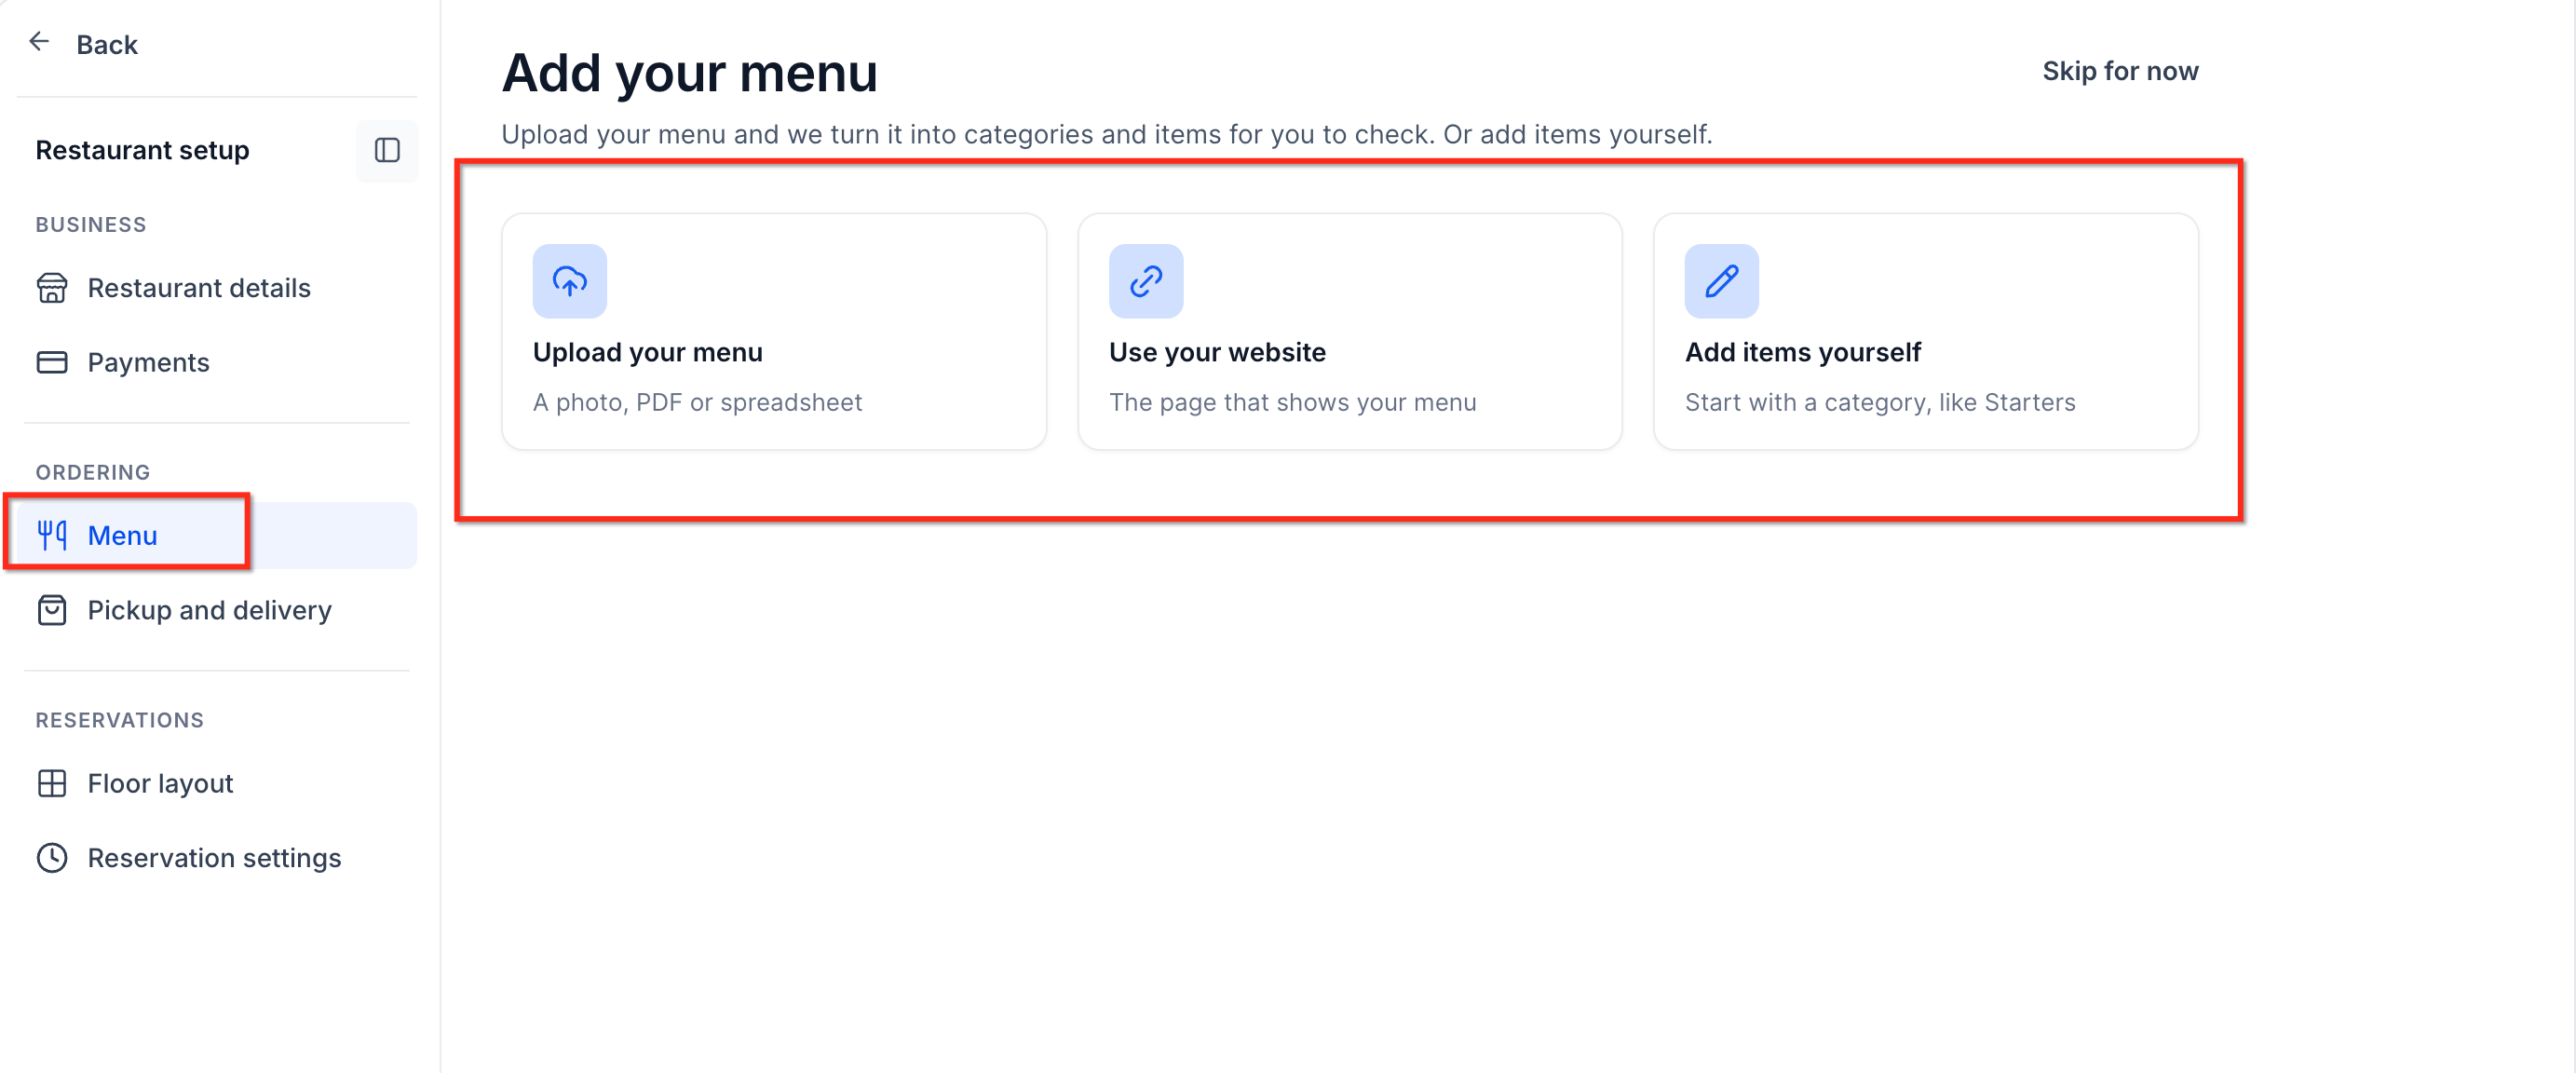
Step 5: Configure Pickup and Delivery
Set preparation times, service hours, and delivery areas.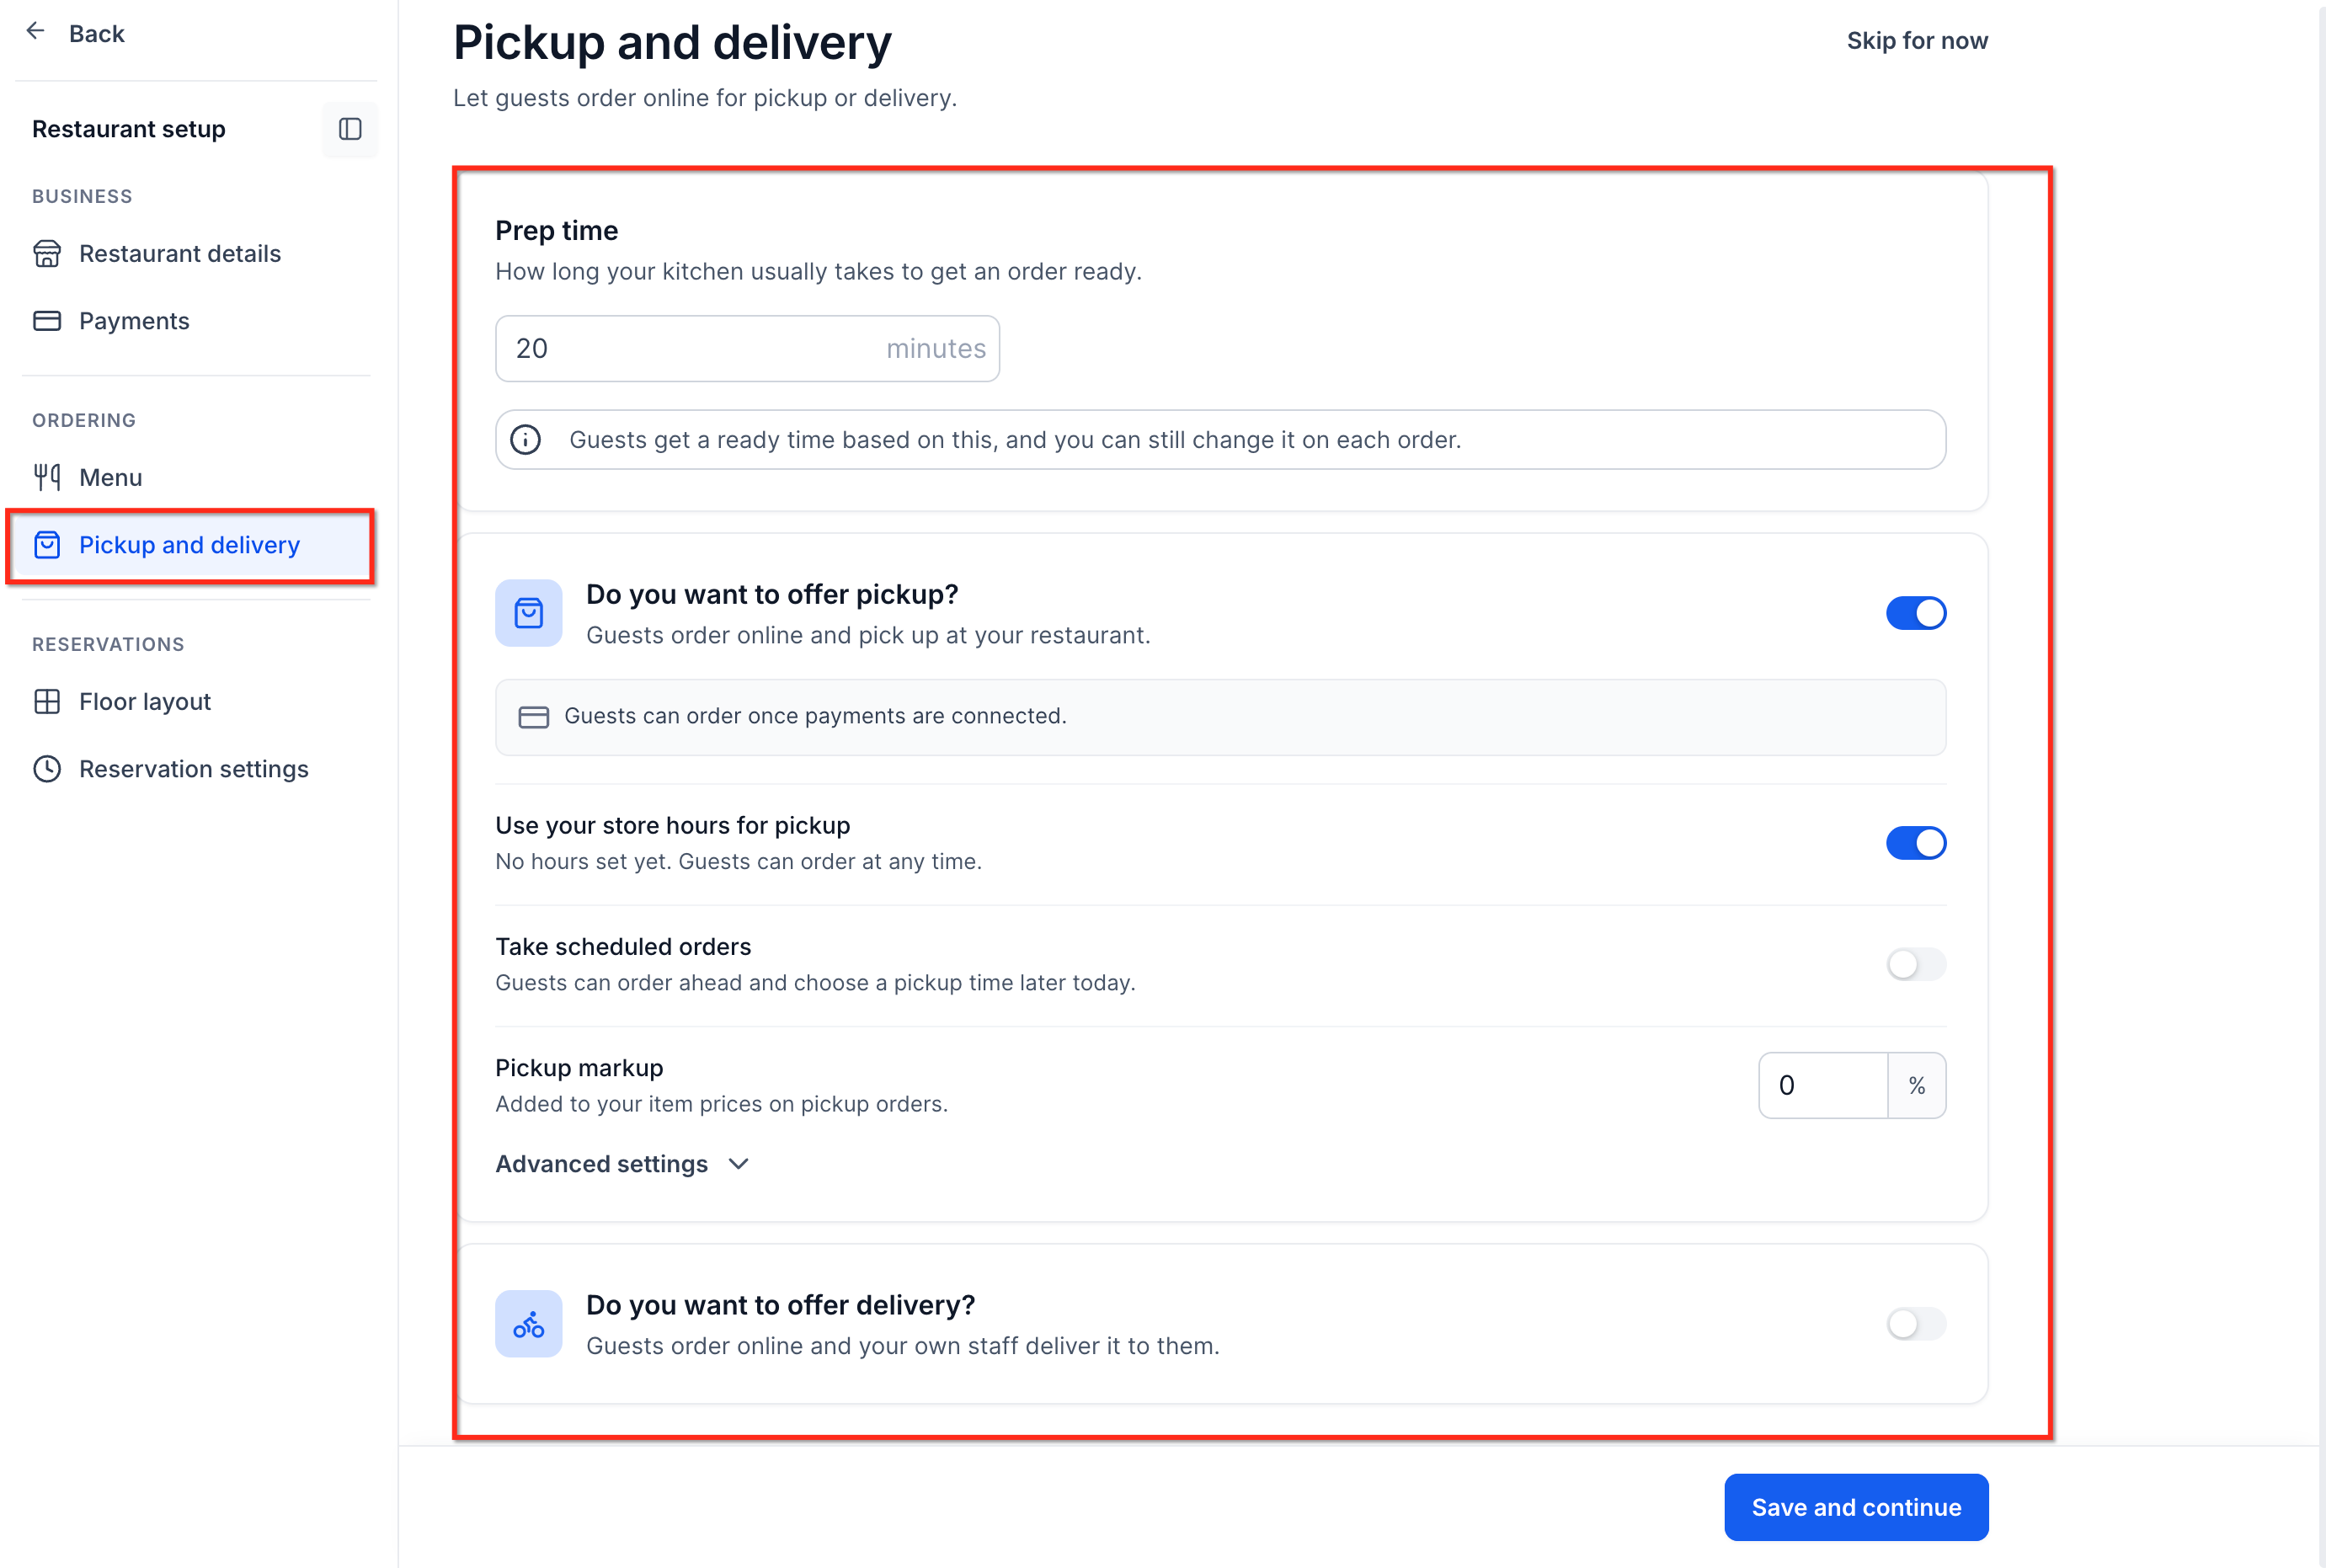
Step 6: Set Up Tables
Create dining areas, add tables, and configure their capacities using the floor layout editor.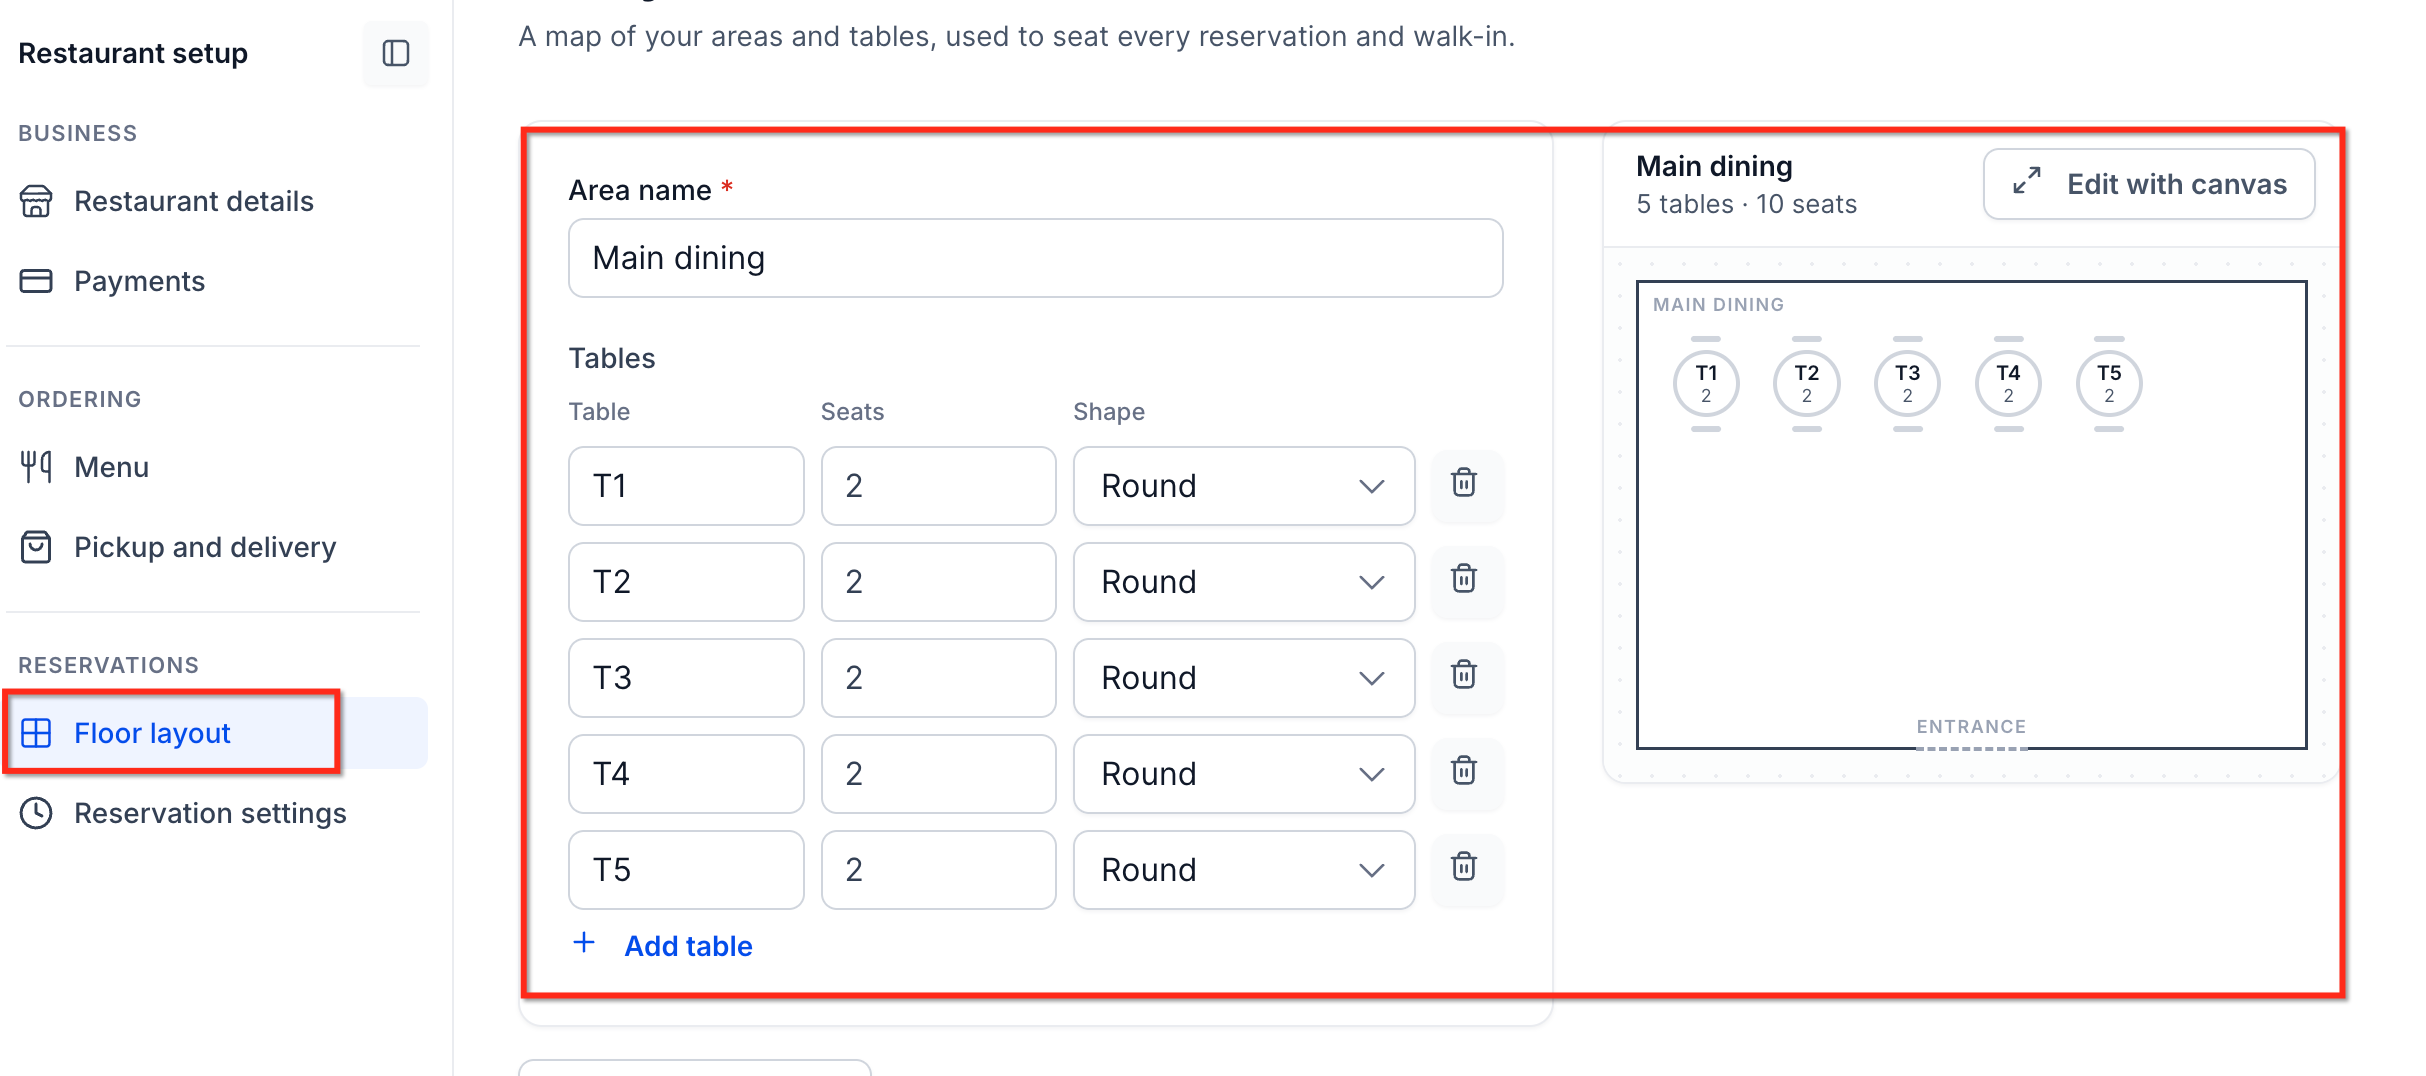
Step 7: Configure Reservations
Set booking hours, availability rules, and reservation durations.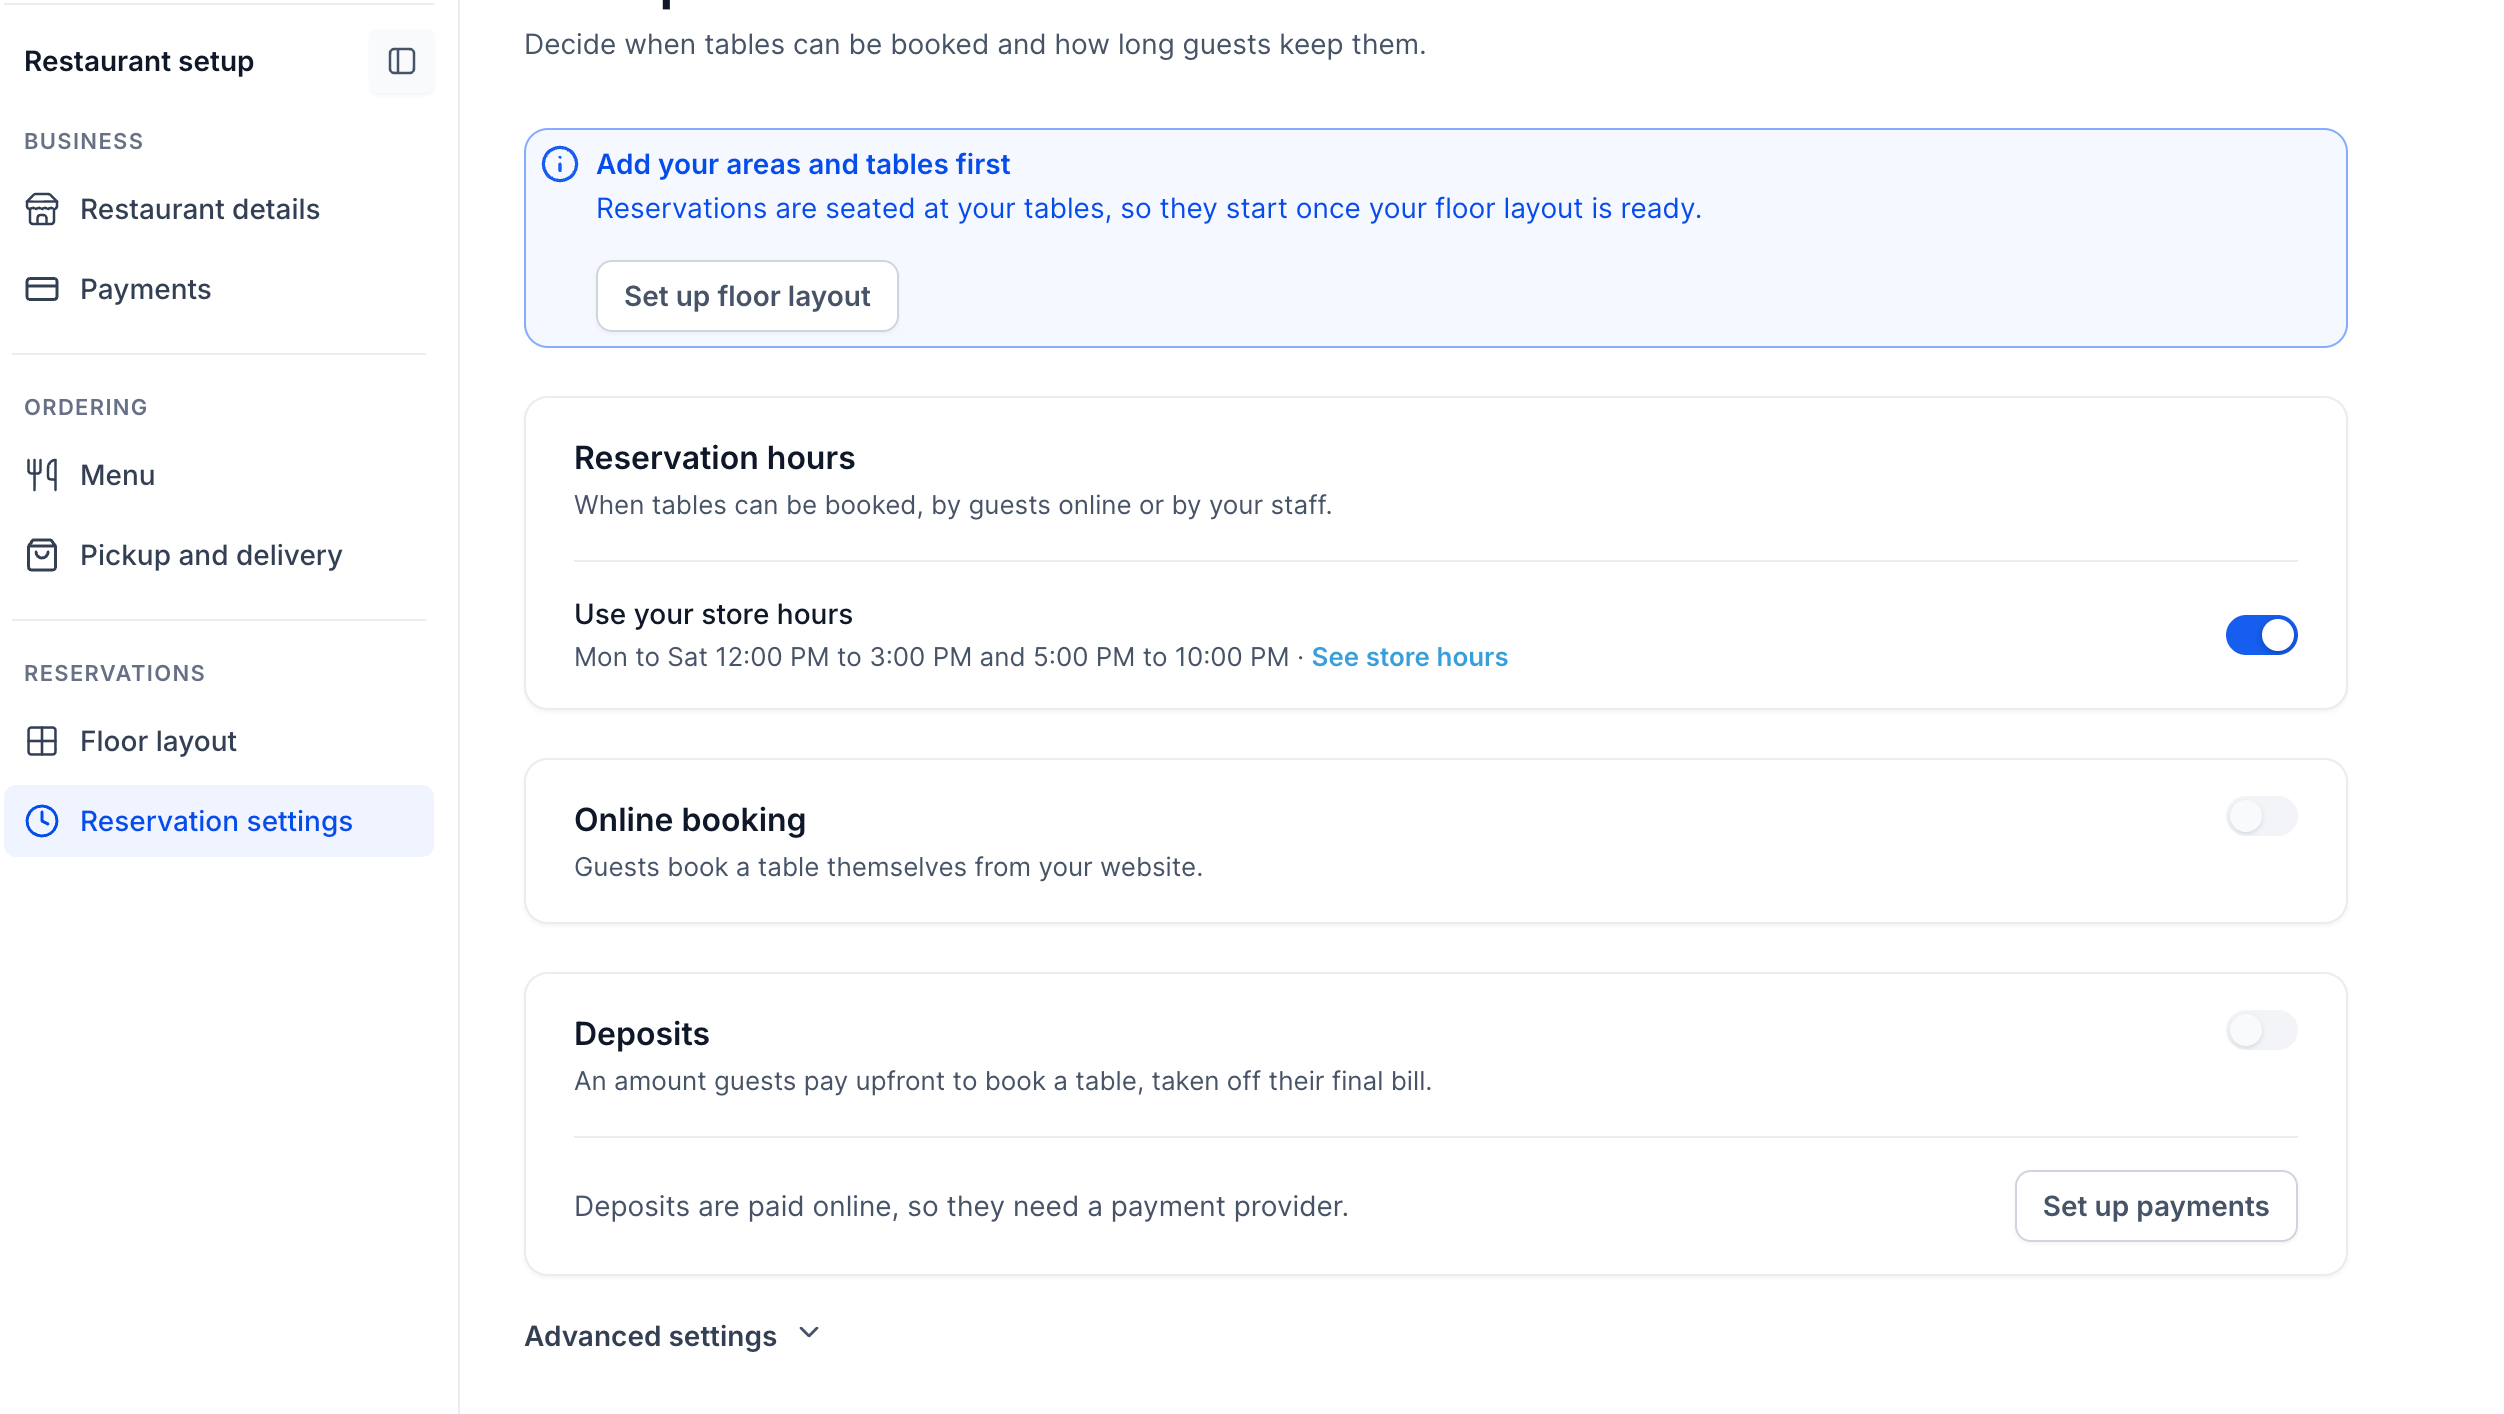
Step 8: Publish the Restaurant Website
Customize the guest-facing pages, verify checkout readiness, connect a domain if needed, and publish the website.
Important: Completing the setup checklist does not automatically publish the website. Checkout Live mode must also be configured as required before accepting real payments.Restaurant Overview
The Overview dashboard brings together restaurant performance metrics and setup tasks. Owners and managers can monitor business activity and identify outstanding configuration steps. Navigate to Restaurants → Overview to access the dashboard and setup checklist.
Menu
The Menu module lets restaurants create and manage a single menu for their supported service channels. Centralized menu management helps maintain accurate product information and availability. Restaurants can organize menu items into categories and configure available modifiers to customize customer orders.
Reservations
Reservations helps front-of-house staff manage bookings, table availability, and walk-in guests. Its visual floor plan makes it easier to coordinate seating and monitor guest activity. Navigate to Restaurants → Reservations.
Three views are available:
Front of house: View table statuses, arriving guests, and seated parties.
Timeline: Monitor reservations by time and table.
List: Search, filter, and manage bookings.
Staff can create reservations, seat walk-ins, assign tables, and review guest details.
Dine-In Service
Dine-in service connects table reservations with kitchen orders and payments. Staff can add multiple rounds of items to a guest's booking and monitor preparation progress.
How to Create a Dine-In Order
Open a seated reservation and select Order.
Click Add round.
Select menu items and add kitchen notes.
Click Send to kitchen.
Track the round through the following statuses:
Accepted → In progress → Ready to serve → Served
Staff can collect payments and record partial manual payments for split bills.
Restaurant Orders
Restaurant Orders provides a central location for managing dine-in, pickup, and delivery orders. Staff can track order progress and identify orders requiring attention. Navigate to Restaurants → Restaurant Orders.
Orders are organized into five tabs:
Active: View active orders.
Scheduled: View scheduled orders.
Completed: View completed orders.
All: View orders across available statuses.
Canceled: View canceled orders.
Additional capabilities include:
On-screen ringing alerts for new online orders.
Order acceptance and status updates.
A Running late filter.
Order details and payment information.
Kitchen round management for dine-in orders.
Frequently Asked Questions
Q: Can restaurants accept online orders and reservations before publishing their website?
Staff can manage certain in-person operations before publication. However, guests need the published restaurant website to place online orders and reservations.
Q: Are third-party delivery services supported?
No. The current private beta supports delivery fulfilled by the restaurant's own staff, without marketplace or courier integrations.
Q: Are restaurant guests added to the CRM?
Restaurant bookings and orders are associated with CRM contacts, allowing businesses to use guest information for communication and follow-ups.