
The Always Exit handle in Agent Studio provides a built-in fallback route for Sequential Nodes when no conditional route matches. It removes the need to manually configure an "always true" condition, helping prevent interrupted flows.
TABLE OF CONTENTS
- What Is the Always Exit Handle in Agent Studio?
- Key Benefits of the Always Exit Handle
- How the Always Exit Handle Works
- How to Set Up the Always Exit Handle in Agent Studio
- Frequently Asked Questions
- Related Articles
What Is the Always Exit Handle in Agent Studio?
The Always Exit handle is a dedicated fallback connection at the bottom-right corner of every Sequential Node. When connected, it automatically uses always execution behavior. Its configuration is system-managed.
Key Benefits of the Always Exit Handle
Automatic Fallback: Directs execution to a default node when conditions do not match.
Simplified Setup: Eliminates manual "always true" conditions.
Improved Reliability: Helps prevent unexpected flow interruptions.
Protected Configuration: Prevents changes to system-managed connections.
Backward Compatibility: Existing flows continue working without modifications.
How the Always Exit Handle Works
Sequential Nodes evaluate conditional exits against configured rules. If no condition matches, the Always Exit connection provides a fallback route.
Example: An AI agent directs customer requests to Sales or Support. If neither condition matches, the Always Exit connection routes the request to a General Follow-Up node.
Connection Rules and Limitations
Available on every Sequential Node.
Located at the bottom-right corner.
Supports one outgoing connection.
Uses automatic
alwaysexecution behavior.Does not allow editing connection labels, descriptions, or conditions.
Requires no changes to existing flows.
How to Set Up the Always Exit Handle in Agent Studio
Step 1: Open Your Sequential Node
Navigate to AI Agents > Agent Studio.
Open an existing flow-based agent.
Find the Sequential Node you want to configure.
Step 2: Locate the Always Exit Handle
Find the dedicated handle at the bottom-right corner of the Sequential Node, separate from the conditional exits.
Step 3: Connect the Fallback Node
Drag a connection from the Always Exit handle.
Connect it to your preferred fallback node.
The connection automatically uses
alwaysexecution behavior.
No additional conditions are necessary.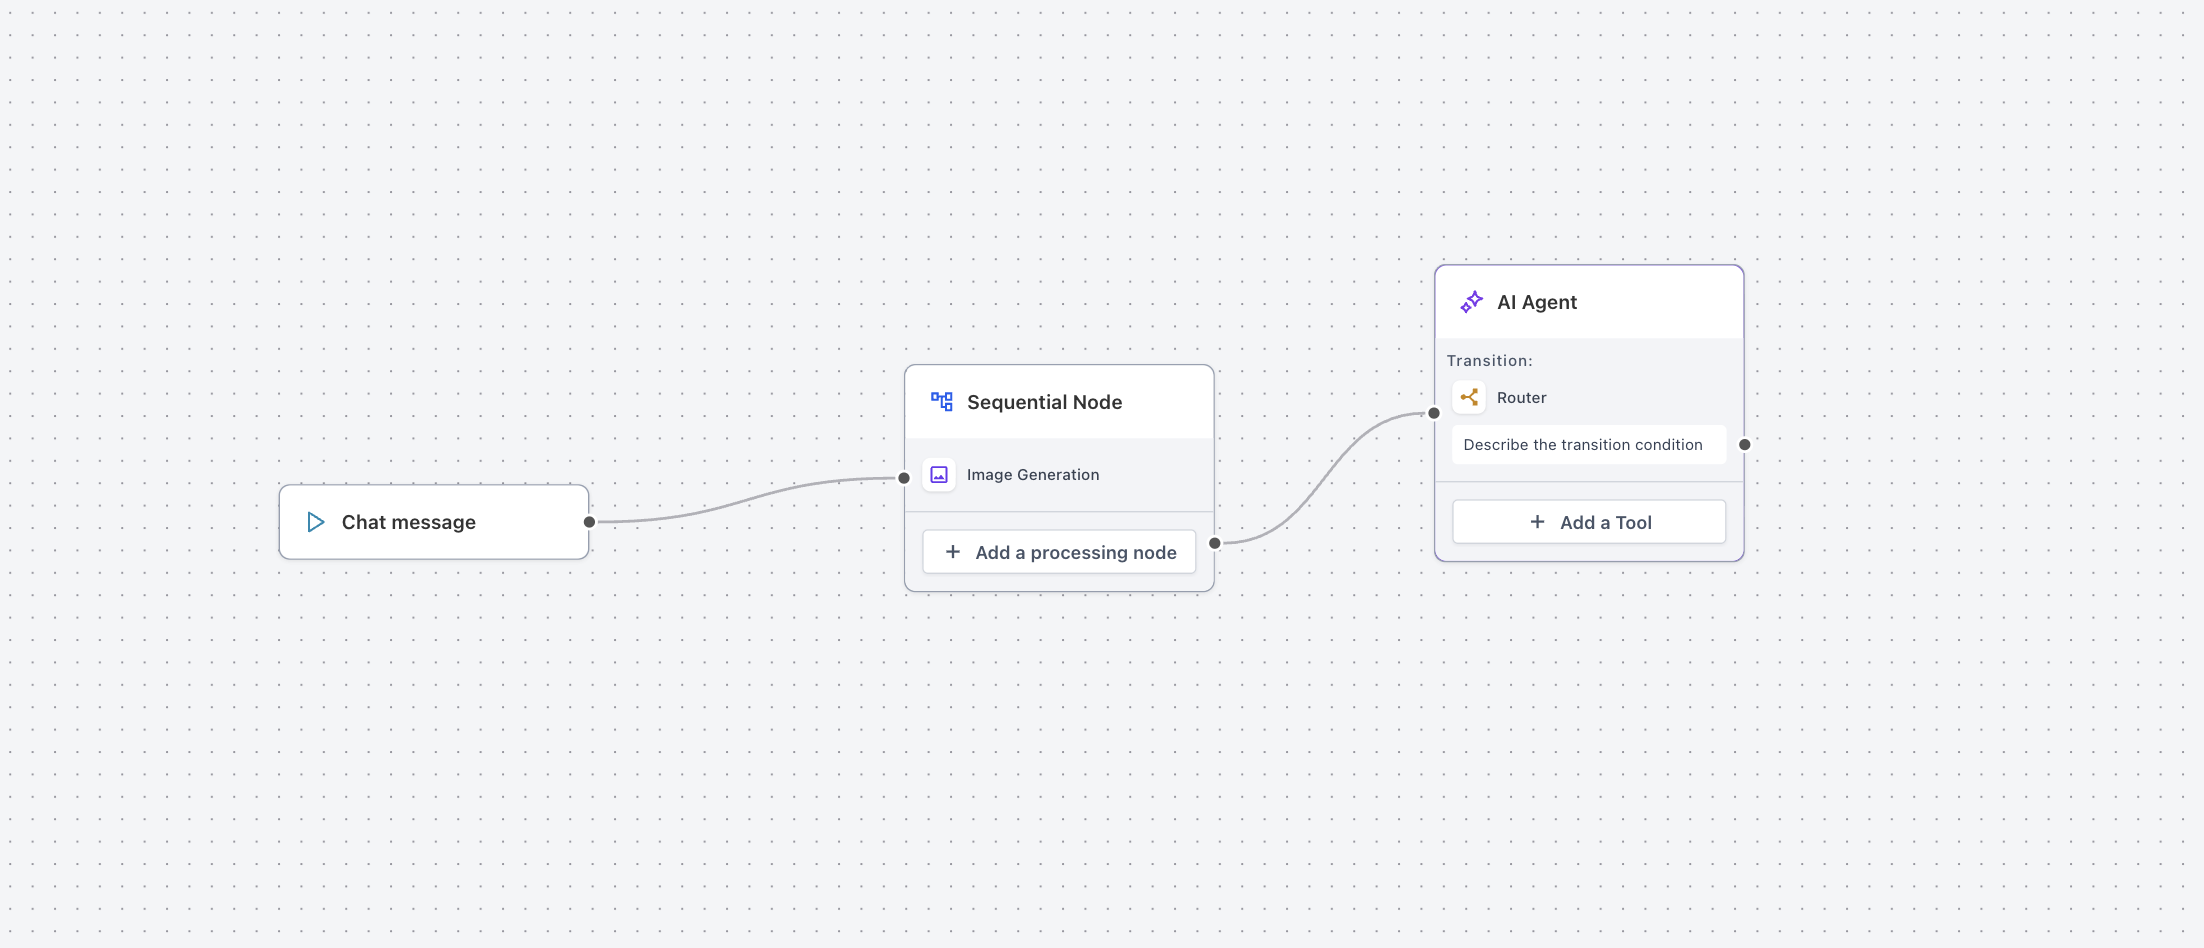
Step 4: Test Your Flow
Open the Agent Studio testing interface.
Enter a test input that does not match any conditional route.
Verify that execution reaches the fallback node.
Save and publish your changes using the applicable deployment process.
Frequently Asked Questions
Q: Is Always Exit available on every Sequential Node?
Yes. Every Sequential Node includes the handle.
Q: Can I connect multiple nodes to Always Exit?
No. It supports one outgoing connection.
Q: Can I modify Always Exit conditions?
No. The connection's conditions, labels, and descriptions are system-managed.
Q: Do existing agent flows need updating?
No. Existing flows continue working without changes.
Q: Can conditional exits and Always Exit work together?
Yes. Conditional exits handle matching conditions. Always Exit provides the fallback when none match.
Q: Does Always Exit replace the Router Tool?
No. The Router Tool supports conditional and AI-based routing. Always Exit provides a dedicated fallback for Sequential Nodes.